Are you ready to impress your friends with a classic Vanilla Bean Crème Brûlée? This delightful dessert is not only rich and creamy but also has that beautiful caramelized top that makes it a showstopper. In this easy-to-follow recipe, I'll guide you step-by-step to create the perfect custard. Get your ramekins ready; you’re about to make a sweet treat that rivals any restaurant! Let's dive in!
Why I Love This Recipe
- Decadent Flavor: This crème brûlée offers a rich and creamy texture, with the infusion of real vanilla elevating the taste to a luxurious level.
- Impressive Presentation: The glossy caramelized sugar crust creates a stunning visual appeal that impresses guests at any gathering.
- Customizable: You can easily adapt the flavors by adding ingredients like chocolate, coffee, or citrus zest to make it uniquely yours.
- Simple Yet Sophisticated: Despite its gourmet appearance, the recipe is straightforward, making it accessible for home cooks of all skill levels.
Ingredients
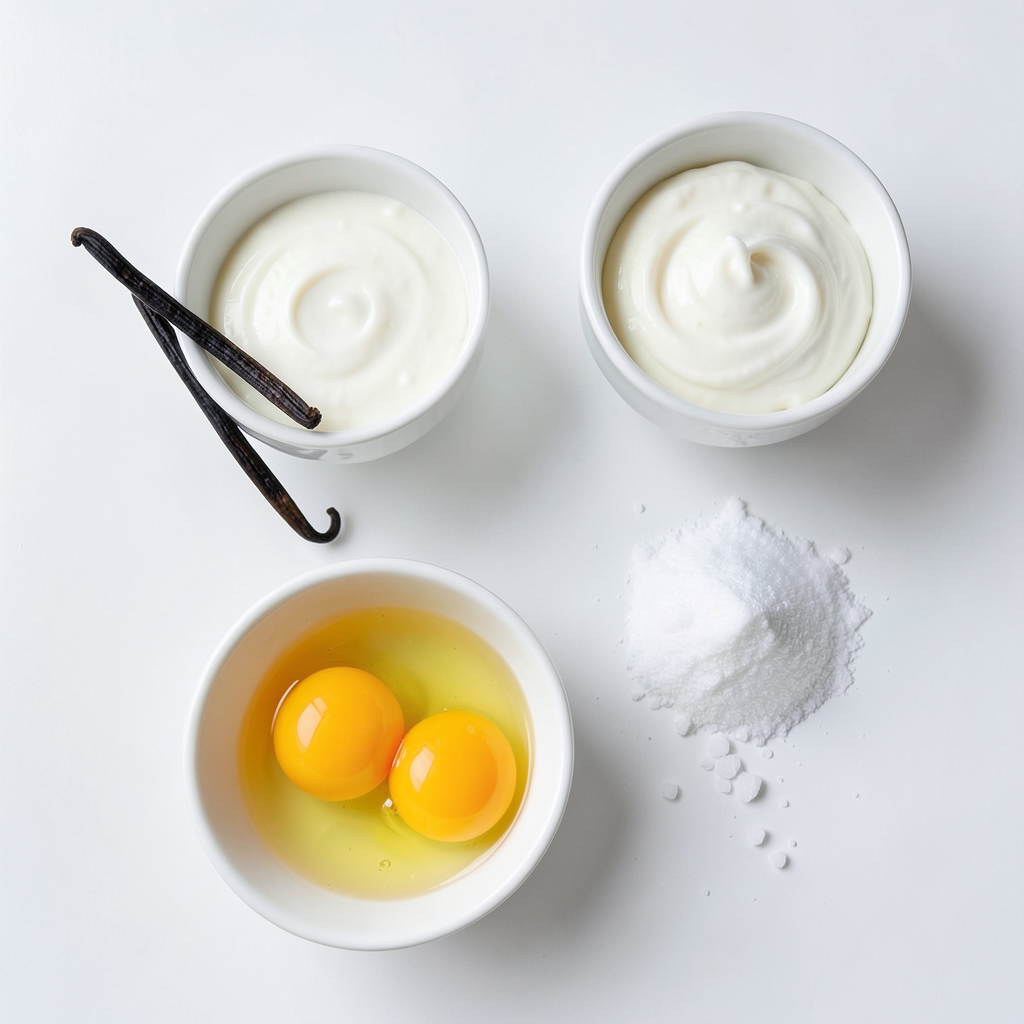
To make a rich and creamy vanilla bean crème brûlée, gather these simple ingredients:
- 2 cups heavy cream
- 1 vanilla bean (or 2 teaspoons pure vanilla extract)
- 5 large egg yolks
- 1/2 cup granulated sugar (plus additional for caramelizing)
- Pinch of sea salt
Each ingredient plays a key role in the final dish. The heavy cream adds richness, while the vanilla bean gives a deep flavor. Egg yolks create the custard's smooth texture. Sugar sweetens the mix and forms the crunchy topping. The sea salt enhances all the flavors.
Choosing high-quality ingredients will elevate your dessert. If you can, use a real vanilla bean. It offers a more intense flavor than extract. If you're short on time, pure vanilla extract works great too.
Now that you have the ingredients ready, you can move on to making this delightful dessert!
Step-by-Step Instructions
Preparation of the Custard Base
1. First, preheat your oven to 325°F (160°C). Choose a baking dish that fits your ramekins well.
2. Next, pour 2 cups of heavy cream into a medium saucepan. Set it over medium heat. If you use a vanilla bean, slice it open. Scrape the seeds into the cream and add the pod too. Bring the cream to a simmer, then take it off the heat. Let it steep for 15 minutes to get all that vanilla flavor.
3. While the cream cools, take a bowl. Add 5 large egg yolks, 1/2 cup of sugar, and a pinch of sea salt. Whisk these together until the mix turns pale and thickens up a bit.
Combining Ingredients
1. Gradually add the warm cream to your egg mixture. Whisk it in slowly to avoid cooking the eggs. If you opted for pure vanilla extract, now is the time to mix it in.
2. Strain the mixture through a fine-mesh sieve into another bowl. This step helps you get a smooth custard by removing any bits of cooked egg or the vanilla pod.
Baking the Crème Brûlée
1. Pour the smooth custard evenly into your ramekins. Depending on their size, you will fill about 4 to 6. Place the ramekins in your baking dish. Fill the dish with hot water until it reaches halfway up the sides of the ramekins. This water bath helps the custard cook evenly.
2. Carefully place the whole setup in the oven. Bake for 30 to 35 minutes. Look for the edges to be set while the center should still jiggle a little.
3. After baking, use tongs to take the ramekins out of the hot water. Let them cool at room temperature for a few minutes. Once they are cool, cover each ramekin and chill in the fridge for at least 2 hours or overnight.
Tips & Tricks
Achieving the Perfect Custard
A water bath is key for a creamy custard. It helps cook gently and evenly. The water keeps the heat steady, so your custard won’t curdle. To prevent curdling, add warm cream slowly to the egg mix. Whisk constantly to blend them well. This keeps the eggs from cooking too quickly.
Caramelizing the Sugar
You can use a kitchen torch or a broiler for caramelizing. A torch gives you more control. Hold it close and move it slowly over the sugar. If using a broiler, watch closely. Sugar can burn fast under high heat. For an even sugar crust, sprinkle a thin layer of sugar. Make sure it covers the custard fully. This helps it caramelize evenly and look perfect.
Presentation Suggestions
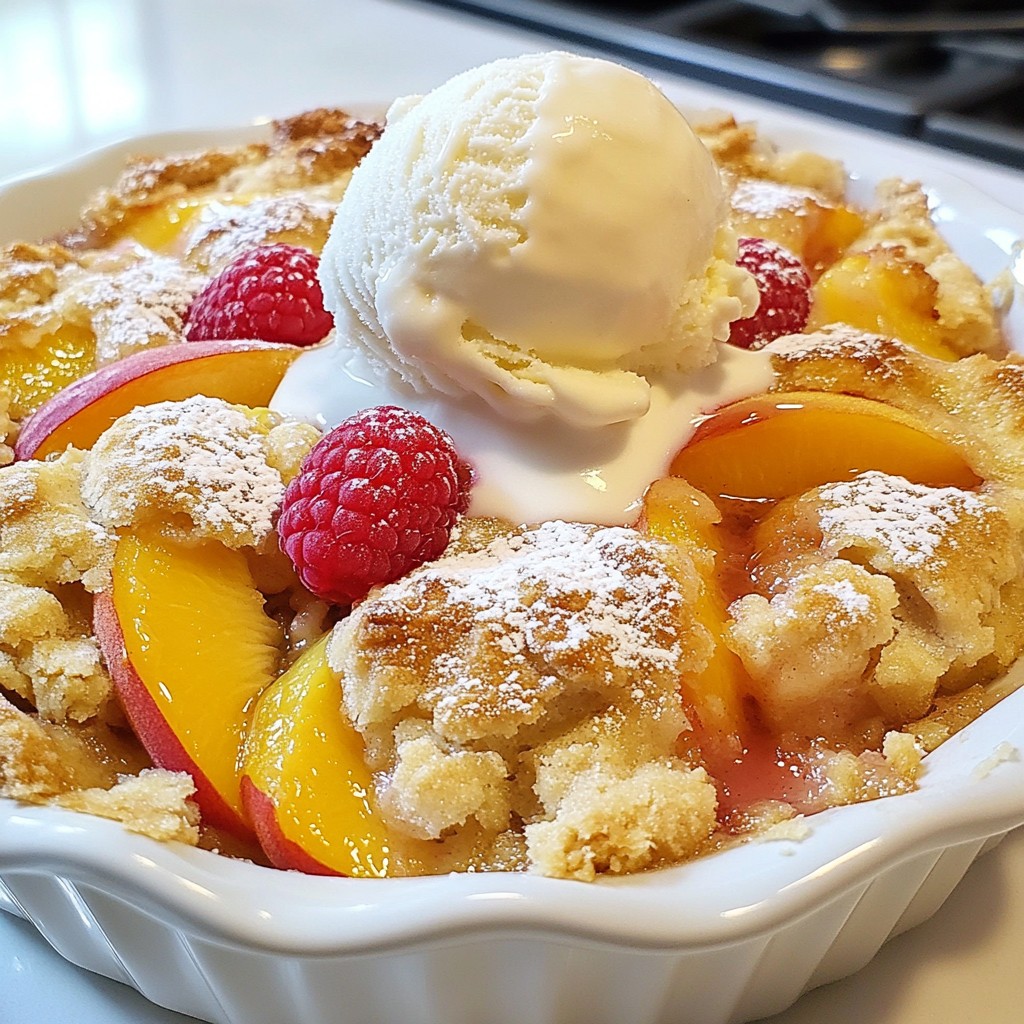
Garnishing makes your dessert pop. Add fresh berries and a sprig of mint. This adds color and freshness. Serve each crème brûlée in its ramekin for a nice look. Place it on a plate with berries on the side. This gives a restaurant-quality feel.
Pro Tips
- Use Fresh Ingredients: Always opt for fresh vanilla beans if possible; they provide a richer flavor than extract.
- Watch the Baking Time: Keep an eye on the custards towards the end of baking to avoid overcooking; they should be set around the edges but still jiggle slightly in the center.
- Chill Thoroughly: Allow the crème brûlée to chill for at least 2 hours, but overnight is best for achieving the perfect texture and flavor.
- Caramelize with Care: When using a kitchen torch, move it in a circular motion to achieve an even caramelization; avoid holding it too close to prevent burning.
Variations
Flavor Variations
You can change up the flavor of crème brûlée to suit your taste. Here are two fun ideas:
- Chocolate crème brûlée: To make chocolate crème brûlée, add 4 ounces of chopped dark chocolate to the cream. Heat it until melted. This adds a rich, sweet twist to the classic recipe.
- Citrus-infused crème brûlée: For a fresh twist, add the zest of one orange or lemon to the cream. This brightens the flavor and gives it a unique flair.
Ingredient Substitutions
If you have dietary needs or preferences, there are great swaps:
- Dairy-free options: Use coconut cream or almond milk instead of heavy cream. This keeps it creamy while being dairy-free.
- Alternative sweeteners: You can swap granulated sugar for honey or maple syrup. Just adjust the amount to taste, as these sweeteners can be sweeter than sugar.
Serving Suggestions
Serving crème brûlée can be just as fun as making it. Here are some ideas:
- Pairing with dessert wines: A sweet dessert wine like Sauternes goes well with crème brûlée. The flavors balance nicely.
- Complementary side options: Fresh berries, like raspberries or strawberries, add a nice touch. They contrast the creamy texture and add color to the plate.
Storage Info
Refrigeration Guidelines
To keep your crème brûlée fresh, store it in the fridge. After it cools, cover each ramekin with plastic wrap. This keeps the dessert safe from odors and helps it stay moist. Aim to chill it for at least two hours or overnight for the best taste.
Freezing Recommendations
You can freeze crème brûlée, but it changes the texture slightly. To freeze, let the custard cool completely. Cover each ramekin tightly with plastic wrap, then with foil. When you want to eat it, move the ramekin to the fridge for about 12 hours. Once thawed, add sugar and caramelize before serving.
Shelf Life
Crème brûlée lasts about 3 to 4 days in the fridge. Make sure to check for any strange odors or changes before eating. If you notice any, it’s best to toss it. Proper storage helps keep it tasty and safe.
FAQs
What type of vanilla is best for crème brûlée?
I recommend using a whole vanilla bean for the best flavor. It has rich, aromatic notes that enhance the dessert. Slice the bean open to reveal the tiny seeds. These seeds give your crème brûlée that classic speckled look. If you don’t have a vanilla bean, pure vanilla extract works too. Use about two teaspoons as a substitute. This choice still adds great taste, making your dessert enjoyable.
Can I make crème brûlée ahead of time?
Yes, you can! Crème brûlée is perfect for making ahead. After baking, let it cool and then chill in the fridge. It can last up to three days in the refrigerator. This makes it great for dinner parties or special occasions. Just caramelize the sugar right before serving. This way, you will enjoy that fresh, crispy topping.
Is it necessary to use a kitchen torch?
Using a kitchen torch is not the only way to caramelize the sugar. A torch gives you the best control, creating a smooth crust. However, you can also use a broiler. Place the ramekins under the broiler for about one minute. Be careful and watch closely to avoid burning the sugar. Either method will give you that delicious, crunchy layer.
How do I fix a grainy custard?
If your custard turns out grainy, it may be due to overheating. This happens when the egg yolks cook too fast. To fix this, be sure to whisk constantly when adding warm cream. If you still find it grainy, strain the mixture through a fine-mesh sieve again. This will help remove any bits and give you a smooth texture. Always aim for a gentle heat to create the perfect custard.
You now have a clear guide to making perfect crème brûlée. Start with fresh ingredients and follow each step carefully. Remember, a water bath is key for the best texture. Use a torch for caramelizing your sugar to achieve that delightful crust. Don’t shy away from experimenting with flavors or garnishes. This dessert is versatile and rewarding. Enjoy your culinary journey and impress your friends and family with this classic treat. You can master crème brûlée, one delicious bite at a time.