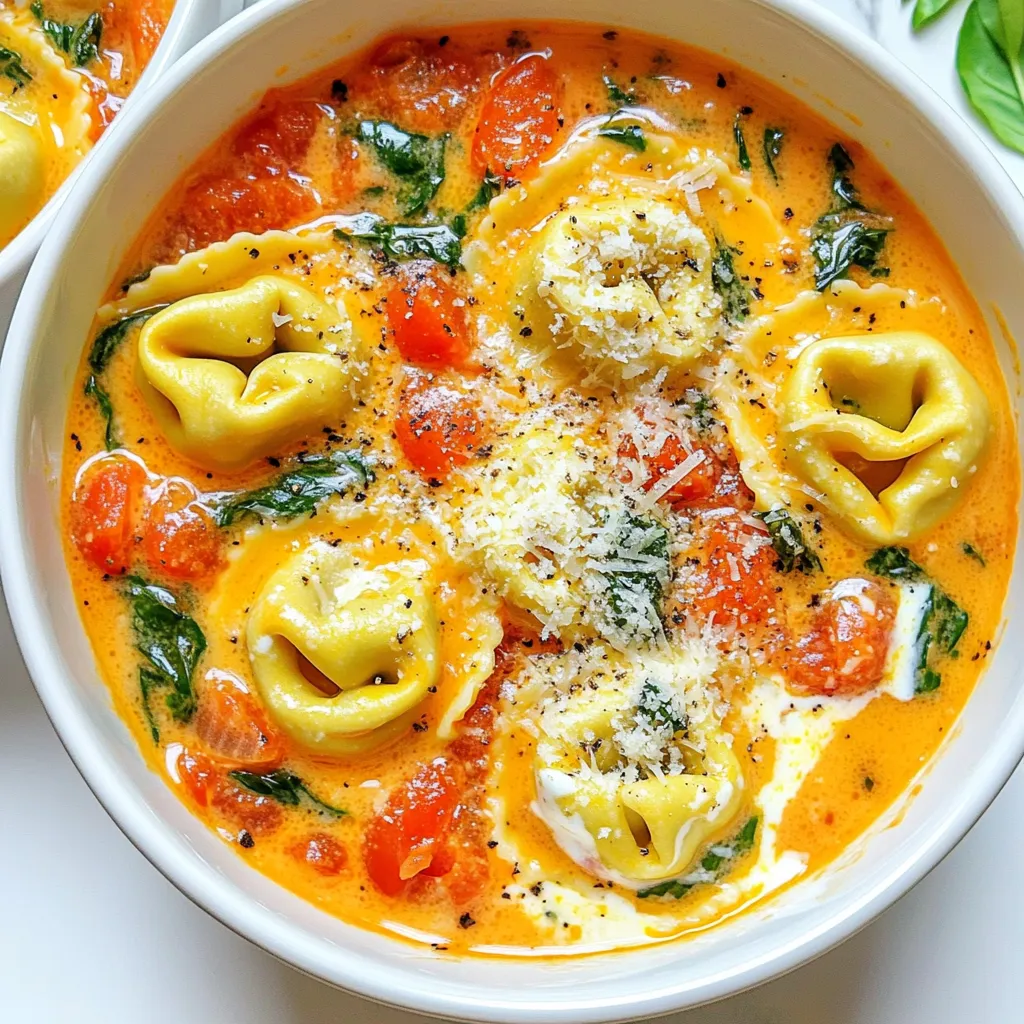
Instant Pot Creamy Tomato Tortellini Dream Dish
Looking for a quick and tasty meal? This Instant Pot Creamy Tomato Tortellini Dream Dish is just for you! With
Looking for a quick and tasty meal? This Instant Pot Creamy Tomato Tortellini Dream Dish is just for you! With
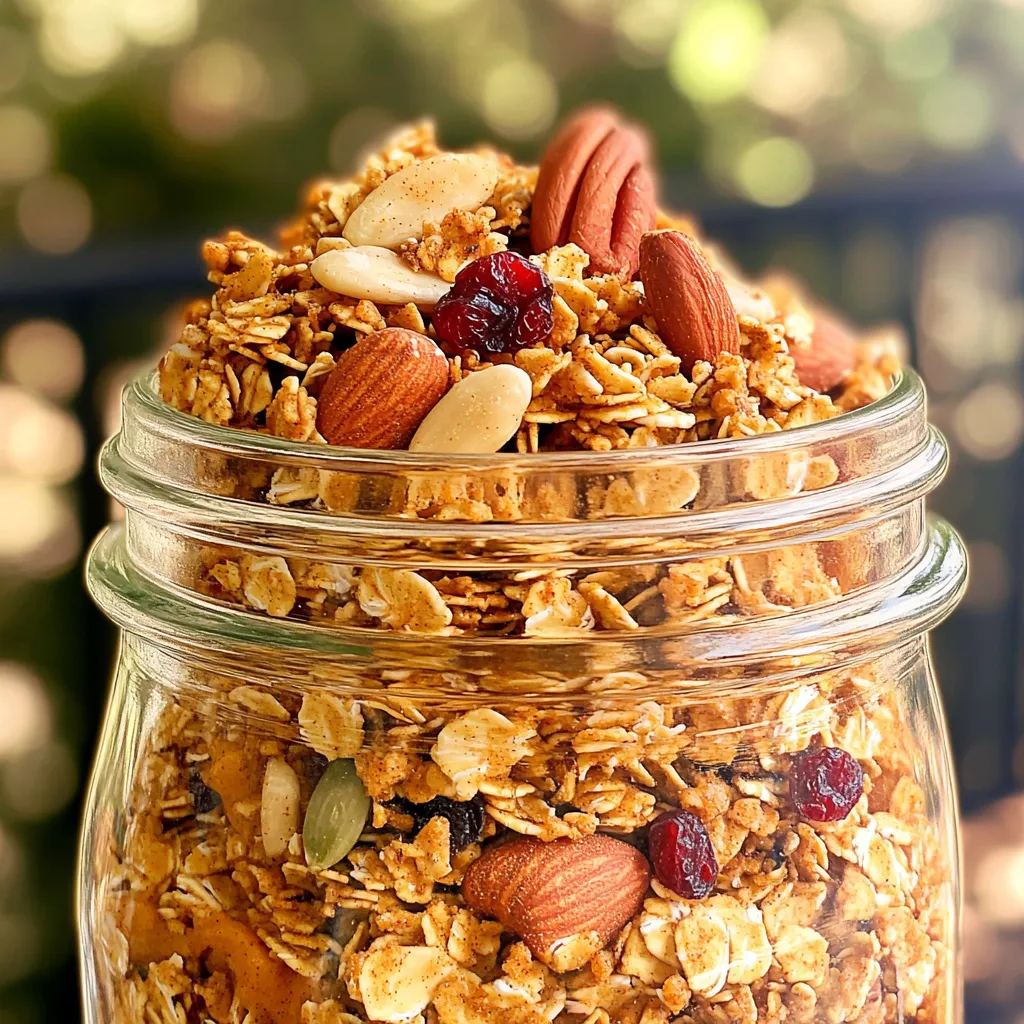
Start your mornings with a delicious twist by making your own pumpkin spice granola! This crunchy, flavorful breakfast combines wholesome
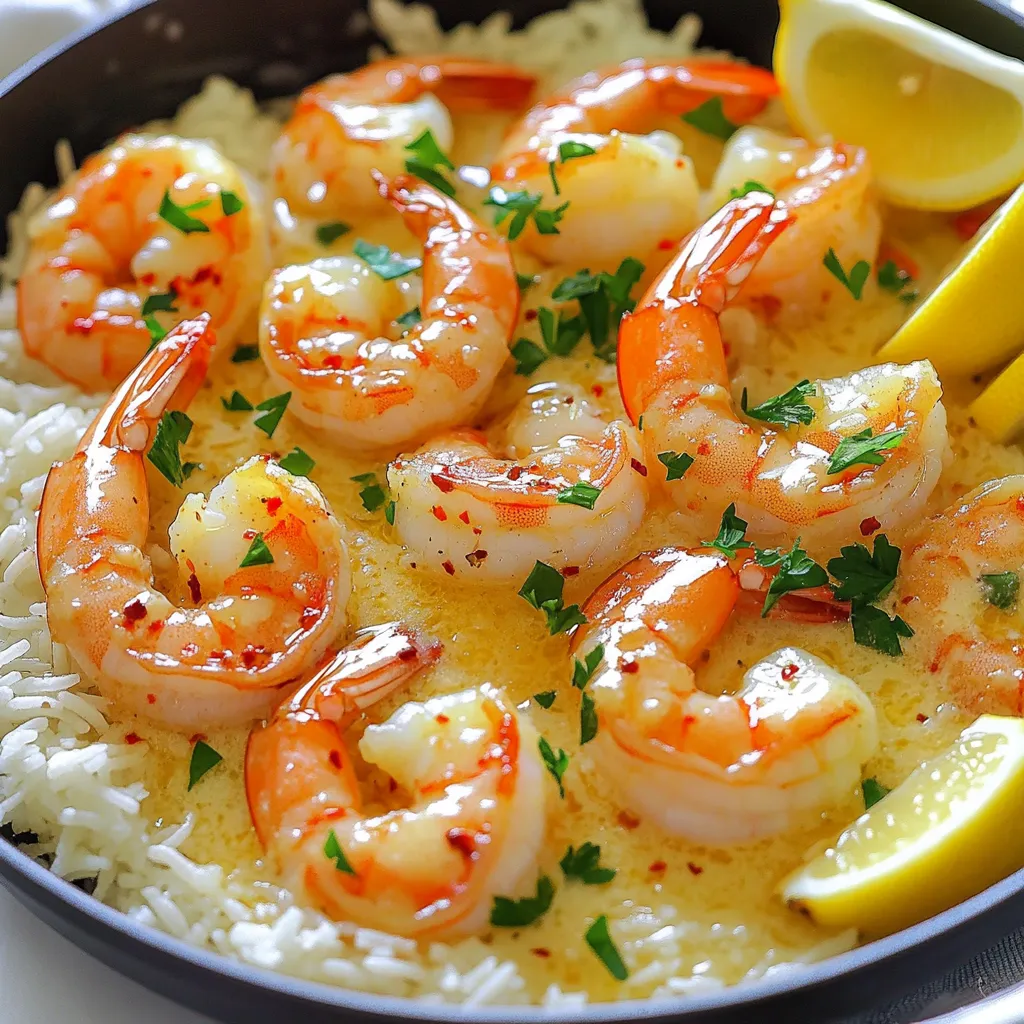
Looking for a quick and tasty meal? My Easy Garlic Butter Shrimp Skillet is your answer! You’ll delight in juicy
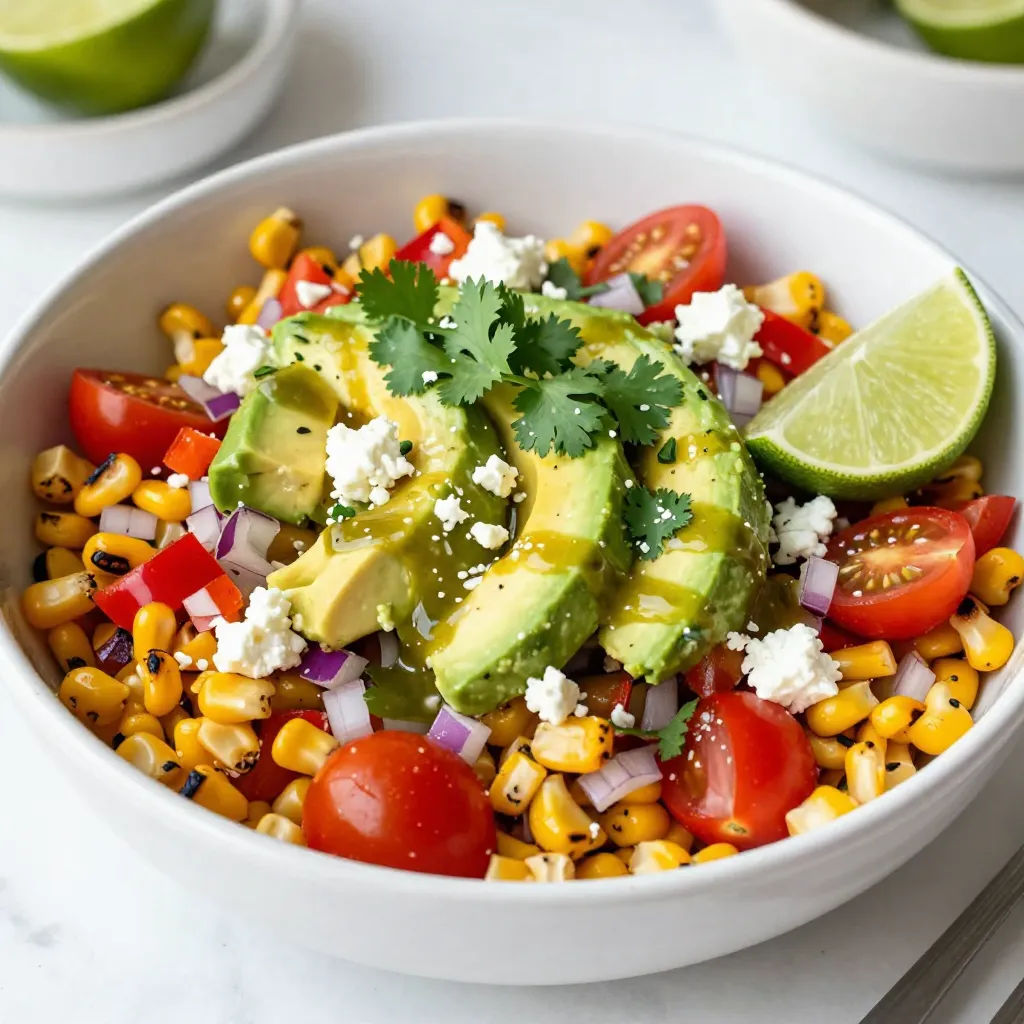
Are you ready to elevate your salad game? This Mexican Street Corn Salad packs vibrant flavors and is incredibly fresh,
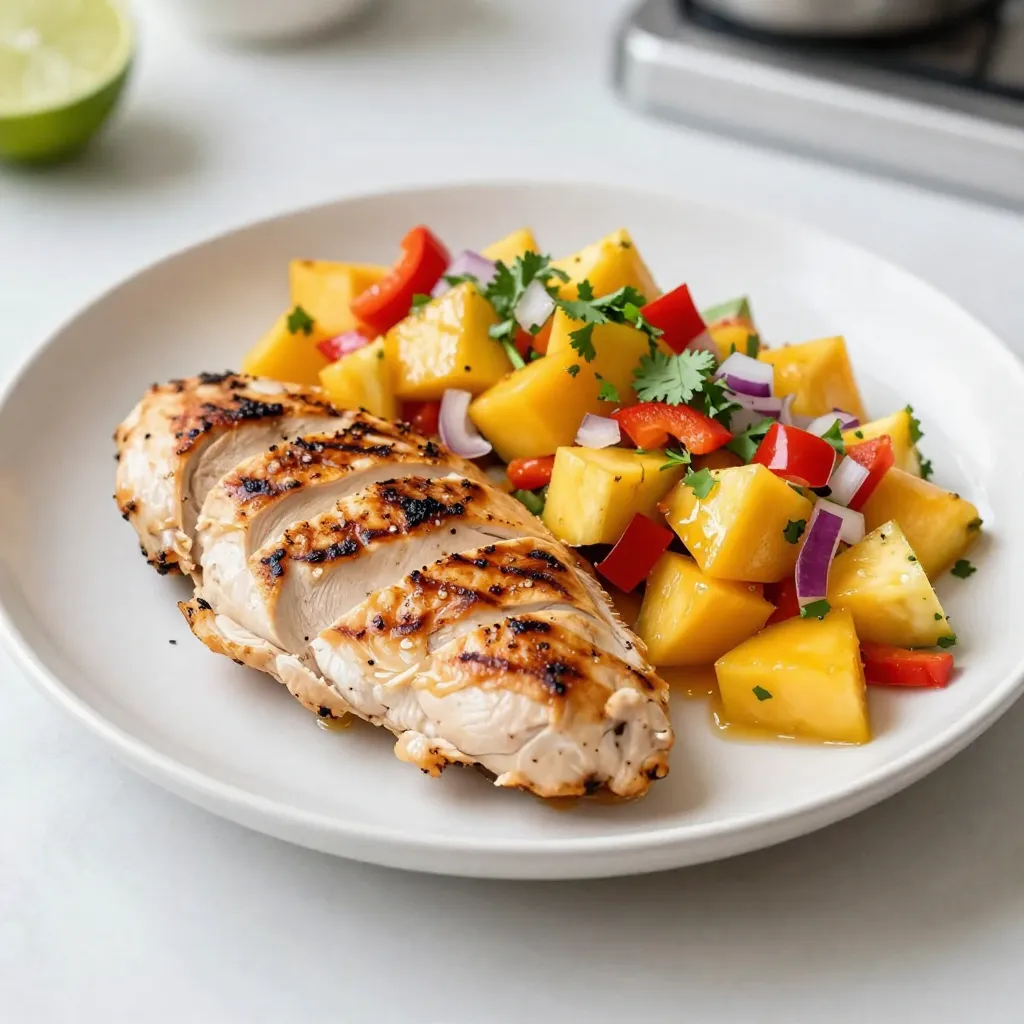
Get ready to savor summer with my Mango Pineapple Salsa Chicken! This dish bursts with fresh flavors and is perfect
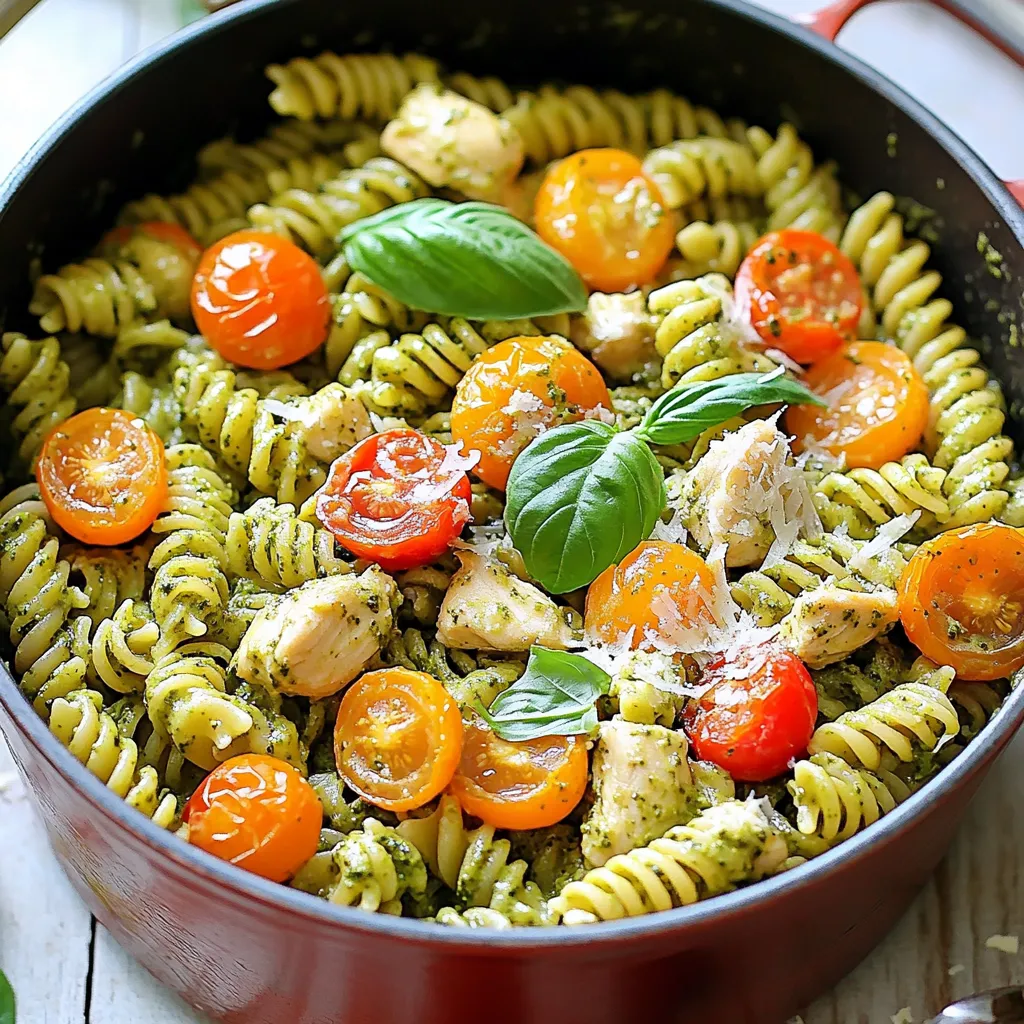
Are you ready to whip up a meal that is easy, tasty, and all in one pot? My One-Pot Creamy
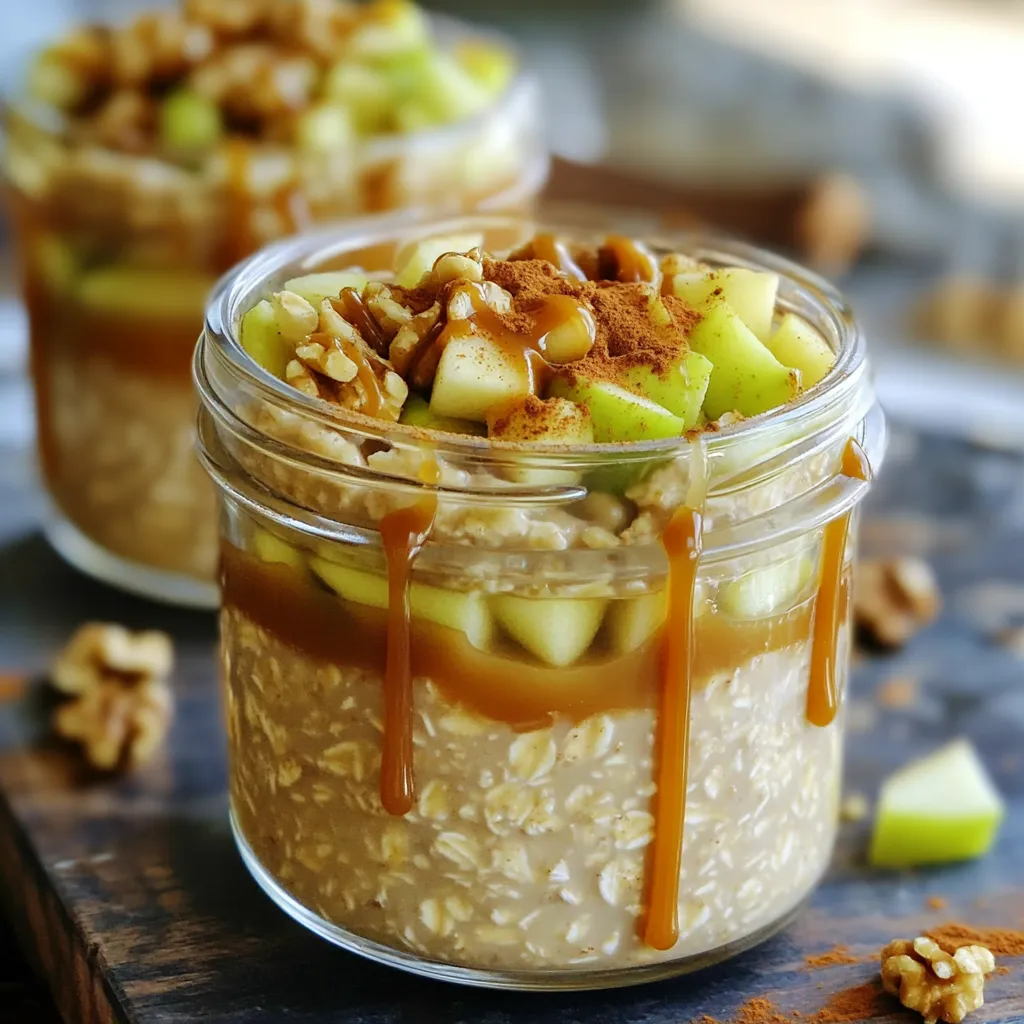
Looking for a delicious and easy breakfast? Caramel Apple Overnight Oats are your answer! This tasty recipe combines sweet apples
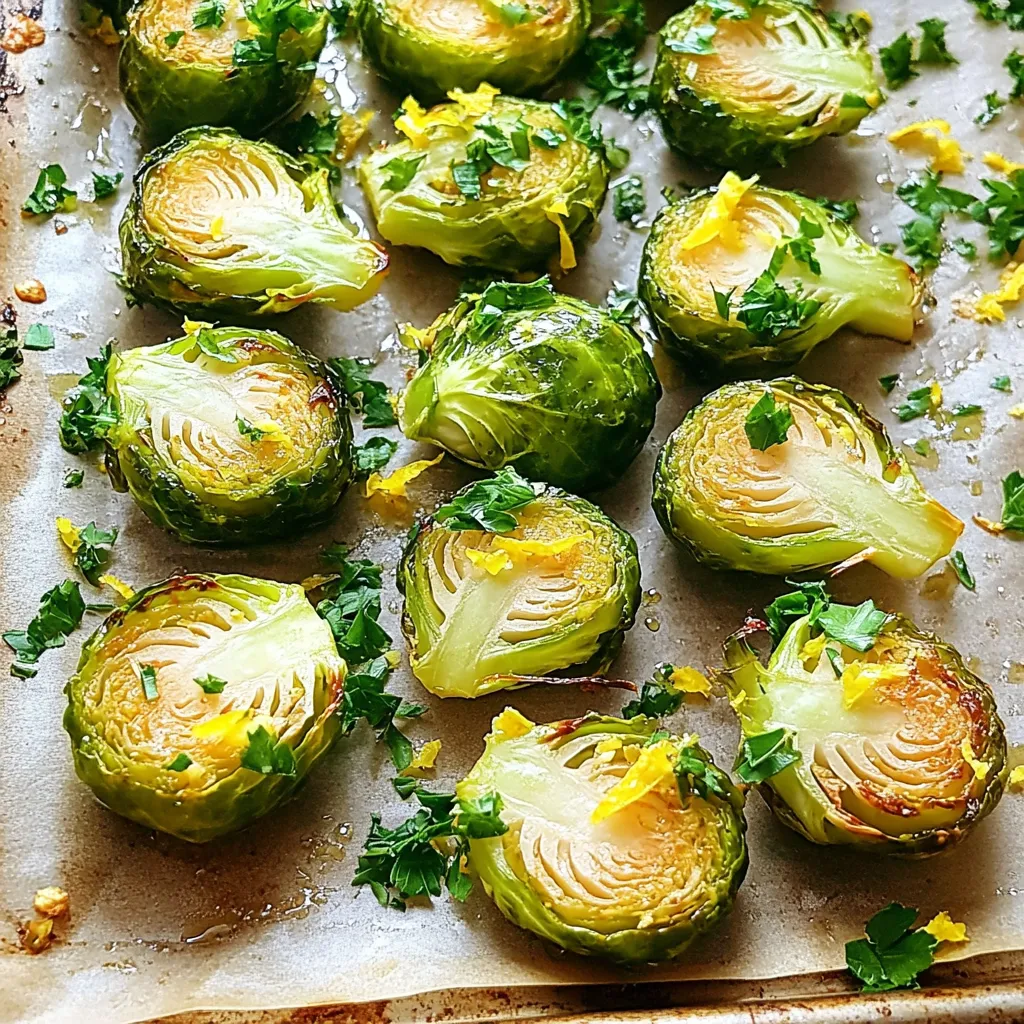
Looking for an easy side dish that steals the show? Garlic Butter Roasted Brussels Sprouts are your answer! With just

If you love fall flavors, you’ll adore these Pumpkin Pecan Muffins! They blend sweet pumpkin and crunchy pecans into a
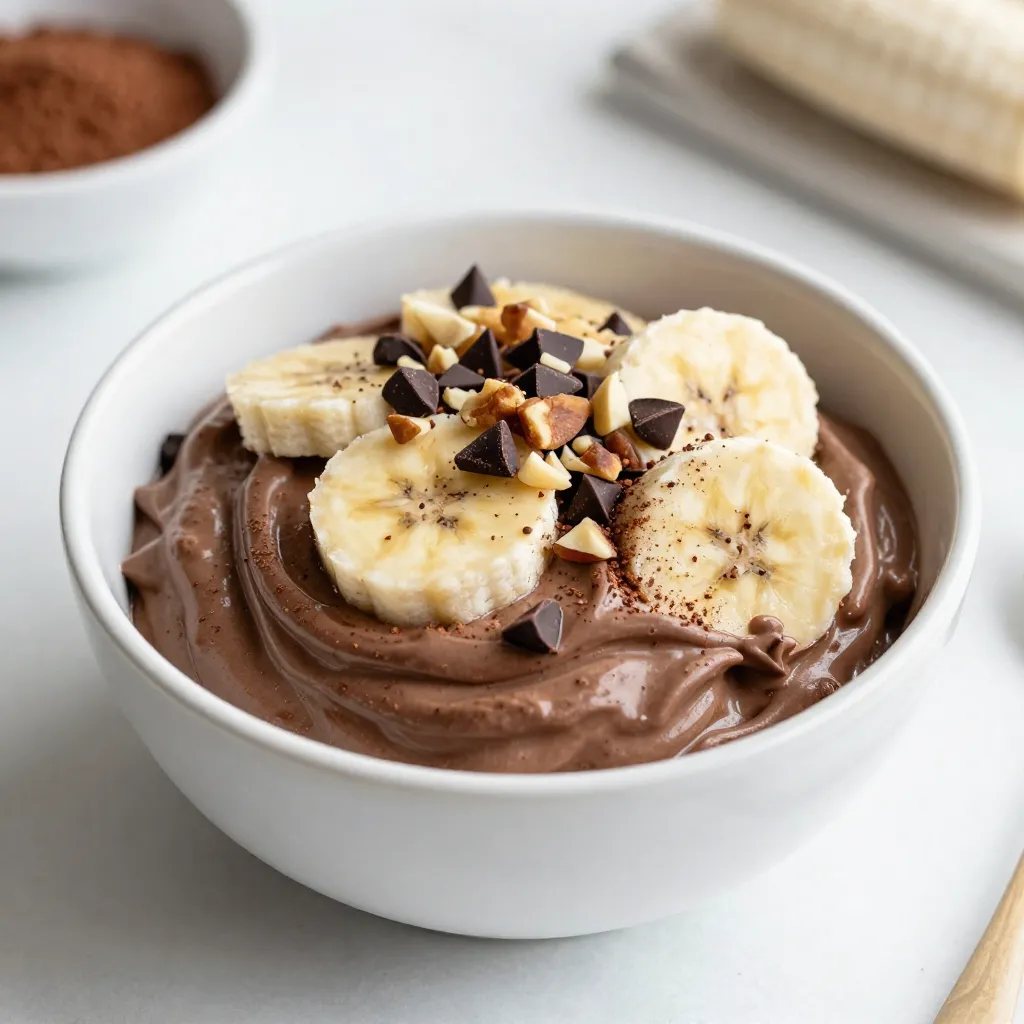
Craving a cool, creamy treat this summer? Look no further than Chocolate Banana Nice Cream! This easy recipe combines just
