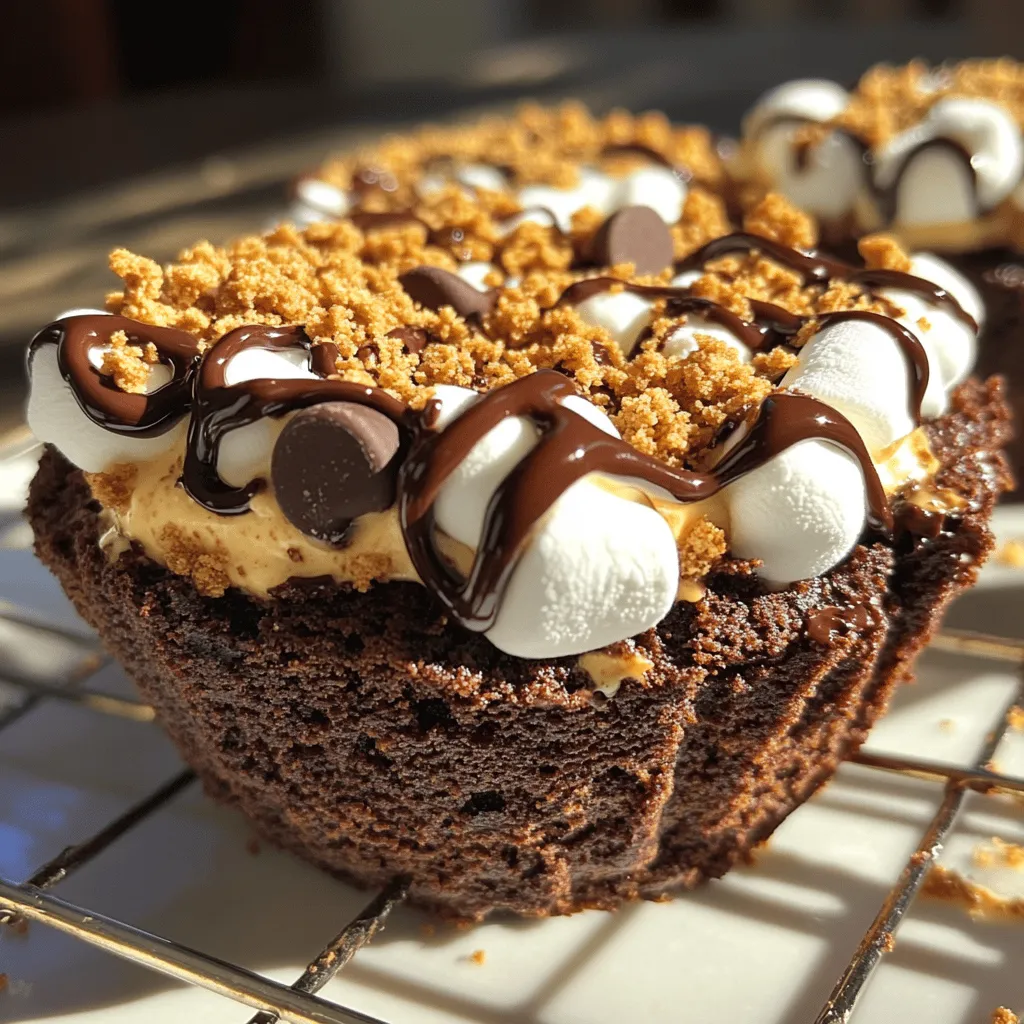
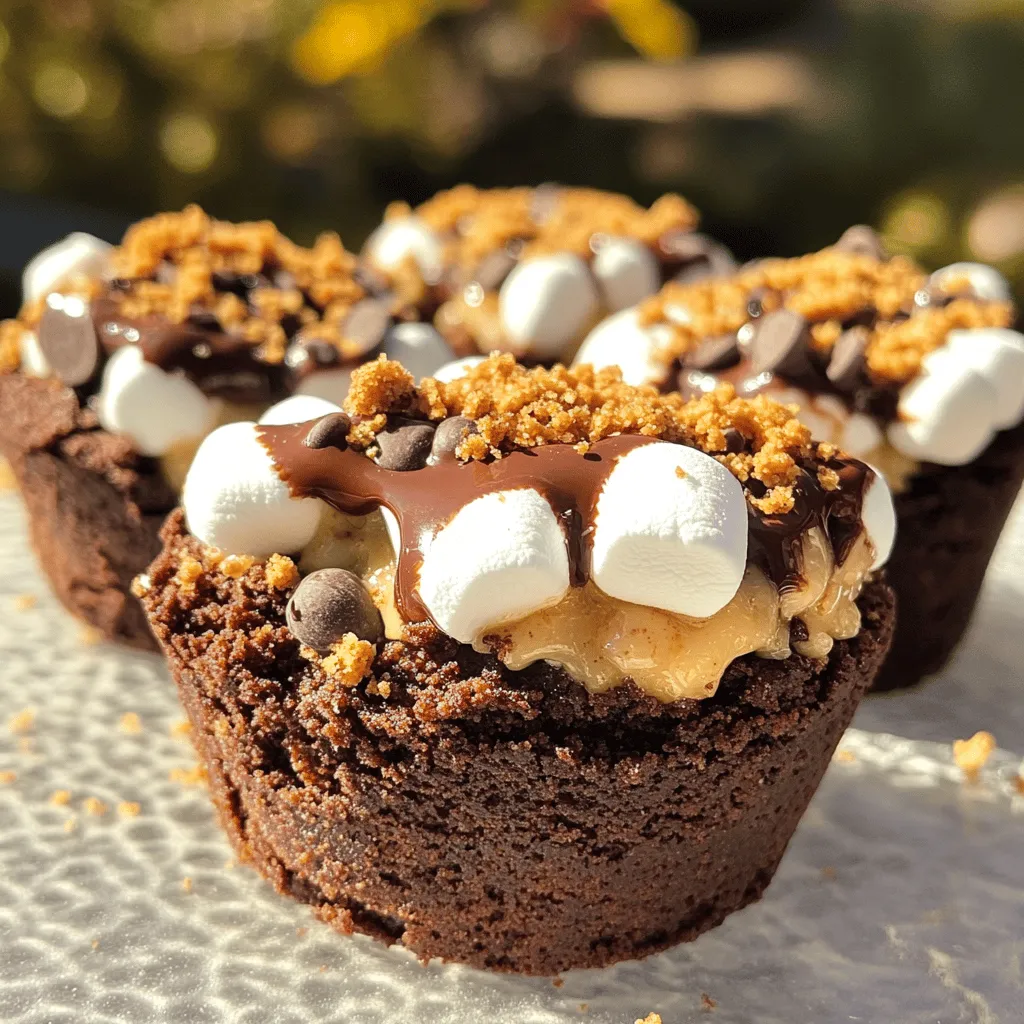
Get ready for a dessert that’s fun to make and even better to eat! These S’mores Stuffed Brownie Cups are your new go-to treat for any occasion. With rich chocolate brownies, crunchy graham crackers, and gooey marshmallows, every bite offers a taste of campfire magic. Let’s dive into this simple recipe and make a sweet memory together! Trust me; you’ll want to share this one!
Ingredients
To make the S’mores Stuffed Brownie Cups, gather these tasty ingredients:
– 1 box of brownie mix (plus ingredients required for preparation: eggs, oil, water)
– 1 cup of graham cracker crumbs
– 1 cup of mini marshmallows
– 1 cup of chocolate chips (choose semi-sweet or milk chocolate)
– 1/4 cup of unsweetened cocoa powder
– 2 tablespoons of granulated sugar
– 1/4 teaspoon of salt
– Cooking spray or softened butter for greasing
These ingredients blend to create a rich and gooey dessert. The brownie mix forms a delicious base. The graham crackers give that classic s’mores crunch. Mini marshmallows melt perfectly for a sweet touch. The chocolate chips add a rich flavor. Cocoa powder enhances the brownie taste. Sugar balances sweetness, while salt enhances all the flavors. Greasing the pan helps keep the cups intact.
Step-by-Step Instructions
Preparation Steps
– Preheat your oven to 350°F (175°C).
– Lightly grease your muffin pan with cooking spray or softened butter.
– In a bowl, mix the brownie mix with eggs, oil, and water. Stir until smooth.
– In another bowl, combine graham cracker crumbs, cocoa powder, sugar, and salt.
Layering the Brownie Cups
– Spoon about one tablespoon of brownie batter into each muffin cup.
– Add the graham cracker mixture on top, filling each cup halfway.
– Sprinkle chocolate chips and mini marshmallows over the graham cracker layers.
– Pour more brownie batter into each cup until they are three-quarters full.
Baking and Cooling
– Place the muffin pan in the oven and bake for 18-20 minutes.
– Check for doneness with a toothpick; it should come out mostly clean.
– Let the cups cool in the pan for 10 minutes before removing them.
– Use a butter knife to loosen the edges if needed.
These steps will guide you to create perfect S’mores Stuffed Brownie Cups.
Tips & Tricks
Best Practices for Perfect Brownie Cups
To get the best brownie cups, focus on texture. You want them soft and chewy. Mix the brownie batter well, so it’s smooth. Lumps can lead to uneven baking. Don’t overmix, though, or they may get tough.
When greasing the muffin pan, use a light hand. I prefer cooking spray for easy coverage. If you use butter, make sure to coat every nook. This helps the brownie cups pop out with ease.
Troubleshooting Common Issues
If your brownie cups overflow, don’t panic. This can happen if you overfill them. Aim for three-quarters full to let them rise without spilling.
If they underbake, check your oven temperature. Ovens can vary. If they seem too gooey, add a couple of extra minutes. Always test with a toothpick. It should come out with a few moist crumbs, not wet batter.
Variations
Flavor Substitutions
You can change the flavor of your brownie cups easily. Try using flavored brownie mixes like peanut butter or caramel. These options add a fun twist to the classic taste. You can also use different types of chocolate chips. Milk chocolate gives a sweet touch, while dark chocolate adds a rich flavor.
Alternative Toppings
Switching up the toppings can make your dessert special. Instead of mini marshmallows, use larger marshmallows or flavored ones like strawberry or caramel. You can also add nuts like walnuts or pecans for a crunchy bite. Fresh fruit, like sliced strawberries or bananas, can bring a fresh taste to your s’mores cups. Explore these options to create your perfect treat!
Storage Info
How to Store Leftovers
After enjoying your s’mores stuffed brownie cups, store leftovers to keep them fresh. Let them cool completely at room temperature. Then, place them in an airtight container. This method helps prevent them from drying out. You can also wrap each cup in plastic wrap for added protection. For longer storage, consider placing them in the fridge.
Reheating Instructions
To enjoy your brownie cups again, reheating is key. Preheat your oven to 350°F (175°C). Place the brownie cups on a baking sheet. Heat for about 5 to 7 minutes. This method keeps the brownie soft and the marshmallows gooey. You can also use the microwave. Heat each cup for about 15-20 seconds. However, this might make them a bit less crisp. Always check to avoid overheating.
FAQs
Common Questions
Can I make these brownie cups ahead of time?
Yes, you can make these brownie cups ahead of time. Prepare them and store them in an airtight container. They will stay fresh for up to three days. You can also freeze them for longer storage. Just thaw before serving.
How do I prevent the brownie cups from sticking?
To prevent sticking, use cooking spray or softened butter to grease the muffin pan. Make sure to coat each cup evenly. This step is key to easy removal.
What can I use instead of graham crackers?
If you don’t have graham crackers, try using crushed vanilla wafers or digestive biscuits. Both options will add a nice flavor and texture to your brownie cups.
Can I adjust the sweetness level?
Absolutely! You can reduce the sugar in the brownie mix or use dark chocolate chips. This will lower the sweetness and add depth to the flavor.
How to serve the S’mores Stuffed Brownie Cups?
Serve these brownie cups warm for the best taste. Drizzle with melted chocolate and sprinkle extra graham cracker crumbs on top. You can also add a scoop of vanilla ice cream on the side. It makes for a wonderful treat!
You learned how to make S’mores Stuffed Brownie Cups. We covered ingredients, simple steps, and storage tips. These brownie cups mix rich flavors with fun textures. If you follow my tips, you’ll create a tasty treat every time. Don’t forget to try new toppings or flavors for variety. Enjoy sharing these delicious cups with friends and family! Happy baking!