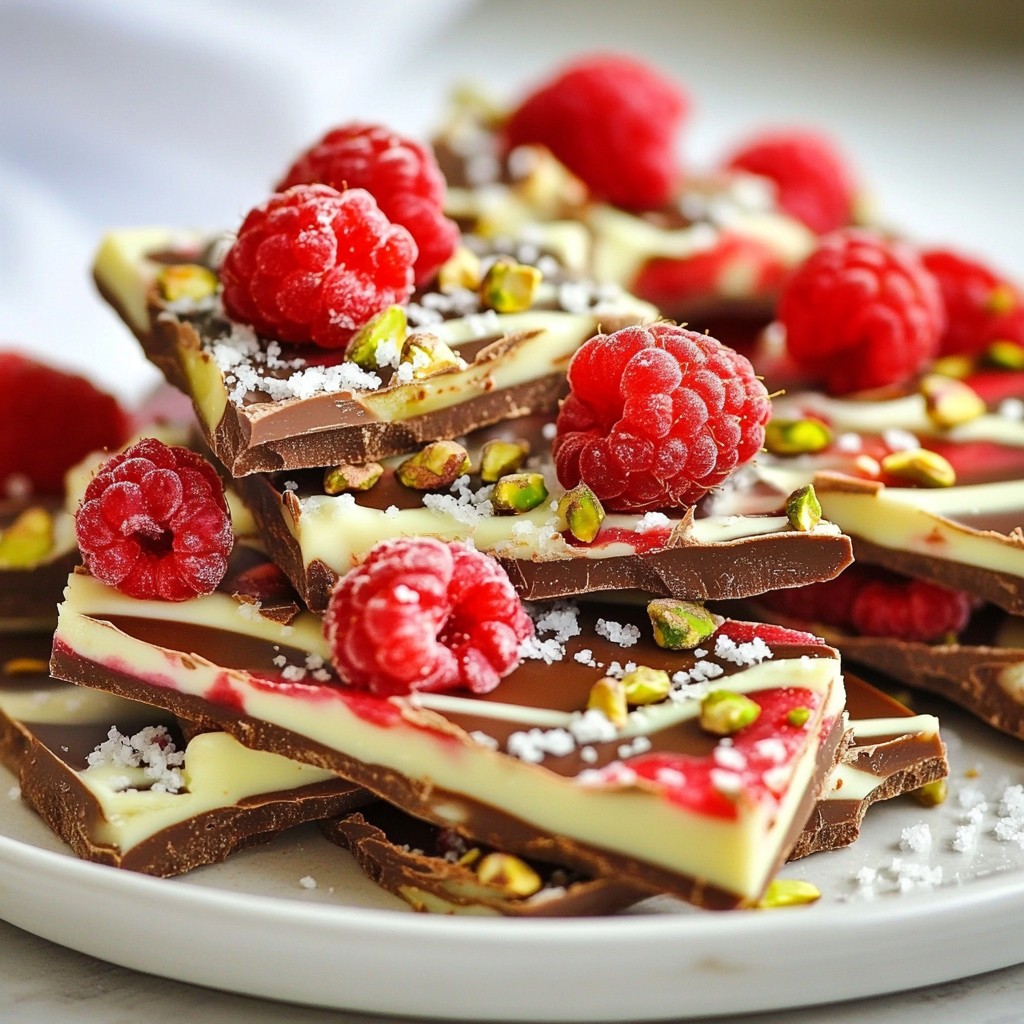
If you crave a sweet treat that brings both flavor and flair, look no further! My Raspberry Chocolate Swirl Bark is a feast for the eyes and the taste buds. This simple recipe mixes rich dark chocolate and bright raspberries into a stunning dessert that anyone can make. Get ready to impress your friends and family with this tasty, fun-to-make treat! Let's dive into the delicious details!
Why I Love This Recipe
- Decadent Flavor Combination: The rich dark chocolate paired with the sweetness of white chocolate and tartness of fresh raspberries creates a delightful balance that is simply irresistible.
- Easy to Make: This recipe requires minimal ingredients and straightforward steps, making it perfect for both novice and experienced bakers.
- Beautiful Presentation: The marbled design and vibrant colors from the raspberries make this bark not only tasty but visually stunning, ideal for any occasion.
- Customizable: You can easily adjust the toppings or chocolate types to suit your preferences, ensuring that every batch can be uniquely yours.
Ingredients
Main Ingredients for Raspberry Chocolate Swirl Bark
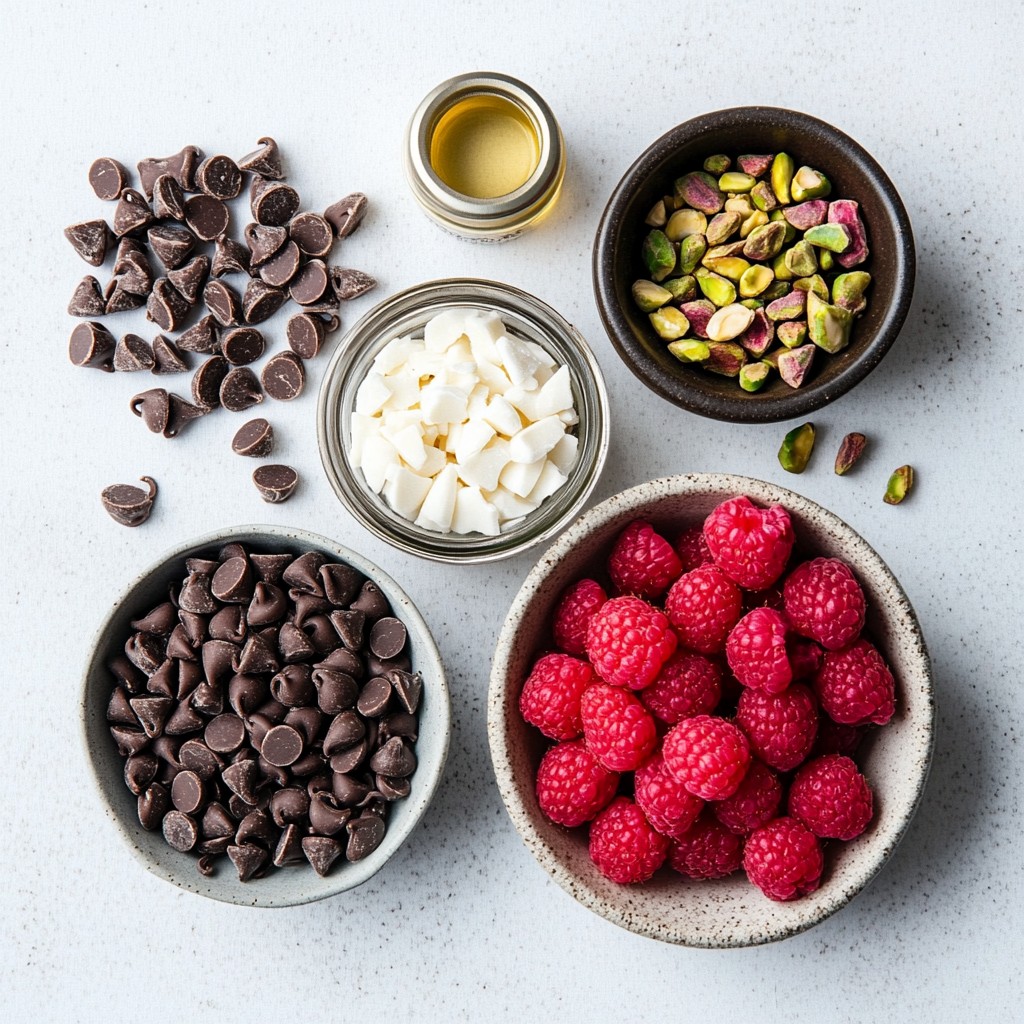
To make this sweet treat, you will need:
- 1 cup dark chocolate chips
- 1 cup white chocolate chips
- 1 cup fresh raspberries
- 1 tablespoon coconut oil
- Sea salt, to taste
Optional Ingredients for Added Flavor
You can enhance your bark with:
- Crushed pistachios
- Crushed almonds
These toppings add a nice crunch and extra flavor. They also make your bark look pretty!
Suggested Ingredient Substitutions
If you can't find fresh raspberries, you can use:
- Thawed, drained frozen raspberries
For a richer taste, try:
- Chopped dark chocolate instead of chocolate chips
For creaminess, use:
- Chopped white chocolate instead of white chocolate chips
These swaps keep the recipe flexible and fun!
Step-by-Step Instructions
Preparing Your Baking Sheet
To start, grab a baking sheet and line it with parchment paper. Make sure the paper covers the entire bottom. This helps the bark come off easily after it sets. Leave enough space to spread the chocolate about 1/4-inch thick.
Melting the Dark Chocolate
Now, take 1 cup of dark chocolate chips and put them in a microwave-safe bowl. Add 1 tablespoon of coconut oil to give it a nice shine. Microwave the bowl in short bursts of 30 seconds. Stir between each burst until the chocolate melts and becomes smooth.
Melting and Drizzling the White Chocolate
Next, repeat the melting process with 1 cup of white chocolate chips in a separate bowl. Keep microwaving in 30-second bursts, stirring well until it is creamy and smooth.
Creating Swirls and Adding Raspberries
Once both chocolates are ready, pour the dark chocolate onto the baking sheet. Spread it out evenly. Then, drizzle the white chocolate over the dark chocolate. Use a skewer or toothpick to create swirls. Be gentle, so the colors stay distinct. Now, take 1 cup of fresh raspberries and press them into the chocolate mix evenly.
Final Toppings and Chilling Process
For extra crunch, you can add crushed pistachios or almonds on top. Lightly sprinkle sea salt over the entire bark. This will boost the flavors and contrast with the sweetness. Next, place the baking sheet in the refrigerator. Chill it for at least 1 hour or until the chocolate is hard.
Breaking the Bark into Servings
After chilling, take the bark out of the fridge. Use your hands or a knife to break it into pieces. You can make them any size you like for serving. Enjoy this sweet treat!
Tips & Tricks
How to Achieve the Perfect Swirl Effect
To get that perfect swirl, you need to be gentle. After drizzling the white chocolate on the dark chocolate, use a skewer or toothpick. Lightly drag it through both chocolates. Make sure to swirl, not mix. The goal is to keep the colors separate but blend them artfully.
Recommended Chocolate Types for Best Flavor
For the best taste, I suggest using high-quality chocolate. Dark chocolate adds richness, while white chocolate brings creaminess. You can use chips or chopped bars. If you want a deeper taste, opt for dark chocolate with a higher cocoa percentage, like 70% or more. This will enhance the flavor of your bark.
Techniques for Properly Melting Chocolate
Melting chocolate can be tricky. Always use a microwave-safe bowl. Start with the dark chocolate and coconut oil. Microwave in short bursts of 30 seconds, stirring each time. This method helps prevent burning. For white chocolate, follow the same process. If the chocolate becomes too thick, add a little more coconut oil to keep it smooth and glossy.
Pro Tips
- Quality Chocolate Matters: Use high-quality chocolate for the best flavor and texture. Look for brands with a high cocoa content for a richer taste.
- Chill the Bark Properly: Ensure the bark is chilled completely before breaking it into pieces; this will help maintain its shape and prevent it from melting too quickly.
- Experiment with Flavors: Don't hesitate to add different toppings or flavors, such as orange zest or peppermint extract, to customize your bark to your liking.
- Store Correctly: Keep the chocolate bark in an airtight container at room temperature or in the fridge to maintain its freshness and prevent it from becoming too soft.
Variations
Alternative Fruit Add-ins for Different Flavors
You can change the fruit in your bark. Try strawberries or blueberries for a new taste. Dried fruits like cranberries or apricots also work well. Each fruit adds a special twist. For a tropical vibe, use pineapple or mango. These fruits bring freshness and unique flavors to your bark.
Customizing with Nuts and Other Mix-ins
Nuts add crunch and flavor. You can use crushed pistachios, almonds, or walnuts. Each nut offers a different taste. If you want more texture, mix in some crispy rice cereal. You can also add sprinkles or coconut flakes for fun. Customize your bark to match your style!
Adjusting Sweetness: Using Different Chocolate
Choose different chocolates to change the taste. Dark chocolate is rich, while white chocolate is sweet. You can mix both for a balanced flavor. If you like it sweeter, use more white chocolate. For less sweetness, add more dark chocolate. Adjust the chocolate to fit your cravings.
Storage Info
Best Ways to Store Raspberry Chocolate Swirl Bark
To keep your raspberry chocolate swirl bark fresh, store it in an airtight container. Place layers of parchment paper between pieces to avoid sticking. This helps maintain the bark's texture and makes it easy to grab a piece when you want a treat.
Shelf Life and Freezing Tips
Raspberry chocolate swirl bark lasts about two weeks at room temperature. If you want it to last longer, freeze the bark. Wrap it tightly in plastic wrap and then in foil. This way, you can enjoy it for up to three months. Just remember to thaw it in the fridge before eating.
How to Maintain Texture When Storing
To keep the bark smooth, avoid humidity. Store it in a cool, dry place. If you live in a humid area, I suggest refrigerating it. This will help keep the chocolate from getting soggy. Always let it sit at room temperature for a bit before serving. This way, you’ll enjoy its full flavor and texture.
FAQs
Can I use frozen raspberries for this recipe?
Yes, you can use frozen raspberries. Just thaw them first. Drain any excess juice. This helps keep the bark from getting soggy. The flavor will still be great!
How do I prevent chocolate from seizing during melting?
To prevent chocolate from seizing, make sure your bowls and utensils are dry. Any water can cause the chocolate to clump. Use short bursts in the microwave, stirring in between. This keeps the heat even and smooth.
What’s the best way to cut the bark into pieces?
Once the bark is set, use a sharp knife or your hands. For clean cuts, warm the knife slightly in hot water first. If you prefer rustic pieces, just break it apart with your hands.
Can I make this recipe vegan-friendly?
Yes, you can make this recipe vegan. Use dairy-free dark and white chocolate chips. Always check the labels to ensure they are vegan. This way, everyone can enjoy the bark!
This post covered how to make delicious raspberry chocolate swirl bark. We looked at key ingredients, step-by-step instructions, and helpful tips. You learned how to customize flavors and ensure the best results.
As you try this recipe, remember to have fun and experiment. Making bark is easy and tasty! Enjoy sharing your creations with others. Happy baking!