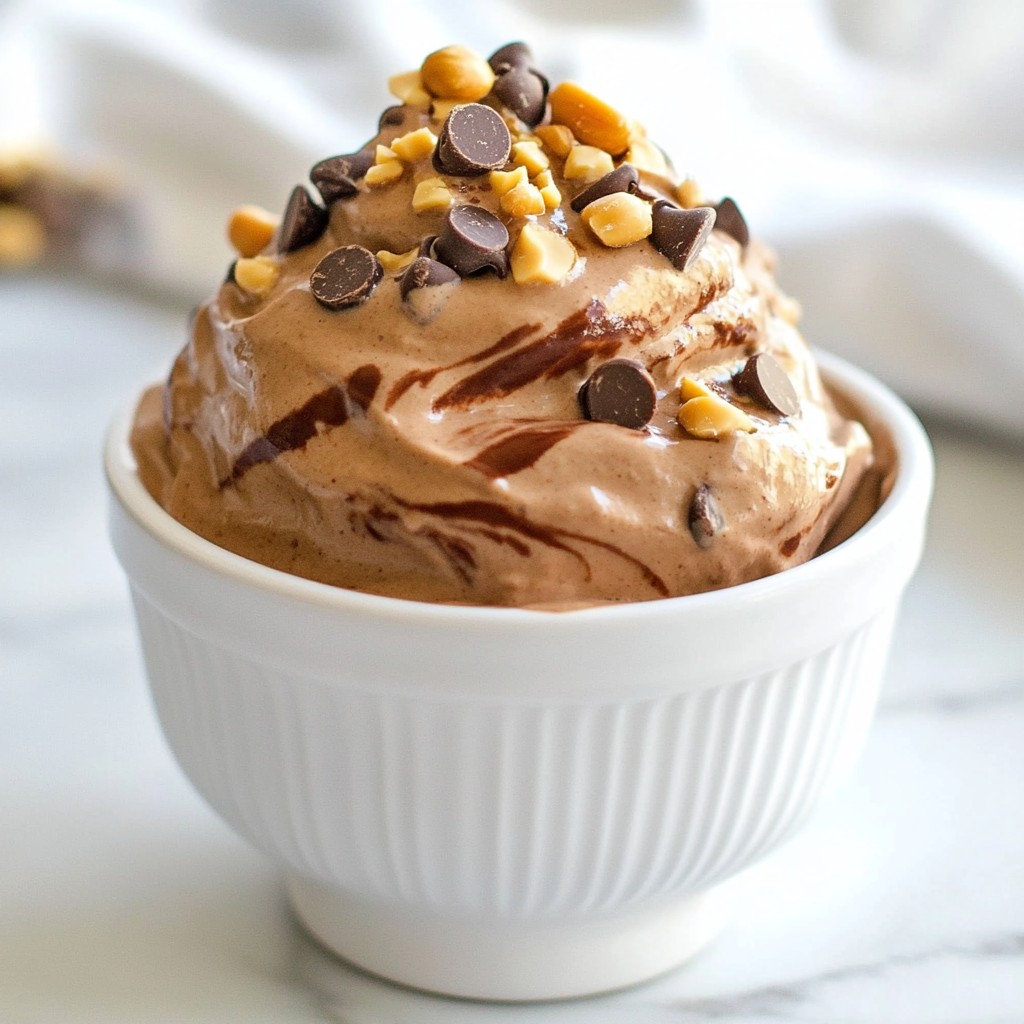
Craving a tasty treat that’s both easy and healthy? Look no further! This Peanut Butter Chocolate Nice Cream is your go-to choice. With just a few simple ingredients, you can whip up a creamy dessert that delights your taste buds. Plus, it’s a fun way to enjoy bananas and peanut butter. Get ready to impress your friends and family with this guilt-free treat that everyone will love!
Why I Love This Recipe
- Delicious Flavor Combination: The rich taste of peanut butter paired with chocolate creates a delightful treat that satisfies any sweet tooth.
- Healthy Ingredients: Made with ripe bananas and natural peanut butter, this Nice Cream is a guilt-free dessert that packs a nutritional punch.
- Easy to Make: With just a few simple steps, you can whip up this frozen dessert in no time, making it perfect for any occasion.
- Customizable Toppings: Add your favorite toppings like berries or nuts to make each serving unique and tailored to your taste.
Ingredients
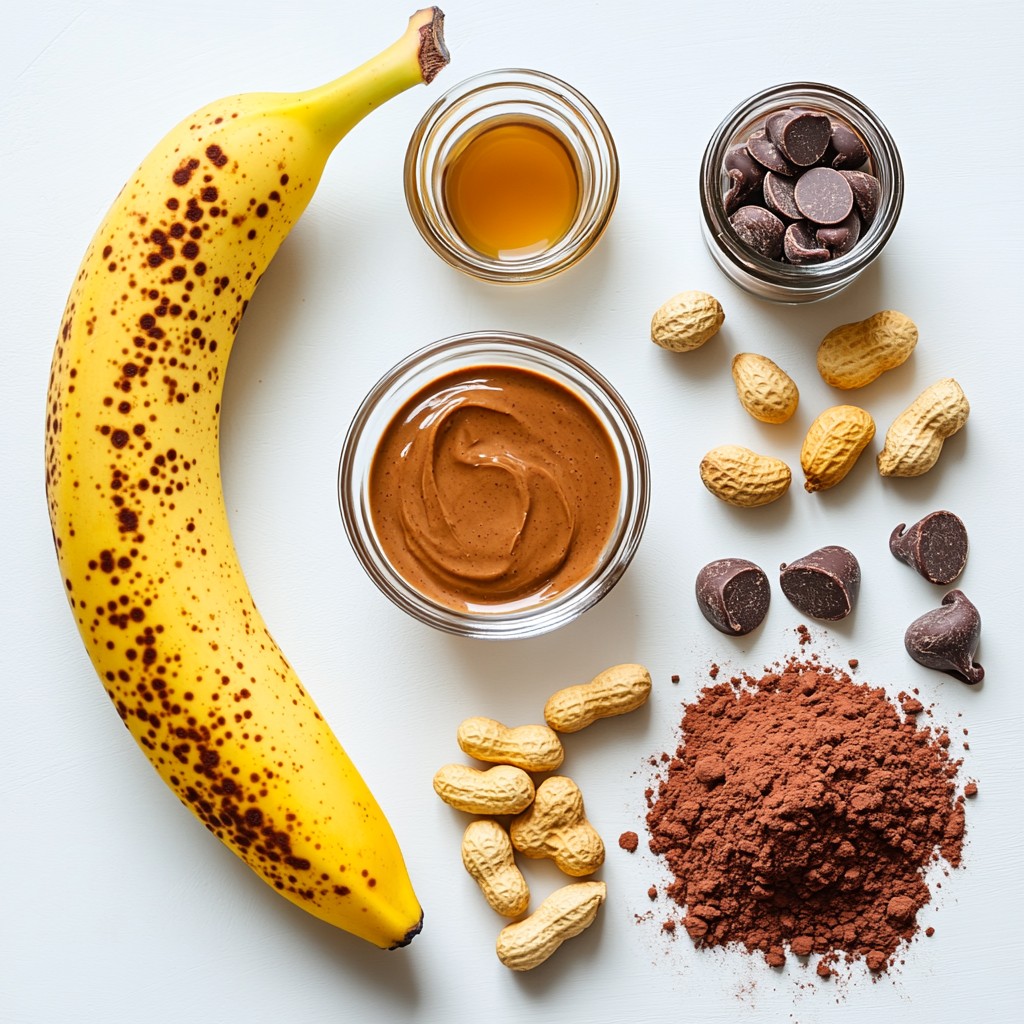
List of Ingredients
- 3 ripe bananas, sliced and frozen
- 1/2 cup natural peanut butter
- 1/4 cup unsweetened cocoa powder
- 1/4 cup maple syrup (or honey)
- 1 teaspoon pure vanilla extract
- A pinch of sea salt
- Optional toppings: chopped peanuts, dark chocolate chips, fresh berries
This recipe is simple and fun. You only need a few ingredients to create a tasty treat. Start with ripe bananas. The riper they are, the sweeter your Nice Cream will be. Slice them and freeze them. This makes them blend better into a smooth texture.
Next, grab some natural peanut butter. It gives a rich, nutty flavor. Check that it has no added sugar or oils for the best taste. Unsweetened cocoa powder adds a deep chocolate flavor. It balances well with the sweetness of the bananas and syrup.
For sweetness, you can use maple syrup or honey. Both work great. Just remember to adjust the amount based on your taste. A teaspoon of pure vanilla extract adds warmth and depth to the flavor. Lastly, a pinch of sea salt enhances all the other flavors.
You can add toppings for some fun. Chopped peanuts add crunch. Dark chocolate chips bring extra sweetness. Fresh berries add color and freshness. Mix and match the toppings to make your Nice Cream unique!
Step-by-Step Instructions
Prepping the Bananas
Start with frozen banana slices. This is key to making nice cream. I like to slice ripe bananas and freeze them ahead of time. Ripe bananas add sweetness and creaminess. If your bananas aren't frozen, the nice cream won’t have that soft texture.
Blending the Base
Next, combine the ingredients in your food processor. Place the frozen bananas in first, then add the peanut butter, cocoa powder, maple syrup, vanilla extract, and sea salt. Blend on high speed until your mixture is smooth and creamy. This usually takes about 1-2 minutes. If it feels too thick, pause to scrape down the sides.
Adjusting Sweetness
Now, it's time to taste your nice cream. If you want it sweeter, add more maple syrup. Do this in small amounts, blending well each time. This way, you find the perfect balance. Remember, it’s all about what you enjoy!
Freezing the Nice Cream
After blending, transfer the nice cream into an airtight container. Use a spatula to smooth the top. Cover it tightly with a lid. Freeze it for at least 2-3 hours. This will help it firm up nicely. When you're ready to serve, just scoop and enjoy!
Tips & Tricks
Achieving Creamy Texture
To make your Peanut Butter Chocolate Nice Cream smooth, use ripe bananas. The riper the banana, the sweeter and creamier it will be. Look for bananas with brown spots. They blend better and taste great!
When mixing, I suggest using a food processor. Start on medium speed, then pulse it. This helps break down the bananas quickly. Then, switch to high speed once you add the other ingredients. This method creates a fluffy texture similar to soft-serve ice cream.
Using a Food Processor
A food processor is key for this recipe. It blends the frozen bananas and other ingredients well. Make sure to scrape down the sides as you blend. This ensures everything mixes evenly.
If you don’t have a food processor, don’t worry! You can use a high-powered blender. Just be sure to stop and stir the mixture often. You can also mash the bananas by hand and mix in the other ingredients with a fork, but this will take longer.
Serving Suggestions
When serving, make it fun! Use colorful bowls to add a pop of joy. Scoop generous amounts into each bowl. Top it with chopped peanuts for crunch, dark chocolate chips for richness, or fresh berries for a fruity touch.
You can also pair your Nice Cream with other desserts. It goes well with brownies or as a layer in a parfait. This way, you can mix flavors and textures for a delightful treat!
Pro Tips
- Use Overripe Bananas: The riper the bananas, the sweeter and creamier your Nice Cream will be. Look for bananas with brown spots for the best flavor.
- Experiment with Nut Butters: While peanut butter is delicious, you can also try almond butter or cashew butter for a different flavor profile.
- Make it Vegan: Substitute maple syrup for honey to keep this recipe completely plant-based while still being sweet and delicious.
- Serve Immediately: If you prefer a softer texture, enjoy the Nice Cream right after blending. It can be a delightful soft-serve treat!
Variations
Flavor Alternatives
You can change the flavor of your Nice Cream easily. Try using different nut butters. Almond butter brings a new twist, while cashew butter adds creaminess. Each nut butter changes the taste and feel, so get creative!
Sweeteners can also be swapped out. If you want a different flavor, try agave syrup or coconut sugar. Each sweetener has its own unique taste that you may love.
Healthier Options
Want to make this treat healthier? Reducing the sugar is one way. You can cut back on the maple syrup or honey. Remember, the bananas add natural sweetness too!
Adding protein or fiber is another option. You can mix in a scoop of protein powder or some chia seeds. These ingredients boost nutrition and keep you full longer.
Dietary Adjustments
Making this Nice Cream vegan is simple. Use maple syrup instead of honey, and you’re set! All the other ingredients are already plant-based.
If you need it to be gluten-free, this recipe is safe. Just be sure your toppings, like chocolate chips, are gluten-free. You can also check for allergy-friendly ingredients, like sunbutter for nut allergies. Enjoy without worries!
Storage Info
Best Storage Practices
- Use an airtight container to keep your Nice Cream fresh.
- Glass or plastic containers work well.
- Make sure to leave some space at the top. This allows the Nice Cream to expand when frozen.
- To avoid freezer burn, cover the surface with plastic wrap before sealing.
Shelf Life
- Peanut Butter Chocolate Nice Cream lasts about 1 month in the freezer.
- It may stay safe beyond a month, but the flavor and texture worsen.
- Signs it’s gone bad include ice crystals forming or a strange smell.
Reusing Leftovers
- Turn leftover Nice Cream into smoothies. Just blend it with milk or yogurt.
- You can also use it as a topping for pancakes or waffles.
- Try mixing it into oatmeal for a tasty breakfast treat.
FAQs
What is Peanut Butter Chocolate Nice Cream?
Peanut Butter Chocolate Nice Cream is a creamy, dairy-free dessert made from frozen bananas. This treat blends ripe bananas, peanut butter, cocoa powder, and a sweetener to create a rich, chocolaty flavor. It is smooth and fluffy, similar to soft-serve ice cream, making it a delightful choice for hot days or a sweet snack.
Can I use regular peanut butter?
Yes, you can use regular peanut butter, but natural peanut butter is best. Natural peanut butter has no added sugars or oils, giving it a pure taste. Regular peanut butter often contains added ingredients, which can change the flavor and texture of your Nice Cream. If you use regular peanut butter, expect a sweeter taste and possibly a different creaminess.
How can I make this without a food processor?
If you don’t have a food processor, you can use a blender or a hand mixer. To do this, thaw the frozen bananas for a few minutes so they soften slightly. This helps your blender or mixer break them down more easily. You might need to scrape down the sides often to ensure everything blends well.
Is this recipe suitable for kids?
Yes, this recipe is great for kids! It uses ripe bananas as the main ingredient, which provides natural sweetness and potassium. The peanut butter adds protein and healthy fats, making it a nutritious treat. A serving size of about half a cup is perfect for kids. You can also add toppings like berries for extra nutrition and color.
In this blog post, we explored how to make Peanut Butter Chocolate Nice Cream. You learned about the key ingredients, easy steps, and important tips. We discussed variations and storage tips for your nice cream. Remember, using ripe bananas gives the best texture and flavor. This treat is simple, fun, and great for all ages. Now, gather your ingredients and start blending. Enjoy a delicious dessert that's healthy and satisfying!