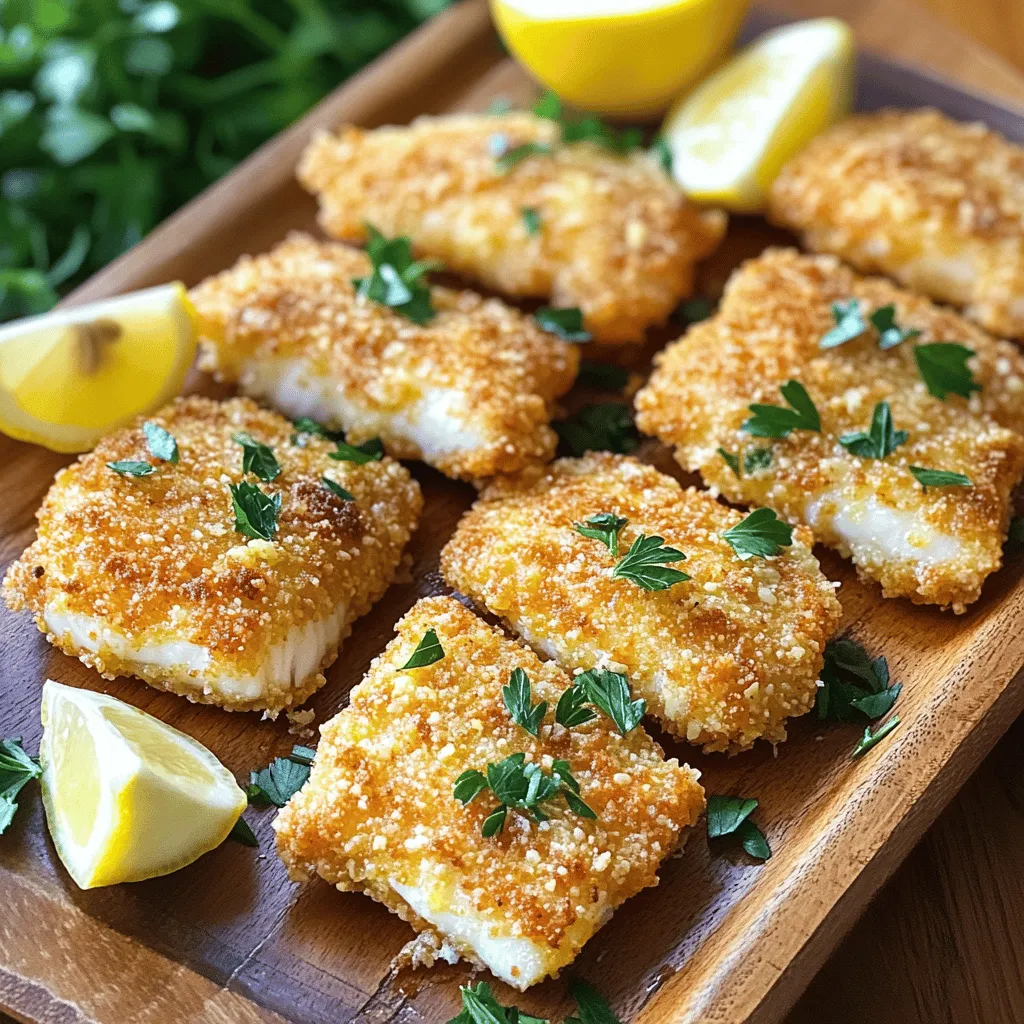
If you’re craving a simple yet flavorful dish, Parmesan Crusted Tilapia is the answer! This recipe brings together tender tilapia fillets, crispy breadcrumbs, and rich parmesan cheese for a delightful meal. You’ll love how easy it is to make this dish, perfect for weeknight dinners. Join me as I walk you through the tasty ingredients and simple steps to create a dish that will impress your family and friends. Let’s get started!
Ingredients
Main Ingredients
– 4 tilapia fillets (approximately 6 ounces each)
– 1 cup freshly grated Parmesan cheese
– 1 cup panko breadcrumbs for extra crunch
Seasonings
– 2 garlic cloves, finely minced
– 1 teaspoon dried Italian herb blend (combining oregano, basil, and thyme)
– 1/2 teaspoon red pepper flakes (optional for a spicy kick)
Binding Ingredients
– 2 large eggs
– 1 tablespoon fresh lemon juice
– 2 tablespoons olive oil for drizzling
For this dish, you need fresh and simple ingredients. Tilapia fillets are mild and flaky, making them perfect for this recipe. The Parmesan cheese gives a rich, nutty flavor that pairs well with the fish. Panko breadcrumbs add a delightful crunch.
You can use garlic to build a nice base flavor. Italian herbs enhance the dish with a classic taste. If you like heat, try adding red pepper flakes. They give a nice kick, but it’s optional.
For binding, eggs and lemon juice help the crust stick well. Olive oil adds moisture and helps the crust become golden brown.
Once you gather these ingredients, you’re ready to create a tasty meal.
Step-by-Step Instructions
Preheat and Prepare
– Preheat oven to 400°F (200°C).
– Prepare a baking sheet with parchment paper.
Preheating the oven helps ensure even cooking. The parchment paper stops the fish from sticking. This step makes clean-up easier, too.
Prepare the Crust Mixture
– Combine dry ingredients in a shallow dish.
– Mix until well combined.
In a shallow dish, mix the grated Parmesan cheese, panko breadcrumbs, minced garlic, Italian herbs, optional red pepper flakes, and a pinch of salt and pepper. This mixture gives the fish a rich flavor.
Dipping the Tilapia
– Whisk eggs and lemon juice.
– Coat fillets in egg mixture and then breadcrumbs.
In a bowl, whisk the eggs and lemon juice until smooth. Take each tilapia fillet and dip it into the egg mix. Let excess egg drip off before moving to the breadcrumb mixture. Press the fillet into the crumbs so they stick well.
Baking the Tilapia
– Arrange fillets on baking sheet.
– Drizzle with olive oil.
– Bake until golden brown.
Place the coated fillets on the prepared baking sheet. Drizzle olive oil over each fillet for extra crispiness. Bake for 15-20 minutes. The fish should be opaque and flaky, and the crust should turn golden brown.Enjoy these steps for a tasty meal!
Tips & Tricks
Achieving the Perfect Crispy Crust
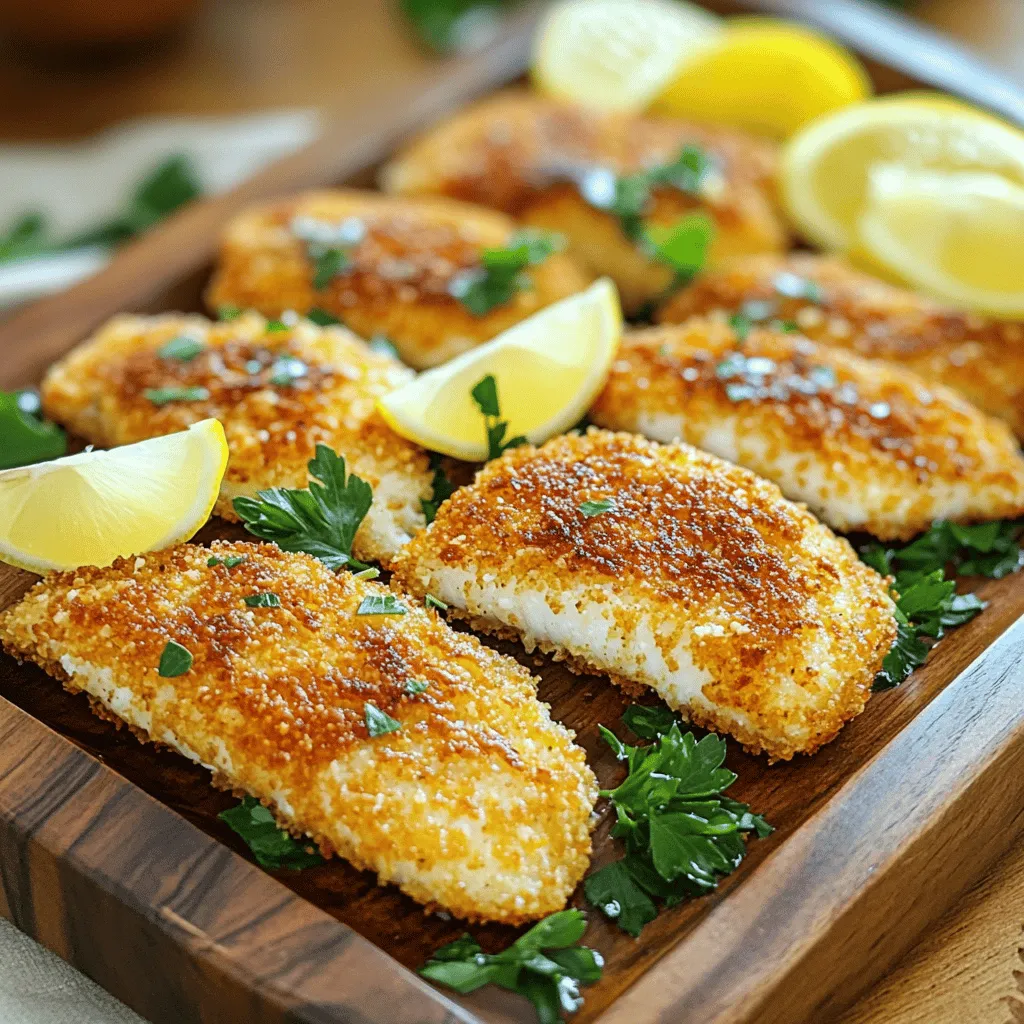
To get that lovely crispy crust, use freshly grated Parmesan. It melts better and adds great flavor. Always ensure you coat the fish evenly with the breadcrumb mixture. This helps every bite stay crunchy. Press down gently when you coat the fillets. This makes sure the crust sticks well.
Cooking Time Adjustments
If you use frozen tilapia, adjust your cooking time. Frozen fillets need a few extra minutes in the oven. Always check for doneness by looking for opaque fish that flakes easily with a fork. This ensures your tilapia is cooked just right.
Presentation Suggestions
Garnishing your tilapia with fresh herbs adds color and flavor. Parsley or dill works well. Serve the tilapia with lemon wedges for a fresh twist. Guests can squeeze lemon juice over the fish, making each bite bright and tasty.
Variations
Flavor Enhancements
Adding citrus zest can really boost the flavor. I love using lemon or lime zest. Just mix it into the cheese and breadcrumb mix. The zest adds a bright, fresh taste that pairs well with tilapia. You can also try other zests, like orange, for a unique twist.
Incorporating different cheese types can add depth. Try using Pecorino Romano or a blend of cheeses. Each type brings its own flavor profile. Mixing cheese can make the dish richer and more exciting.
Preparing Alternative Fish
If you want to switch things up, you can use cod or salmon. Both fish can work great in this recipe. Cod has a mild taste and flaky texture. Salmon offers a richer flavor.
When using cod, follow the same steps as for tilapia. For salmon, you might need a slightly longer cook time. Keep an eye on the fish, as it should flake easily when done.
Cooking Methods
The air fryer is a fantastic option for this dish. It cuts down on cooking time and gives you a nice crisp. Set your air fryer to 400°F (200°C) and cook for about 10-12 minutes. Check for doneness to ensure it’s flaky and golden.
If you prefer pan-searing, you can do that too. Heat a non-stick skillet over medium heat and add a little oil. Cook the fillets for about 4-5 minutes on each side. This method gives a lovely crust and a rich flavor.
Storage Info
Leftovers
To keep leftovers fresh, store the tilapia in an airtight container. Place it in the fridge. This method helps maintain its flavor and texture. You can store it for up to three days. If you want to keep it longer, freezing is a great option.
Reheating Instructions
For the best crispy texture, reheat in the oven. Preheat your oven to 375°F (190°C). Place the tilapia on a baking sheet. Heat for about 10-12 minutes, until warmed through. This method revives the crunchiness of the crust.
If you’re in a hurry, you can use a microwave. Place the tilapia on a microwave-safe dish. Cover it with a damp paper towel. Heat for 1-2 minutes on medium power. This method is quick but may soften the crust.
Freezing Recommendations
You can freeze tilapia before cooking. Wrap each fillet tightly in plastic wrap. Then, place them in a freezer bag. They last for up to three months. When ready, just thaw in the fridge overnight before cooking.
If you have cooked tilapia left, it can also be frozen. Allow it to cool completely. Then, wrap it tightly and store it in a freezer bag. This will help preserve its flavor. Cooked tilapia can stay good for up to two months in the freezer.
FAQs
What Can I Serve with Parmesan Crusted Tilapia?
The best side dishes include:
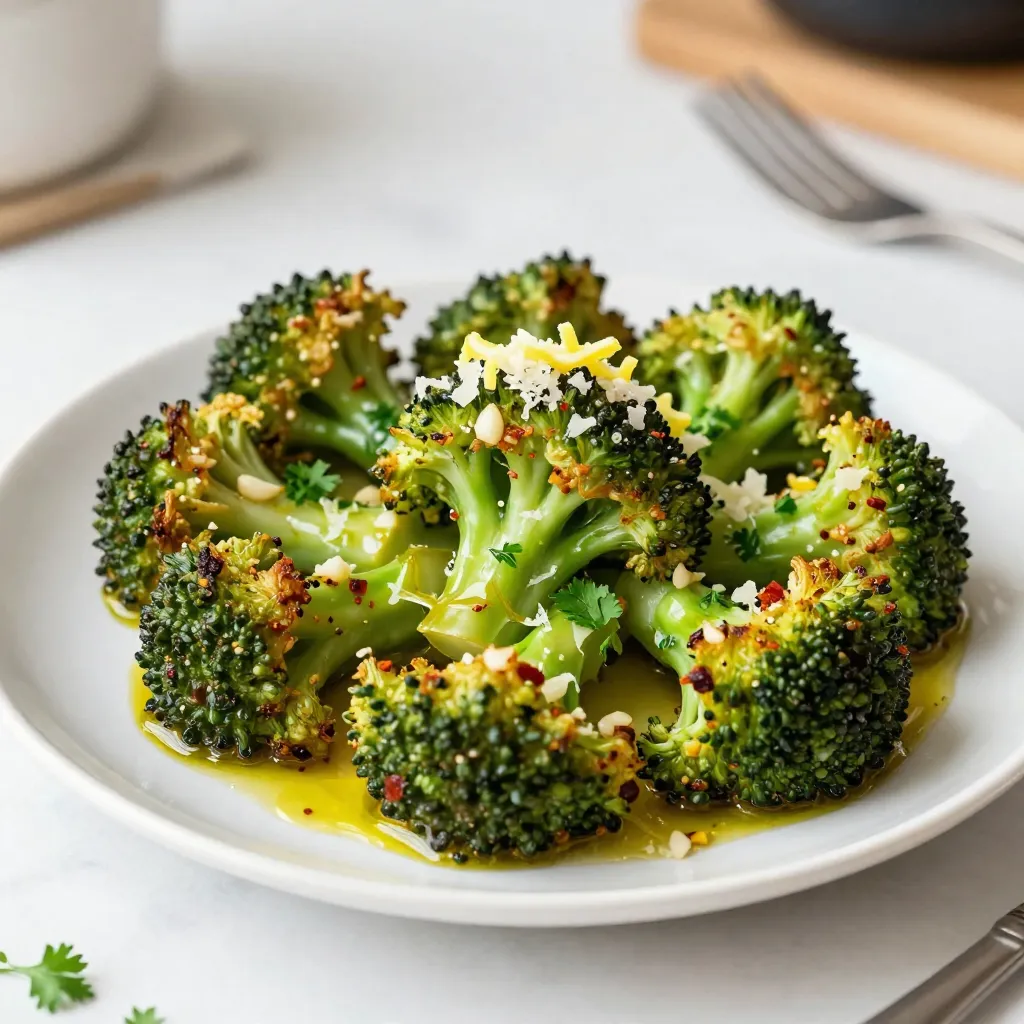
– Steamed broccoli
– Roasted asparagus
– Garlic mashed potatoes
– Quinoa salad
– Simple green salad
These sides add flavor and balance to the meal. They bring color and nutrients too.
Can I Use Other Types of Fish?
Yes, you can use other fish. Here are some options:
– Cod
– Haddock
– Salmon
– Snapper
Each fish offers a unique taste. Adjust cooking times based on thickness.
How Can I Make This Recipe Gluten-Free?
To make this dish gluten-free, use:
– Gluten-free breadcrumbs
– Ground almonds or nuts
These options create a crispy crust without gluten. They also add a nice flavor twist.
Is Parmesan Crusted Tilapia Healthy?
Parmesan crusted tilapia is a healthy choice. It offers:
– High protein content
– Omega-3 fatty acids from fish
– Vitamins from herbs and seasonings
This dish is low in carbs and packed with nutrients.
How to Make the Crust Even Crispier?
For a crispier crust, try these tips:
– Use fresh Parmesan instead of pre-grated.
– Double-coat the fish with egg and breadcrumbs.
– Bake on a wire rack.
These methods help achieve that perfect crunch. Enjoy the texture with each bite!
This blog post shared how to make delicious Parmesan crusted tilapia. You learned about the key ingredients, like tilapia, cheese, and breadcrumbs. The step-by-step guide helped you see how to prepare and bake the fish. Tips for perfecting the crust and variations expanded your options.
Keep these methods in mind for tasty meals. With practice, you’ll create dishes that impress everyone. Enjoy your cooking journey!
