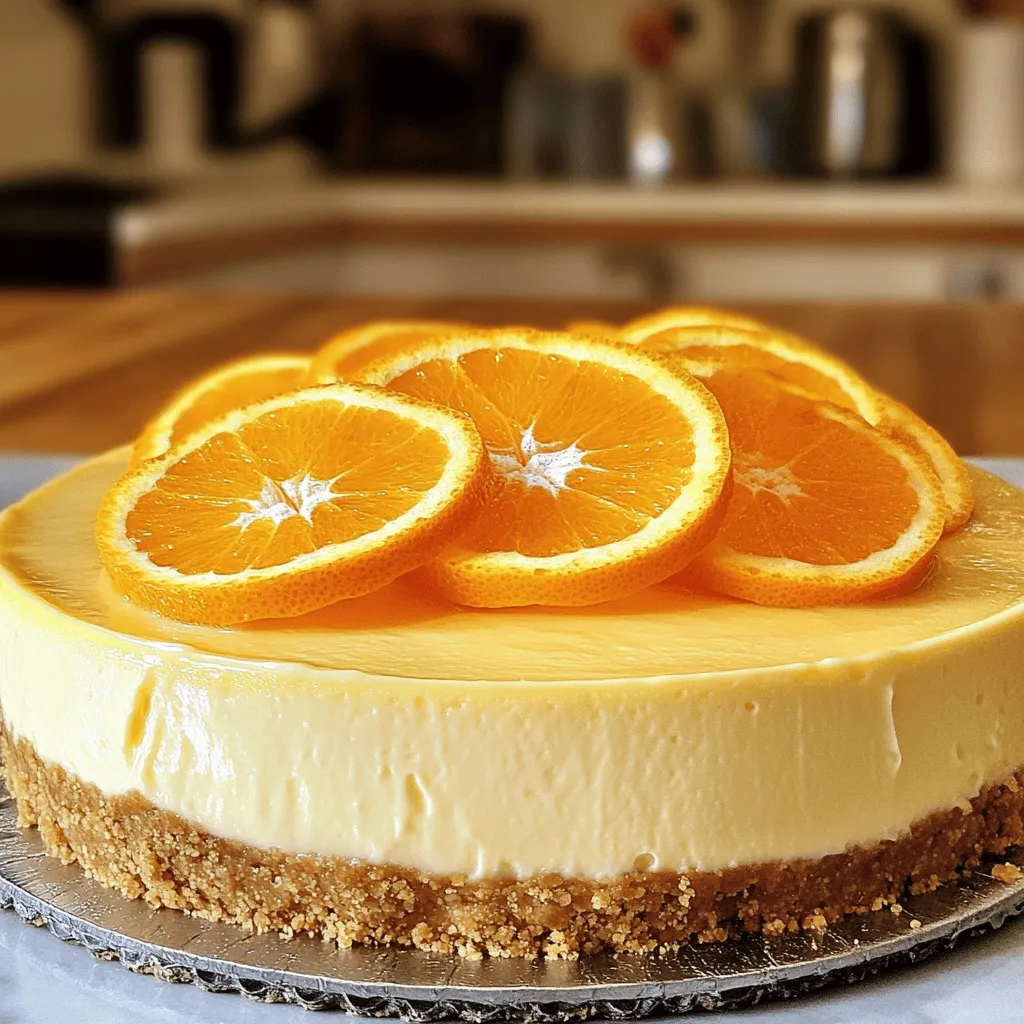
Ready to satisfy your sweet tooth? Join me as we whip up a No-Bake Orange Creamsicle Cheesecake Delight! This easy, no-bake recipe brings back summer vibes with every creamy bite. You’ll love how simple it is to prepare, and I’ll share tips to make it perfect. Best of all, it’s a treat everyone can enjoy. Let’s dive into the ingredients and get started on this delicious dessert!
Ingredients
Key ingredients for No-Bake Orange Creamsicle Cheesecake
To make this delightful cheesecake, you need some key ingredients. Here is what you will need:
– 1 ½ cups graham cracker crumbs
– ½ cup unsalted butter, melted
– 2 cups cream cheese, softened
– 1 cup powdered sugar
– 1 teaspoon vanilla extract
– 1 cup heavy whipping cream
– 1 cup fresh orange juice
– Zest of 1 orange
– 2 tablespoons orange gelatin powder
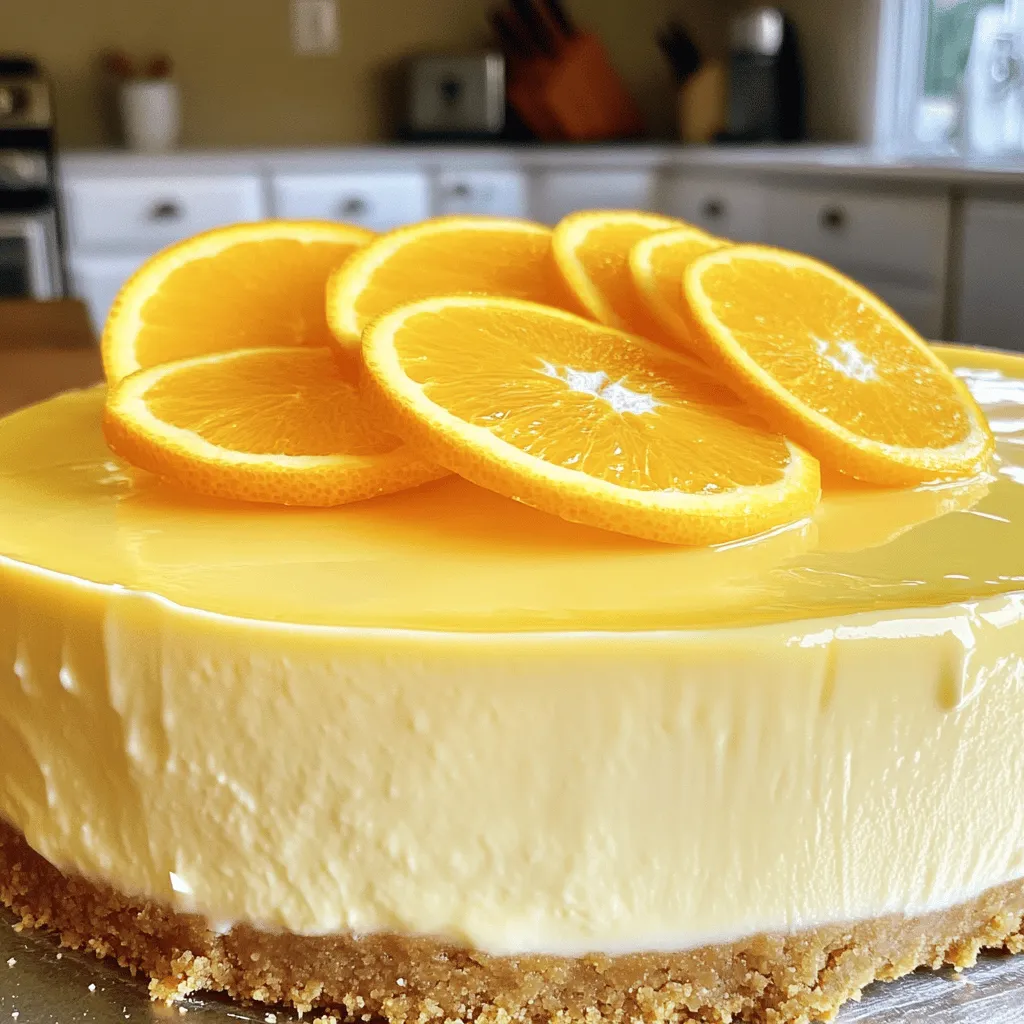
– Fresh orange slices for garnish (optional)
These ingredients create a creamy, zesty flavor that is sure to impress.
Recommended brand options for cream cheese and graham crackers
When choosing brands, I suggest using Philadelphia cream cheese. It offers a rich taste and smooth texture. For graham crackers, Honey Maid is a great choice. Their crackers are fresh and taste excellent in crusts. Quality counts, so pick brands you trust for the best results.
Possible substitutions for allergenic ingredients
If you have allergies, there are good swaps. For cream cheese, you can use a dairy-free option like Tofutti or Kite Hill. If you’re avoiding gluten, choose gluten-free graham crackers. You can also use coconut cream instead of heavy whipping cream for a dairy-free option. These swaps keep the dish tasty and fun for everyone.
Step-by-Step Instructions
Preparing the crust
To make the crust, start by mixing graham cracker crumbs and melted butter in a bowl. You want to stir until it feels like damp sand. When you squeeze it, it should hold together. Next, take this mixture and press it into a 9-inch springform pan. Use the back of a measuring cup or your fingers to make it flat and even. After that, place the pan in the fridge. This helps the crust firm up while you make the filling.
Making the cheesecake filling
Now, let’s focus on the cheesecake filling. In a large bowl, beat the softened cream cheese with an electric mixer. Mix it for about 2-3 minutes until it is smooth. Gradually add the powdered sugar and vanilla extract, mixing until fluffy. Then, gently fold in the fresh orange juice and orange zest. This gives the cheesecake its bright flavor. In another bowl, whip the heavy cream until it forms stiff peaks. This takes about 3-4 minutes. Carefully fold the whipped cream into the cream cheese mixture. Do this in stages to keep it light.
To finish the filling, mix the orange gelatin powder with a bit of hot water in a small bowl. Stir until there are no lumps. Add this to your cheesecake filling and mix well.
Assembling and refrigerating the cheesecake
Next, pour the creamy filling over your chilled crust. Use a spatula to smooth the top into an even layer. Cover the pan tightly with plastic wrap and place it in the fridge. Let it chill for at least 4 hours, or overnight if you can wait. This helps the cheesecake set perfectly. When ready to serve, run a knife around the edge of the pan. Carefully remove the sides of the springform pan. Slice the cheesecake into wedges and serve it chilled. For a nice touch, add fresh orange slices on top if you like.
Tips & Tricks
How to achieve the smoothest cheesecake filling
To get a super smooth cheesecake filling, start with softened cream cheese. Cold cream cheese will clump. Beat it well for 2-3 minutes until creamy. Add powdered sugar and vanilla next. Mix until it’s fluffy and well combined. When you add orange juice and zest, do so gently. This keeps the mixture smooth.
Best practices for whipping cream
When whipping cream, make sure it is very cold. Use a chilled bowl and beaters for the best results. Start on low speed to prevent splatters. Gradually increase to medium-high speed. Stop when you see stiff peaks. This takes about 3-4 minutes. Careful not to overwhip; it can turn into butter!
Common mistakes to avoid when making no-bake cheesecakes
One mistake is not chilling the crust long enough. It needs time to firm up. Another error is not folding in the whipped cream gently. This can deflate your filling. Also, don’t skip the gelatin. It helps the cheesecake hold its shape. For the best texture, always let it chill for at least 4 hours, or overnight is even better.
Variations
Adding chocolate or other flavors
You can easily mix in chocolate for a twist. Try adding melted dark or white chocolate to the filling. Start with ½ cup of melted chocolate and adjust to your taste. This adds a rich depth to the orange flavor. You can also swap the orange juice for lemon or lime juice for a tart variation.
Alternatives for a healthier version
To make a healthier cheesecake, consider using Greek yogurt instead of cream cheese. This offers a creamy texture with less fat. You can also use honey or maple syrup instead of powdered sugar. For the crust, choose whole-grain crackers or nuts for a nutritious base. This will cut down on sugar and boost fiber.
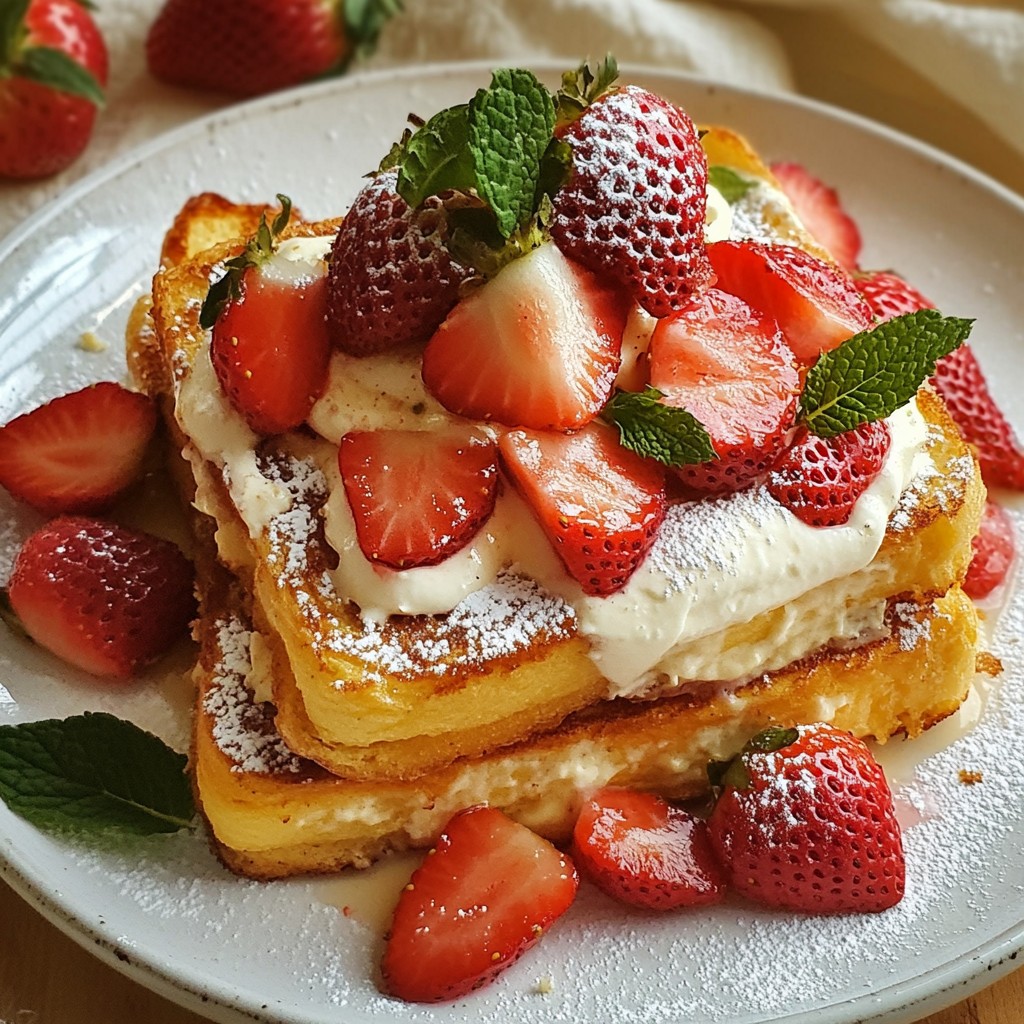
Seasonal fruit toppings suggestions
Seasonal fruits make great toppings. In summer, fresh berries like strawberries, blueberries, or raspberries add color and flavor. In fall, try sliced apples or pears with a sprinkle of cinnamon. In winter, pomegranate seeds give a festive touch. Use what is fresh and local for the best taste.
Storage Info
How to properly store leftover cheesecake
After making the No-Bake Orange Creamsicle Cheesecake, you may have leftovers. To store them, cover the cheesecake with plastic wrap or aluminum foil. You want to keep the air off it to prevent drying. Place it in the refrigerator. It can stay fresh for about 3 to 5 days. Make sure to keep it in the springform pan if it’s not fully set yet. This helps maintain its shape.
Freezing instructions for longer storage
If you need to keep the cheesecake for longer, freezing is a great option. First, slice the cheesecake into individual pieces. Wrap each slice tightly in plastic wrap. Then place the wrapped slices in a freezer-safe container or a zip-top bag. This keeps them safe from freezer burn. The cheesecake can last in the freezer for up to 2 months.
Thawing tips for frozen cheesecake
When you’re ready to enjoy a slice, take it out of the freezer. Remove the plastic wrap but keep it in the container. Let it thaw in the fridge for about 4 to 6 hours. This slow thaw helps maintain its creamy texture. If you’re in a hurry, you can leave it at room temperature for about 30 minutes. Just be careful not to leave it out too long, or it may get too soft. Enjoy your cheesecake!
FAQs
Can I use low-fat cream cheese for this recipe?
Yes, you can use low-fat cream cheese. It will change the taste and texture a bit. The cheesecake may be less creamy but still delicious. Just remember, the flavor may not be as rich. Always check the packaging for any moisture differences. This can affect how well the cheesecake sets.
How long does the cheesecake need to chill?
The cheesecake needs to chill for at least 4 hours. However, chilling it overnight is best. This allows the flavors to blend well. A longer chill time helps the cheesecake set better. If you’re short on time, 4 hours will still give you a tasty treat.
What can I use instead of orange gelatin?
If you want to skip orange gelatin, try using agar-agar. This is a plant-based option that works well. You can also use cornstarch mixed with water for a different texture. Just remember, these substitutes may change the flavor and firmness a bit. Always adjust the amount based on your preference. For a fresh taste, consider using orange juice or zest to keep it vibrant.
This blog post covered all you need for No-Bake Orange Creamsicle Cheesecake. We explored key ingredients, famous brands, and useful substitutions. You learned simple steps for making the crust and filling, then how to assemble it all. I shared tips for a smooth filling and common mistakes to avoid. You discovered tasty variations and storage tips to keep your cheesecake fresh.
Making this dessert can be fun and rewarding. Now you have everything to create your cheesecake masterpiece! Enjoy each delicious bite.