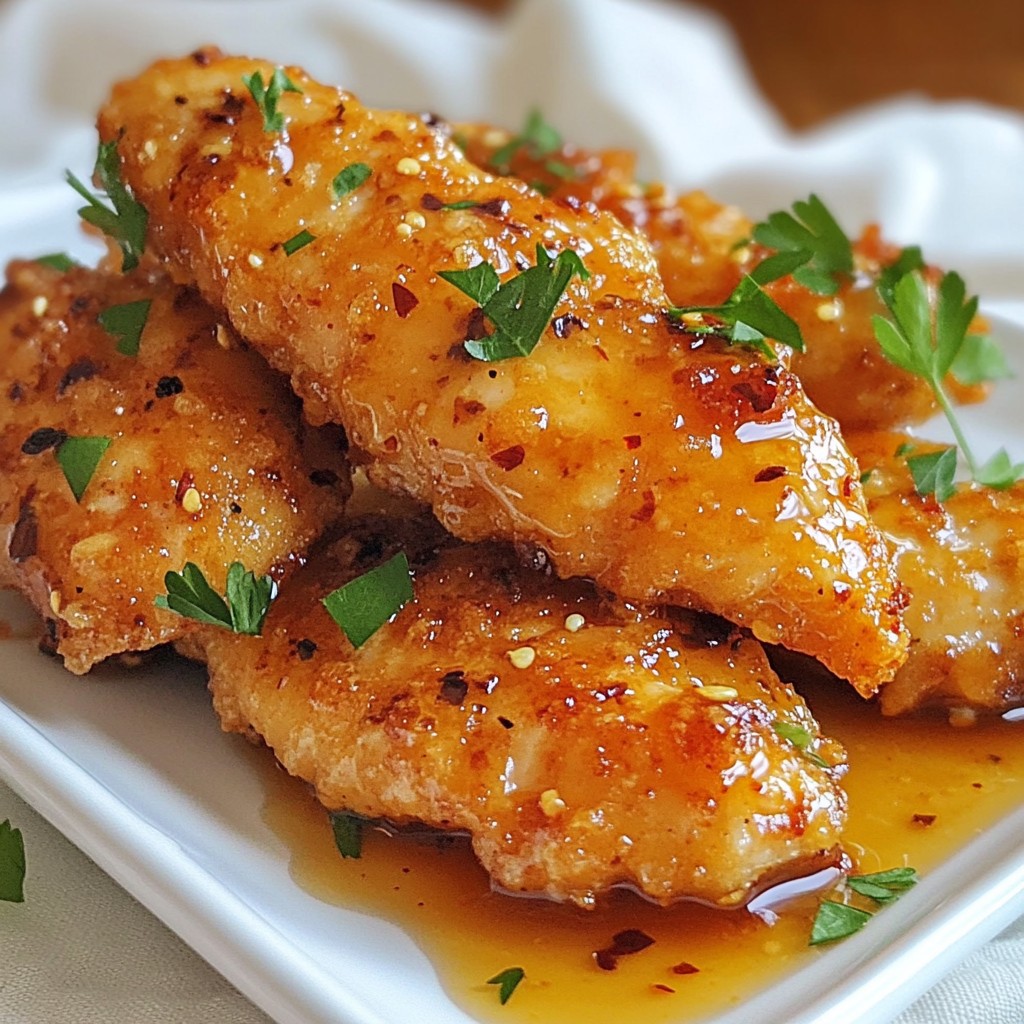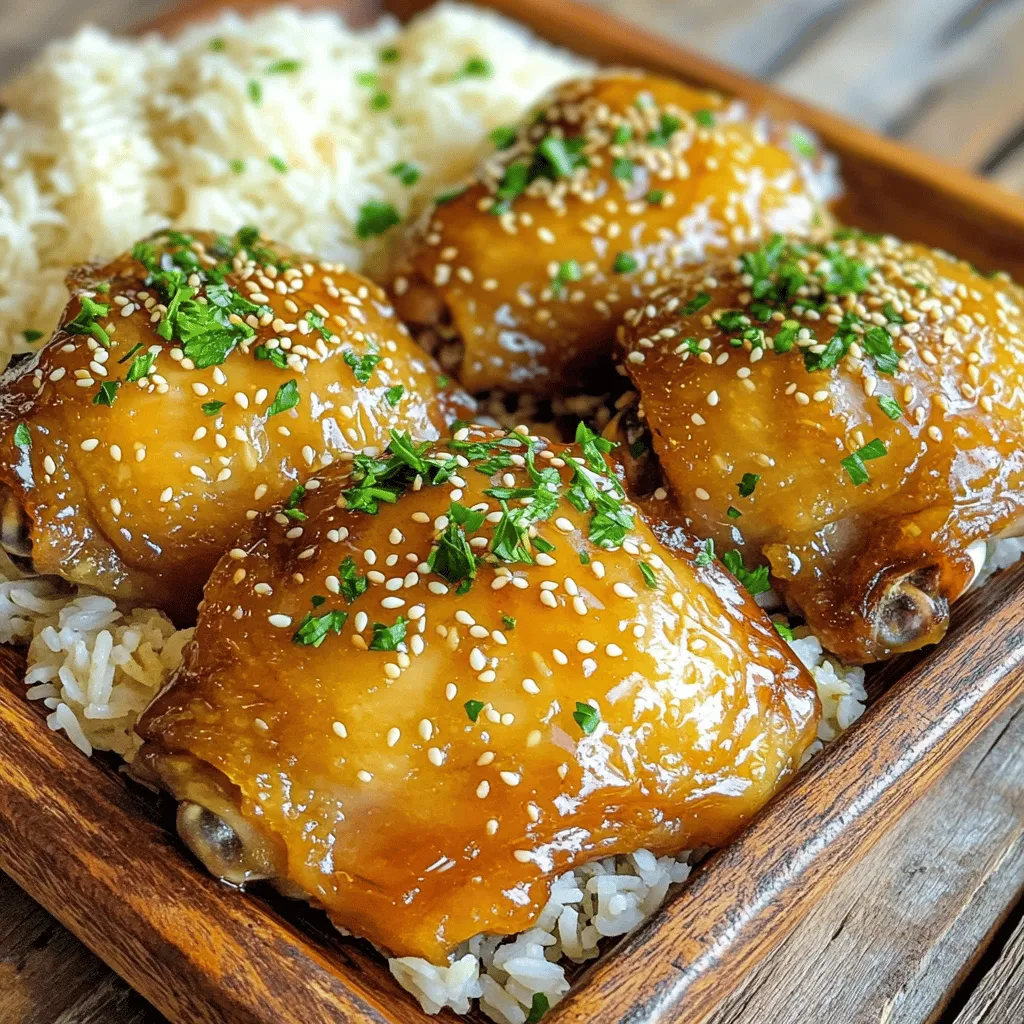
Are you ready to make a dish that bursts with flavor and is easy to prepare? Honey Garlic Skillet Chicken Thighs are the perfect choice for a weeknight meal or a cozy dinner. This recipe combines tender chicken with a sweet and savory glaze that will impress your family and friends. Follow my simple steps, and you will serve a delicious meal in no time. Let’s dive into the details!
Ingredients
Complete List of Ingredients
For a tasty Honey Garlic Skillet Chicken Thighs, you need these key ingredients:
– 4 bone-in, skin-on chicken thighs
– 1 tablespoon olive oil
– Salt and pepper, to taste
– 4 cloves garlic, minced
– 1/4 cup honey
– 2 tablespoons soy sauce
– 1 tablespoon apple cider vinegar
– 1 teaspoon fresh ginger, grated
– 1 teaspoon sesame seeds (optional)
– Fresh parsley, chopped for garnish
These ingredients create a sweet and savory dish that’s hard to resist. The honey gives a lovely sweetness, while the soy sauce adds depth. Minced garlic and ginger enhance the flavor, making each bite burst with taste.
You can customize this dish with optional ingredients to suit your taste. You might add sesame seeds for crunch or some fresh herbs for more flavor. If you like spice, consider adding crushed red pepper flakes. This way, you can make it your own.
Step-by-Step Instructions
Preparation Steps
To prepare the chicken thighs, start by drying them with paper towels. This step is key for crisp skin. After drying, season both sides with salt and pepper. This adds flavor and helps create a nice crust when cooking.
For crispy skin, make sure your skillet is hot enough before adding the chicken. If it’s too cool, the chicken will steam instead of sear. Also, avoid moving the chicken while it cooks. Let it sit to develop that golden, crispy texture.
Cooking Instructions
Now, let’s cook! Heat olive oil in a large skillet over medium-high heat. Once the oil shimmers, carefully place the chicken thighs skin-side down. Sear for 5-7 minutes without moving them. You want the skin to turn brown and crispy.
After searing, flip the chicken thighs and cook for another 5 minutes. While this cooks, whisk together minced garlic, honey, soy sauce, apple cider vinegar, and grated ginger in a small bowl. This makes a tasty glaze.
Once the chicken is nice and brown, pour the honey garlic mixture over the thighs. Lower the heat to medium-low. Simmer the chicken in the sauce for about 10-15 minutes. Baste the chicken often with the glaze. This keeps it moist and flavorful. Always check that the internal temperature reaches 165°F (75°C) to make sure it’s safe to eat.
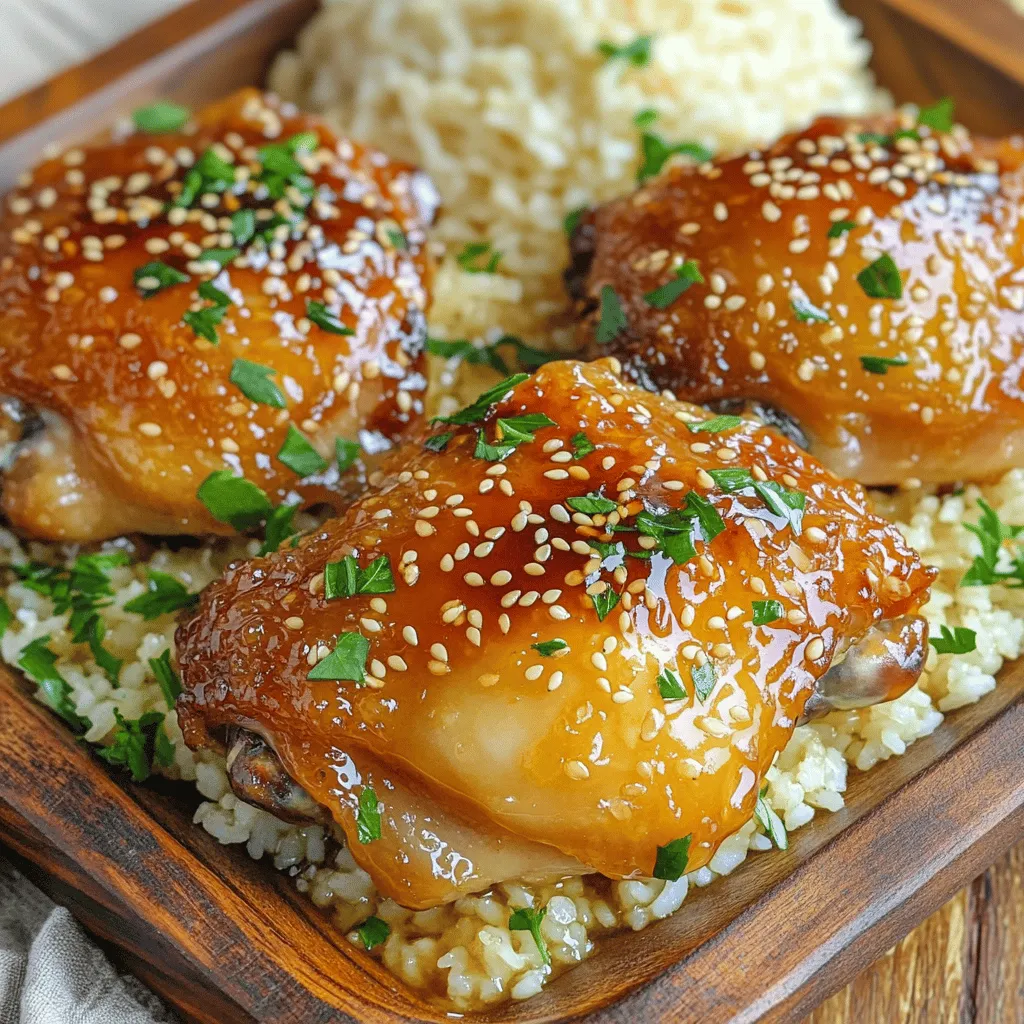
When fully cooked, transfer the chicken thighs to a platter and drizzle the sauce over them. For a lovely touch, you can sprinkle sesame seeds and garnish with fresh parsley.Enjoy your delicious dish!
Tips & Tricks
Tips for Perfecting the Dish
To make your honey garlic skillet chicken thighs shine, follow these tips:
– Pat the Chicken Dry: Always dry the chicken thighs with paper towels. This helps the skin get crispy.
– Use a Hot Skillet: Preheat the skillet until the oil shimmers before adding the chicken. This ensures a great sear.
– Avoid Crowding the Pan: Cook in batches if needed. Crowding makes it hard to get a good crispy skin.
– Baste Frequently: While simmering, spoon the sauce over the chicken often. This keeps it juicy and flavorful.
Beware of common mistakes:
– Don’t Flip Too Soon: Let the chicken sear for 5-7 minutes without moving it. This builds great flavor.
– Check the Internal Temperature: Always ensure it reaches 165°F (75°C) to be safe and tasty.
Flavor Enhancements
You can boost the flavor of your dish with these ideas:
– Add Spices and Herbs: Consider using thyme or rosemary. They pair well with the honey garlic taste.
– Make the Sauce Thicker: To thicken the sauce, simmer it longer. You can also add a cornstarch slurry.
– Make the Sauce Thinner: If you prefer a thinner sauce, add a splash of chicken broth or water. Mix well before serving.
Feel free to experiment! Each tweak can lead to a new favorite dish.
Variations
Ingredient Swaps
You can easily swap some ingredients in this recipe. If you want a lighter option, use skinless chicken thighs. They will still taste great but contain less fat. For a sweeter flavor, you can try maple syrup instead of honey. If you like heat, add a pinch of red pepper flakes to the sauce. This gives a nice kick to balance the sweetness.
Cooking Method Alternatives
You can cook this dish in different ways. If you prefer oven-baked chicken, preheat your oven to 425°F. Sear the chicken in the skillet first, then move it to the oven to finish cooking. This method keeps the chicken juicy and tender.
For a slow cooker option, brown the chicken thighs in a skillet. Then, place them in the slow cooker. Pour the honey garlic sauce over the chicken and cook on low for 4-6 hours. This method makes the meat super tender and full of flavor.
Explore these variations to find what suits your taste best.
Storage Info
Refrigeration Guidelines
To keep your honey garlic skillet chicken thighs fresh, store leftovers right away. Let the chicken cool completely before placing it in the fridge. Use airtight containers to prevent moisture loss and keep flavors intact. I recommend glass or plastic containers with tight lids. This helps the chicken stay juicy and tasty for up to four days.
Reheating Instructions
When it’s time to enjoy those leftovers, reheating properly is key. The best method is to use a skillet. Heat a little oil over medium heat, then add the chicken. Cover the skillet to help it warm evenly. This helps keep the skin crisp and the meat juicy. You can also use the microwave, but be careful. Microwave reheating can make the chicken rubbery. If you use the microwave, heat it in short bursts and check often to maintain its quality.
FAQs
Common Questions About Honey Garlic Skillet Chicken Thighs
What can I serve with honey garlic chicken?
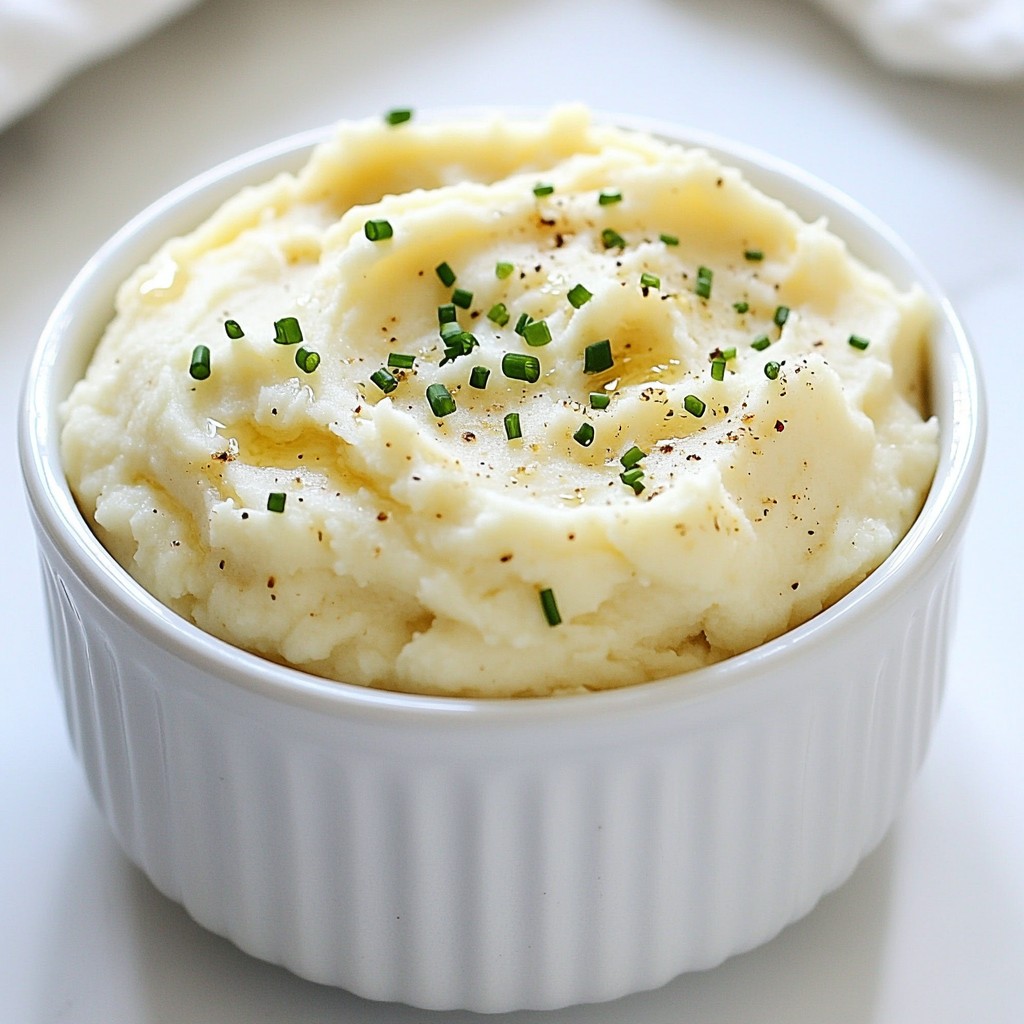
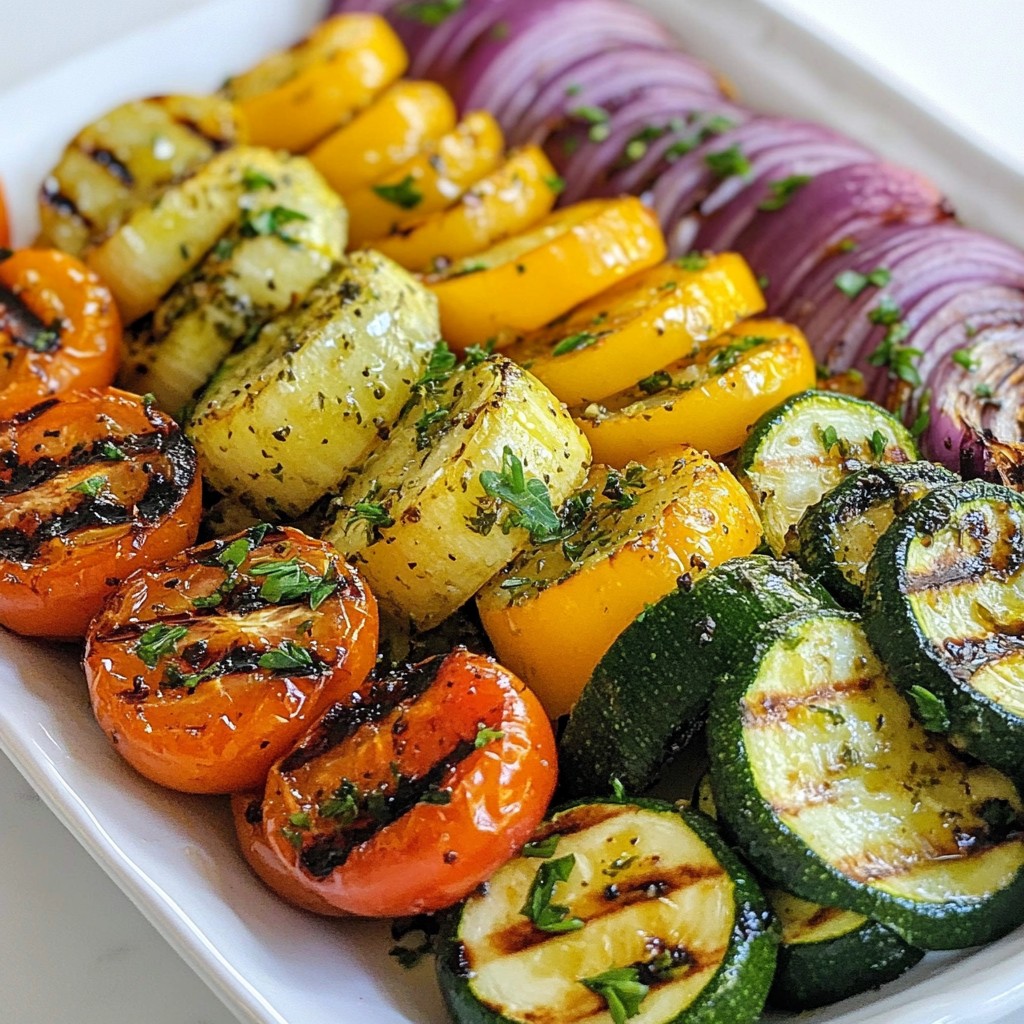
You can serve honey garlic chicken with rice, mashed potatoes, or steamed veggies. These sides soak up the sauce well and balance the flavors nicely.
How do I know when the chicken is fully cooked?
Use a meat thermometer to check the chicken’s temperature. The safe internal temperature is 165°F (75°C). The juices should run clear when cut.
Can I use boneless chicken thighs for this recipe?
Yes, boneless chicken thighs work well in this dish. They will cook faster than bone-in thighs, so adjust the cooking time accordingly.
Recipe Specific Questions
Can I make the honey garlic sauce ahead of time?
Absolutely! You can mix the honey, soy sauce, garlic, and ginger in advance. Store it in the fridge for up to three days.
What is the best way to achieve crispy skin on chicken thighs?
To get crispy skin, pat the chicken dry with paper towels. Season it well and let it sear without moving it. This helps form a nice crust.
How long can I keep leftovers in the fridge?
Store leftovers in an airtight container for up to three days. Make sure to let them cool before sealing.
In this guide, we covered everything for making Honey Garlic Skillet Chicken Thighs. We explored key ingredients, preparation tips, and cooking steps. You learned methods to avoid common mistakes and enhance flavors. I shared ways to adapt the recipe for your taste, along with storage and reheating tips.
You now have the knowledge to create this tasty dish. Enjoy the process and impress your friends and family. Happy cooking!