If you crave a sweet and simple treat, then homemade vanilla wafers are for you! These delightful cookies are easy to make, and you likely have the ingredients already. With just a few steps, you can create a batch of crispy, buttery wafers that everyone will love. Get ready to impress your family and friends with this tasty snack that’s perfect by itself or with a scoop of ice cream. Let’s dive into the recipe!
Ingredients
To make homemade vanilla wafers, you need a few simple ingredients. Each one plays a key role in creating that delightful flavor and texture. Here’s what you will need:
– 1 cup all-purpose flour
– 1/2 teaspoon baking powder
– 1/4 teaspoon salt
– 1/2 cup unsalted butter, softened to room temperature
– 3/4 cup granulated sugar
– 1 large egg
– 1 tablespoon pure vanilla extract
– 1/4 teaspoon almond extract (optional)
These ingredients come together beautifully. The flour gives structure, while the butter adds richness. Sugar sweetens the wafers, and eggs help bind everything. Vanilla extract brings that classic flavor we love. If you want a twist, add almond extract for a hint of nuttiness.
As you gather these ingredients, think about how they will mix and bake into something special. Each step in the process builds on these basics, leading to a crunchy and tasty treat.
Step-by-Step Instructions
Preparation of Baking Sheets
First, preheat your oven to 350°F (175°C). This step is key for a perfect bake. While the oven heats, take two baking sheets. Line them with parchment paper. This will stop the wafers from sticking.
Mixing Dry Ingredients
In a medium bowl, add 1 cup of all-purpose flour. To this, add 1/2 teaspoon of baking powder and 1/4 teaspoon of salt. Use a whisk to mix them well. This helps to evenly distribute the baking powder and salt. Set the bowl aside for later.
Creaming Butter and Sugar
In a large bowl, add 1/2 cup of softened butter. Then, add 3/4 cup of granulated sugar. Using an electric mixer, beat them together on medium speed. Keep mixing for about 3-4 minutes. You want it to look light and fluffy. This step adds air to your mixture for a nice texture.
Combining Wet Ingredients
Next, crack one large egg into the bowl. Add 1 tablespoon of pure vanilla extract. If you want a twist, you can add 1/4 teaspoon of almond extract. Mix these ingredients on medium speed until everything is smooth. This will make your wafers taste amazing.
Incorporating Dry into Wet
Now it’s time to add the dry mix to the wet mix. Gradually add the flour mixture into the wet mixture. Use a spatula to fold it in gently. Mix until just combined. Do not overmix; this keeps your wafers light and airy.
Shaping and Baking the Wafers
Using a small scoop, drop rounded tablespoons of dough onto your baking sheets. Leave about 2 inches between each scoop. This space allows the wafers to spread out. Next, gently flatten each dough ball with a fork or your fingers. This gives them a nice round shape. Bake in the oven for 10-12 minutes. Watch closely; they are ready when the edges turn golden. Once baked, let them cool on the sheets for 5 minutes. Then, transfer them to a wire rack to cool completely.
Tips & Tricks
How to Achieve Light and Airy Wafers
To make light and airy wafers, beat the butter and sugar well. This adds air to the mix. Aim for a fluffy texture. Mix the wet and dry ingredients just until combined. Overmixing can make the wafers tough. Use room temperature butter for better mixing. This helps achieve the right consistency.
Best Practices for Baking
Keep an eye on your oven temperature. An oven thermometer can help. Always preheat your oven before baking. This ensures even cooking. Space the dough balls well on the baking sheet. This gives them room to spread. Bake until the edges are lightly golden. Check them a minute or two before the time ends.
Presentation Tips
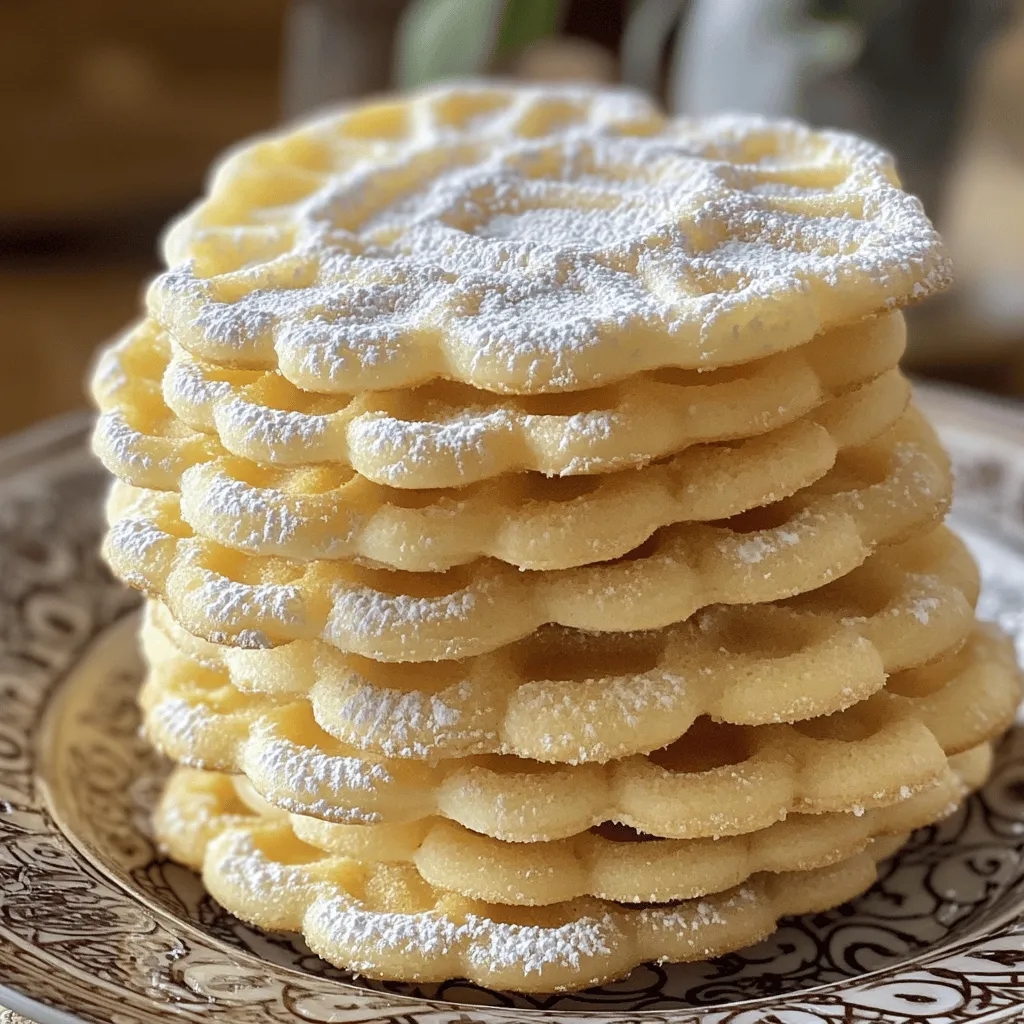
Make your wafers look great when serving. Stack them in clear glass jars for a fun display. You can also arrange them on a decorative platter. Dust the tops lightly with powdered sugar. This adds a nice touch. Serve with a side of whipped cream for dipping. It adds a creamy contrast to the crunchy wafers.
Variations
Flavor Enhancements
You can add fun flavors to your wafers. Try mixing in spices like cinnamon or nutmeg for warmth. A splash of lemon zest or orange zest brightens the taste. For a unique twist, use almond extract instead of vanilla. This small change adds a whole new layer of flavor.
Alternative Ingredients
If you want to switch things up, consider using different flours. Almond flour or coconut flour can give a nutty taste. You can also try vegan butter to make this recipe dairy-free. If you need a sugar substitute, consider using coconut sugar or agave syrup. These swaps can fit many diets while keeping the taste great.
Creative Serving Suggestions
Serve your vanilla wafers in fun ways. Stack them in a clear jar for an eye-catching display. You can pair them with ice cream or yogurt for a treat. Crumble them over fruit for a crunchy topping. Another idea is to dip them in chocolate for an extra sweet bite. These options make your wafers not just tasty but also fun to enjoy!
Storage Info
Best Methods for Storing
To keep your homemade vanilla wafers fresh, use an airtight container. Place layers of parchment paper between the wafers to prevent sticking. This method helps maintain their crispness. Store the container in a cool, dry place away from sunlight. Avoid storing them in the fridge; moisture can make them soft.
Shelf Life
When stored properly, your vanilla wafers can last up to one week. If you notice any change in texture or smell, it’s best to toss them. For optimal taste, enjoy them within the first few days. The fresher, the better!
Freezing Wafers
You can freeze your vanilla wafers for longer storage. Just make sure they are completely cooled. Place them in a freezer-safe bag, removing as much air as possible. They can last up to three months in the freezer. When ready to enjoy, thaw them at room temperature. If you want them crisp again, pop them in a warm oven for a few minutes. This revives their delightful crunch!
FAQs
How do I make my wafers crispier?
To make your wafers crispier, you can try a few simple tricks. First, bake them a little longer. Keep an eye on them to avoid burning. Second, use less moisture in your dough. You could cut back on the butter or egg. Lastly, ensure your oven is at the right temperature. An oven thermometer can help with this.
Can I use gluten-free flour for this recipe?
Yes, you can use gluten-free flour for this recipe. Look for a blend that works well for baking. Many brands offer one-to-one substitutes. Just keep in mind that the texture may change a bit. The wafers might be a little softer, but they will still taste great.
What can I do with leftover vanilla wafers?
Leftover vanilla wafers have many fun uses. You can crush them to make a crust for pies or cheesecakes. They also work well as a topping for ice cream or yogurt. For a quick snack, dip them in chocolate or serve them with fresh fruit. The options are endless!
You learned the key ingredients and steps needed to bake delicious wafers. Remember to mix dry and wet ingredients well for light, airy treats. Use the tips to enhance flavor and presentation. Store your wafers properly to keep them fresh. Feel free to experiment with variations. Enjoy baking! Appreciate the fun and joy these wafers can bring to your table. Simple recipes can create lasting memories.