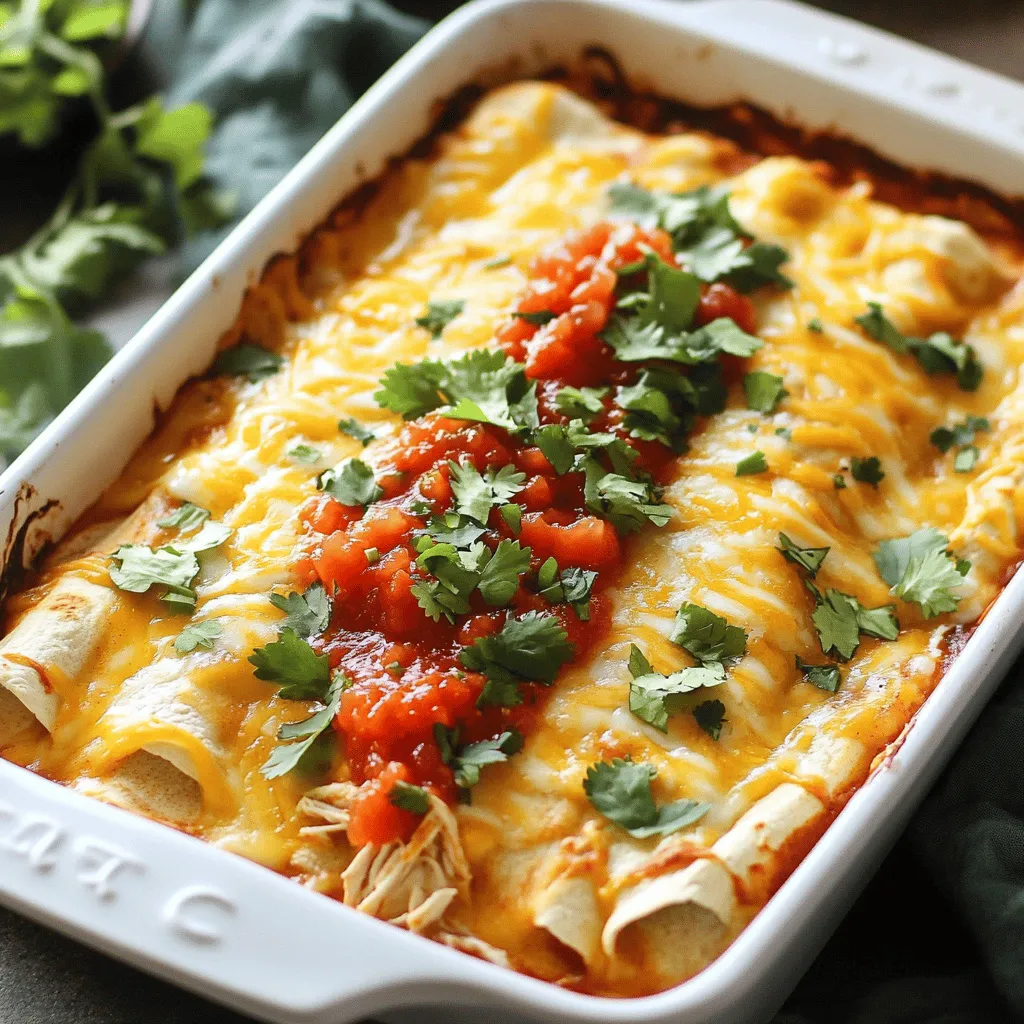
Are you ready to elevate your weeknight dinners? My Easy Cream Cheese Chicken Enchiladas recipe is a game-changer! With just a few simple ingredients, you’ll create a creamy, flavorful dish that your family will love. In this guide, I’ll share my tips for the best results and plenty of options to customize your enchiladas. Let’s get started on making a meal that’s as easy as it is delicious!
Ingredients
Complete list of ingredients for Easy Cream Cheese Chicken Enchiladas
– 2 cups shredded cooked chicken
– 1 cup cream cheese, softened to room temperature
– 1 cup shredded sharp cheddar cheese
– 1/2 cup sour cream
– 1 cup salsa (choose your preferred spice level: mild or spicy)
– 8 small corn or flour tortillas
– 1 teaspoon garlic powder
– 1 teaspoon onion powder
– 1/2 teaspoon ground cumin
– 1/2 teaspoon salt
– 1/4 teaspoon freshly ground black pepper
– Fresh cilantro, chopped, for garnish
Tips for choosing the best ingredients
When picking your ingredients, freshness matters most. Look for bright, colorful veggies for your salsa. If you use chicken, make sure it is cooked and tender. For cream cheese, choose a brand that is rich and creamy. This will give your enchiladas a great texture. Use sharp cheddar cheese for a strong flavor. It adds a nice kick to the dish. For tortillas, pick ones that are soft. They should roll easily without breaking.
Nutritional information per serving
Each serving of these enchiladas has about:
– Calories: 450
– Protein: 30g
– Carbohydrates: 30g
– Fat: 25g
– Fiber: 2g
– Sugar: 3g
Knowing the nutritional value helps you plan better meals. Adjust your sides to balance your plate. Enjoy these enchiladas with a side salad or some fresh fruit for a tasty meal.
Step-by-Step Instructions
Detailed preparation steps for making Easy Cream Cheese Chicken Enchiladas
Start by mixing your filling. In a large bowl, combine 2 cups of shredded cooked chicken, 1 cup of cream cheese, and 1 cup of shredded sharp cheddar cheese. Add in 1/2 cup of sour cream, 1 teaspoon of garlic powder, 1 teaspoon of onion powder, 1/2 teaspoon of ground cumin, 1/2 teaspoon of salt, and 1/4 teaspoon of black pepper. Stir until the mixture is smooth and creamy.
Next, take your tortillas. You can use either corn or flour tortillas. Place about 1/4 cup of the creamy chicken filling in the center of each tortilla. Roll the tortilla tightly around the filling and place it seam-side down in a greased baking dish. Repeat this for all tortillas.
Oven setup and baking instructions
Now it’s time to prepare for baking. Preheat your oven to 350°F (175°C). Lightly grease a 9×13 inch baking dish with non-stick spray. Once your tortillas are in the dish, pour salsa evenly over them. Make sure each enchilada gets a good coat of salsa.
Cover the baking dish with aluminum foil. This helps keep the enchiladas moist. Bake in your preheated oven for 20 minutes. After this time, remove the foil and bake for another 10 minutes. You want the enchiladas to be bubbly and golden brown on top.
Cooling and serving suggestions
After baking, let your enchiladas cool for a few minutes. This helps the flavors settle and makes them easier to serve. Just before serving, sprinkle some chopped fresh cilantro on top for a pop of color and flavor. Enjoy your Easy Cream Cheese Chicken Enchiladas with your favorite sides, like rice or beans, for a complete meal.
Tips & Tricks
How to perfect the creamy filling
To make the filling truly creamy, blend the chicken with the cream cheese. Use softened cream cheese for easy mixing. Adding sour cream helps create a rich texture. Mix until smooth, then stir in spices. This ensures the flavors spread evenly in every bite.
Ideas for garnishing and serving
Garnishing adds a fun touch! Fresh cilantro gives a pop of color and flavor. You can also try sliced jalapeños for heat. A dollop of sour cream on top makes it extra creamy. Serve with a side of rice or beans for a full meal.
Common mistakes to avoid
One mistake is overfilling the tortillas. This can cause them to tear. Make sure to roll them tightly but not too full. Another issue is skipping the foil when baking. Covering the dish keeps the enchiladas moist. Lastly, don’t forget to let them cool a bit before serving. This helps the flavors come together nicely.
Variations
Substitutions for a healthier version
If you want a healthier take on these enchiladas, swap some ingredients. You can use Greek yogurt instead of sour cream. It adds creaminess and cuts calories. Try using low-fat cream cheese for less fat. You can also use whole wheat tortillas instead of regular ones. This change adds fiber and nutrients.
Spice level alterations and other flavor enhancements
To change the spice level, use different salsas. If you like it hot, try a spicy salsa or add diced jalapeños. For a milder taste, stick with a mild salsa. You can also mix in some smoked paprika or chili powder for extra flavor. A dash of lime juice can brighten the dish too.
Vegetarian or gluten-free options
For a vegetarian version, replace chicken with black beans or lentils. You can also add vegetables like spinach or bell peppers. Just make sure to cook them first. For gluten-free options, use corn tortillas. They work well and still taste great. This way, everyone can enjoy these tasty enchiladas!
Storage Info
Best practices for storing leftovers
After you enjoy your Easy Cream Cheese Chicken Enchiladas, store any leftovers. Place them in an airtight container. Make sure to let them cool down first. This helps keep them fresh longer. Store them in the fridge for up to three days. If you want to keep them longer, consider freezing.
Reheating instructions to maintain flavor and texture
When you’re ready to eat the leftovers, take them out of the fridge. Preheat your oven to 350°F (175°C). Place the enchiladas in a baking dish and cover them with foil. This helps keep the moisture in. Heat them for about 15-20 minutes. Check if they are warm all the way through before serving.
Freezing tips for long-term storage
Freezing enchiladas is easy! Wrap each one tightly in plastic wrap. Then, place them in a freezer-safe bag. Label the bag with the date. You can freeze them for up to three months. When you’re ready to eat them, let them thaw in the fridge overnight. Reheat them in the oven as mentioned above. This way, they taste fresh and delicious!
FAQs
How to make Easy Cream Cheese Chicken Enchiladas from scratch?
To make Easy Cream Cheese Chicken Enchiladas from scratch, follow these simple steps:
1. Mix shredded cooked chicken, cream cheese, cheddar cheese, sour cream, garlic powder, onion powder, ground cumin, salt, and black pepper.
2. Preheat the oven to 350°F (175°C).
3. Grease a baking dish.
4. Place about 1/4 cup of the chicken mix in each tortilla and roll it up.
5. Place each rolled tortilla seam-side down in the dish.
6. Pour salsa over the enchiladas.
7. Cover with foil and bake for 20 minutes, then uncover and bake for another 10 minutes.
8. Let cool for a few minutes, then serve.
Can I prepare the enchiladas in advance?
Yes, you can prepare the enchiladas in advance. Simply assemble them and store in the fridge, covered, for up to 24 hours. This saves time for busy days. When ready, bake them straight from the fridge. You may need to add a few extra minutes to the baking time.
What can I serve with Easy Cream Cheese Chicken Enchiladas?
You can serve many tasty sides with Easy Cream Cheese Chicken Enchiladas, such as:
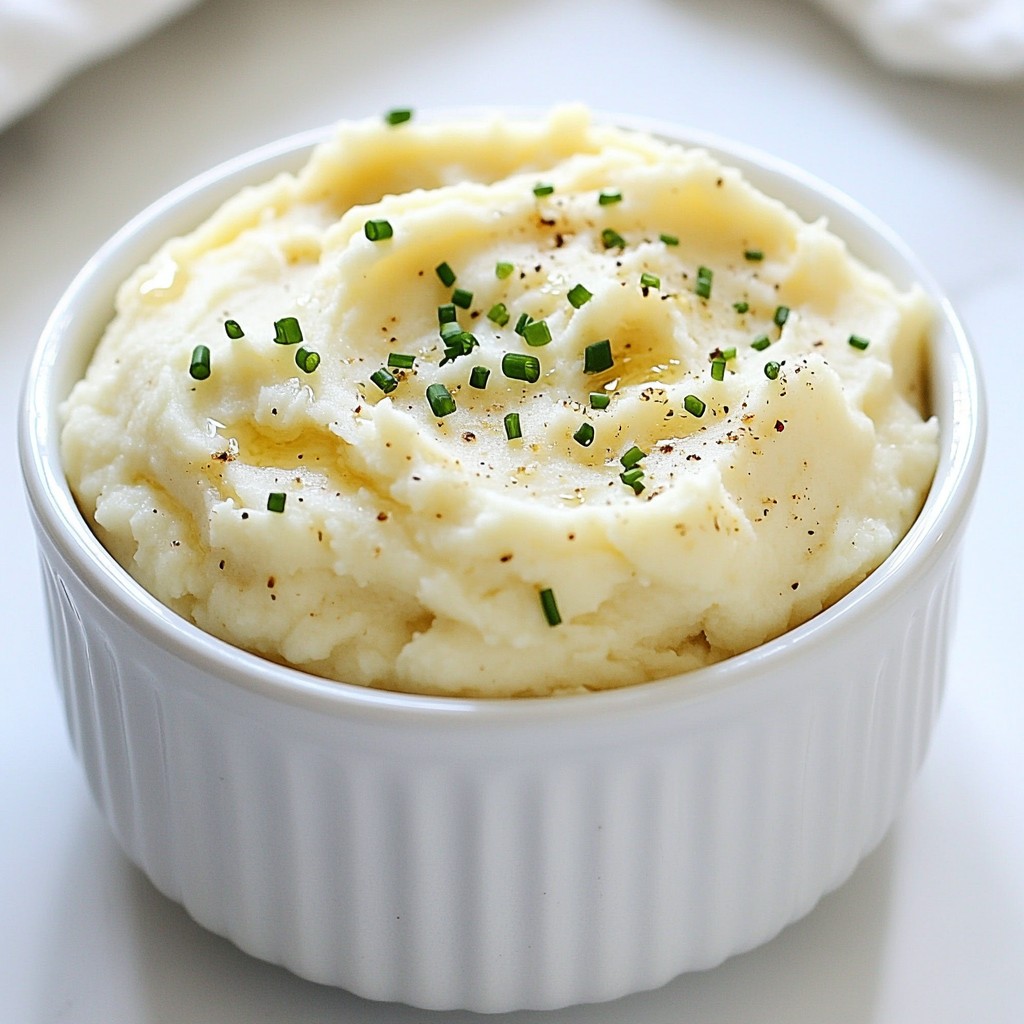
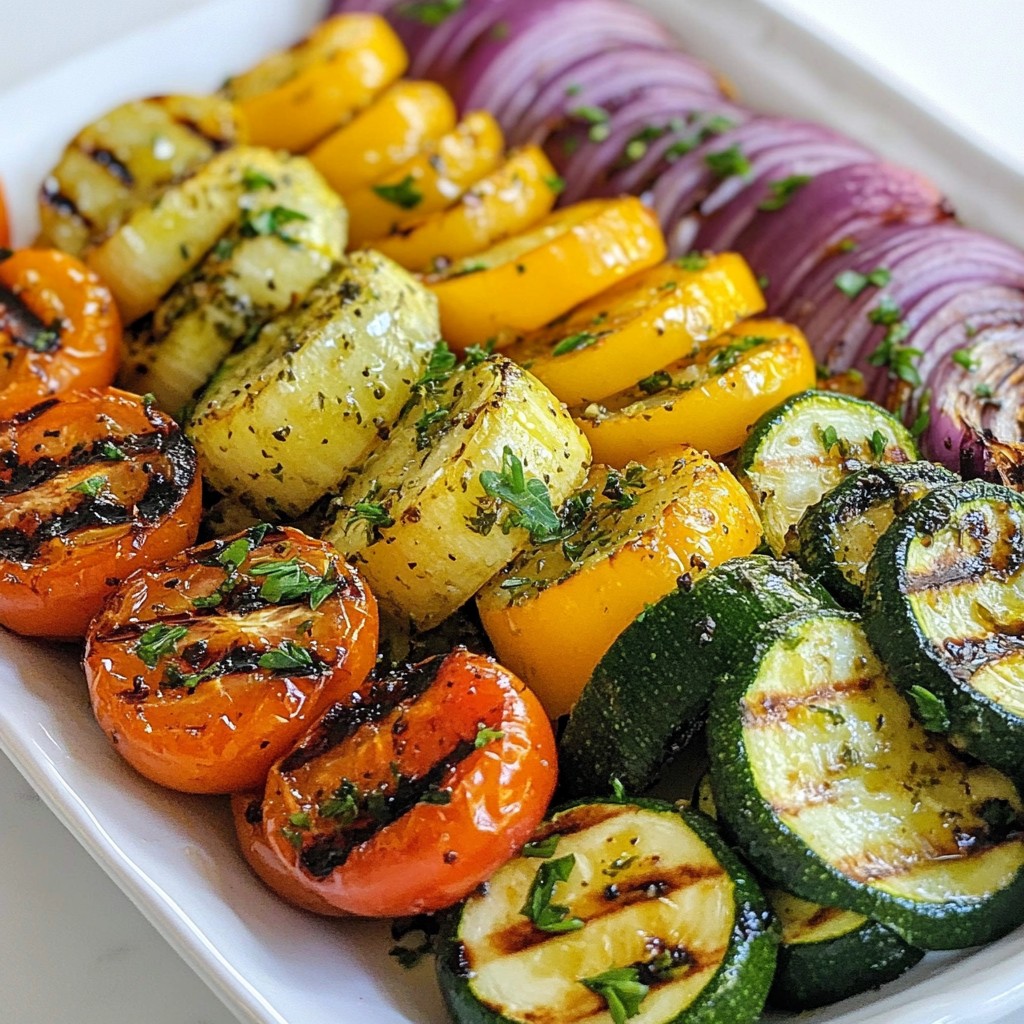
– Mexican rice
– Refried beans
– Fresh salad
– Guacamole
– Chips and salsa
These options add flavor and texture, making your meal even better. Enjoy your delicious enchiladas!
Easy Cream Cheese Chicken Enchiladas offer a simple and tasty meal. We covered the essential ingredients, step-by-step instructions, and helpful tips. You learned how to avoid mistakes and create variations. Proper storage and reheating tips will keep your dish fresh. Remember, you can make this dish your own! Enjoy experimenting with flavors and serving ideas. Now, gather your ingredients and start cooking. Your kitchen awaits!