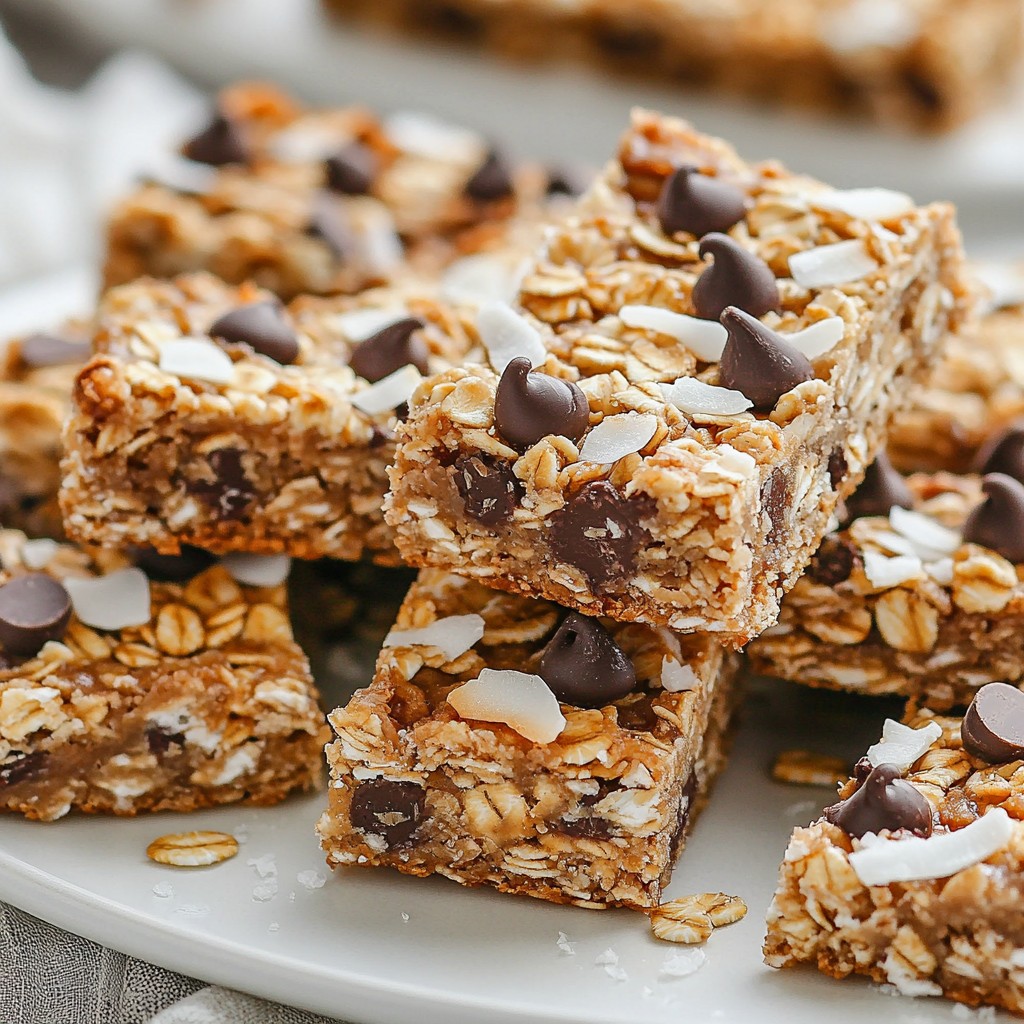
Are you ready to dive into a sweet, fudgy delight? Chocolate Marshmallow Fudge is an easy treat that’s perfect for any occasion. In this article, I’ll guide you through each step of making this decadent dessert, from gathering your ingredients to storing leftovers. Whether you want classic flavors or fun twists, I have tips for every type of fudge lover. Let’s make your taste buds happy!
Why I Love This Recipe
- Decadent Chocolate Flavor: This fudge is rich and indulgent, making it a chocolate lover's dream come true.
Ingredients
Essential Ingredients for Chocolate Marshmallow Fudge
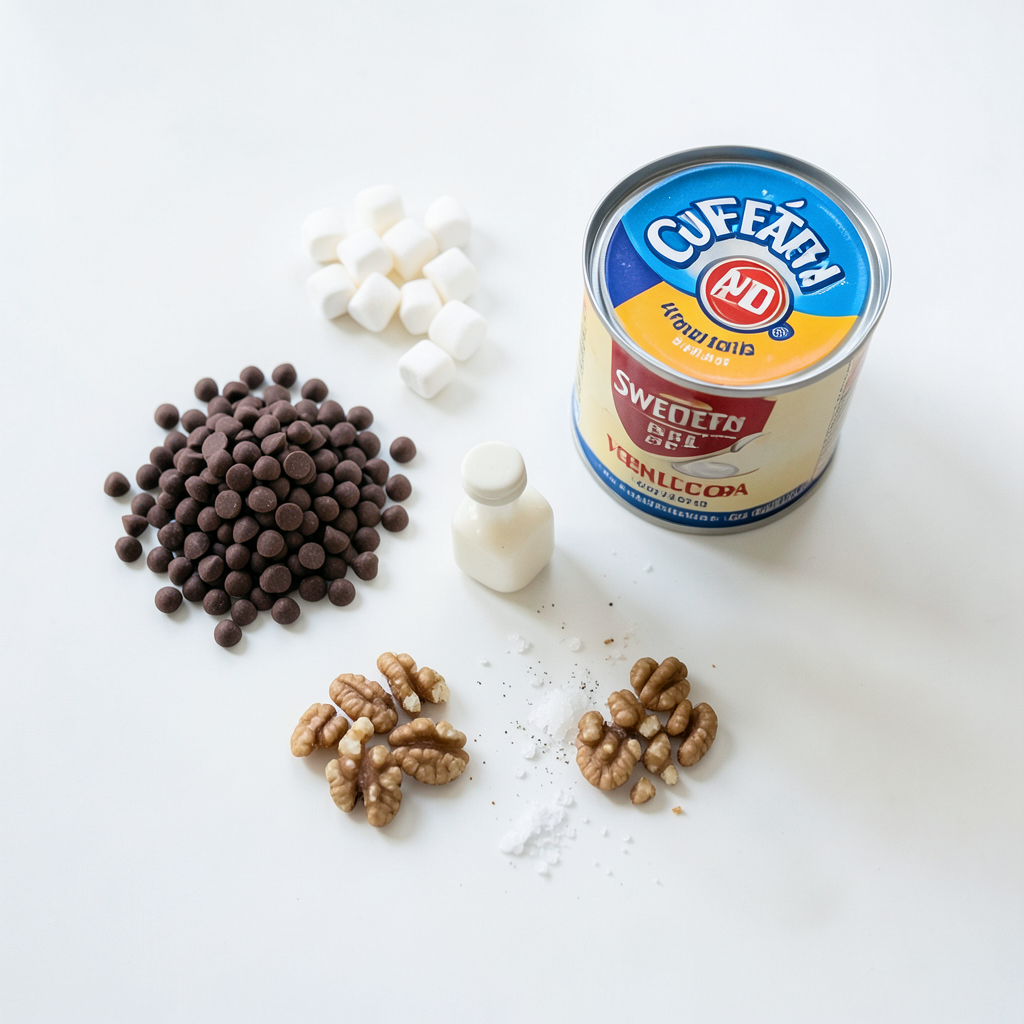
To make the best chocolate marshmallow fudge, gather these key ingredients:
- 2 cups semi-sweet chocolate chips
- 1 can (14 oz) sweetened condensed milk
- 1 teaspoon pure vanilla extract
- 2 cups mini marshmallows
- Pinch of high-quality sea salt
These ingredients create a rich and creamy fudge. The chocolate chips give a smooth texture. Sweetened condensed milk adds sweetness and helps bind the fudge. Vanilla extract enhances the overall flavor, while the marshmallows add a fun, fluffy texture.
Optional Ingredients for Customization
You can add a few optional ingredients to mix things up:
- 1/2 cup chopped nuts (such as walnuts or pecans)
Adding nuts brings a nice crunch to the fudge. You can also experiment with different flavors or toppings. Try:
- A sprinkle of sea salt on top for contrast.
- Swirls of peanut butter for a nutty twist.
- A dash of cinnamon or espresso powder for warmth.
These options let you make the fudge your own.
Measuring Tips for Accurate Results
Accurate measuring is key to great fudge. Here are some tips:
- Use dry measuring cups for solid ingredients like chocolate chips and nuts.
- Use liquid measuring cups for wet ingredients like condensed milk.
- Level off dry ingredients with a straight edge for precision.
- For sticky ingredients like honey or syrup, lightly coat the measuring cup with oil.
These steps ensure your fudge turns out perfect every time. Accurate measurements lead to a balanced flavor and texture. Enjoy the process, and don’t hesitate to taste along the way!
Step-by-Step Instructions
Preparation of the Baking Dish
Start by grabbing an 8-inch square baking dish. Line the bottom and sides with parchment paper. Make sure some paper hangs over the sides. This helps lift the fudge out later. You want easy cutting, so this step is key.
Melting the Chocolate Mixture
Next, take a medium-sized saucepan. Put in 2 cups of semi-sweet chocolate chips and 1 can of sweetened condensed milk. Set the saucepan over low heat. Stir the mix constantly with a wooden spoon or spatula. Keep stirring until the chocolate melts and the mix is smooth. This step can take a few minutes. You want a silky texture, so be patient.
Combining Ingredients and Folding in Marshmallows
Once melted, remove the saucepan from heat. Add in 1 teaspoon of pure vanilla extract and a pinch of sea salt. Stir well to combine everything. Now it’s time for the fun part! Gently fold in 2 cups of mini marshmallows. If you like nuts, add in 1/2 cup of chopped nuts too. Be careful not to crush the marshmallows. You want them fluffy and whole.
Pour the glossy chocolate mix into the prepared baking dish. Use a spatula to spread it evenly. To avoid air pockets, tap the dish on the counter. This helps the fudge settle nicely. Now, place the dish in the fridge for at least 2 hours, or until set. Once firm, lift the fudge out with the parchment paper and cut it into squares. Enjoy your sweet treat!
Tips & Tricks
Tips for Smooth and Creamy Fudge
To make your fudge smooth, use low heat. High heat can burn the chocolate. Stir slowly and keep mixing until the chocolate melts. This helps create a silky texture. Use fresh, high-quality chocolate chips for the best flavor. Adding a pinch of sea salt enhances the taste. It balances the sweetness and brings out the chocolate flavor. Remember to fold in marshmallows gently. This keeps them fluffy and airy.
Common Mistakes to Avoid
One common mistake is not lining the baking dish. If you skip this step, cutting the fudge becomes hard. Also, avoid overcooking the chocolate mixture. Make sure to take it off the heat once melted. If you stir too roughly, you may crush the marshmallows. This can make the fudge dense. Lastly, don’t forget to let it chill long enough. If it’s not set, it won’t hold its shape when cut.
Best Practices for Cutting Fudge Squares
For clean cuts, use a sharp knife. Wipe the knife with a damp cloth between cuts. This prevents sticking and makes squares look neat. Cut the fudge into small squares, around one inch. Smaller pieces are perfect for sharing. If the fudge is too soft, let it chill longer before cutting. Enjoy your delicious squares on a pretty plate for a festive touch.
Pro Tips
- Use Quality Chocolate: Opt for high-quality semi-sweet chocolate chips for the best flavor and texture in your fudge.
- Chill Thoroughly: Allow the fudge to chill for the full 2 hours to ensure it sets properly and achieves the desired firmness.
- Customize Your Nuts: Feel free to experiment with different types of nuts or omit them entirely based on your preference.
- Presentation Matters: Enhance the visual appeal by drizzling melted chocolate over the fudge and topping it with extra mini marshmallows before serving.
Variations
Different Flavor Additions and Mix-ins
You can make this fudge unique by adding different flavors. Try using white chocolate chips for a sweeter taste. You can also mix in peanut butter chips for a nutty twist. Consider adding a splash of coffee or espresso for a deeper flavor. For a fun crunch, add crushed cookies or candy bars. You can even fold in dried fruits, like cherries or cranberries, for a fruity surprise. Each addition changes the fudge's taste and texture, making it your own.
Seasonal Variations (e.g., Holiday Themes)
You can create seasonal versions of this fudge. For Halloween, add orange food coloring and sprinkle crushed candy corn on top. For Christmas, mix in peppermint extract and top with crushed candy canes. In spring, add pastel-colored mini marshmallows for a festive look. You can also try using vanilla or almond extracts to match the season's vibe. These small touches make the fudge feel special for any holiday.
Vegan and Gluten-Free Alternatives
If you want a vegan option, you can replace the chocolate chips with dairy-free ones. Use coconut milk instead of sweetened condensed milk for a creamy base. Make sure to check the labels to ensure all ingredients are gluten-free. You can use gluten-free nuts or omit them altogether. This way, everyone can enjoy the rich taste of chocolate marshmallow fudge, no matter their dietary needs.
Storage Info
Best Ways to Store Chocolate Marshmallow Fudge
To keep your fudge fresh, store it in an airtight container. Line the container with parchment paper. This will help prevent sticking. Place a layer of fudge in the container, then add more parchment paper between layers. This keeps the fudge from getting too soft. If you do this, your fudge will last about a week at room temperature.
Freezing Fudge for Longer Shelf Life
If you want to save your fudge for later, freezing is a great option. First, cut the fudge into squares. Wrap each square tightly in plastic wrap. Then, place the wrapped squares in a freezer bag. Remove as much air as you can before sealing. This will help keep the fudge fresh for up to three months. When you're ready to enjoy it, thaw the fudge in the fridge overnight.
How to Maintain Freshness and Flavor
To keep your fudge tasting great, avoid exposing it to air. Always use an airtight container. If you notice any changes in texture or taste, it may be time to toss it. Another tip is to keep it away from heat and sunlight. These can cause the fudge to melt or lose flavor. Following these steps will help ensure your chocolate marshmallow fudge stays delicious!
FAQs
Can I use other types of chocolate chips?
Yes, you can use different chocolate chips. Dark chocolate chips will add a rich flavor. White chocolate chips can give a sweet twist. You can even mix types for fun flavors. Just keep the same amount of chips, which is 2 cups.
How long does chocolate marshmallow fudge last?
Chocolate marshmallow fudge lasts about one week at room temperature. Store it in an airtight container. If you keep it in the fridge, it can last up to two weeks. Always check for any signs of spoilage before eating.
What can I do if my fudge is too soft?
If your fudge is too soft, it might need more chill time. Place it in the fridge for a few more hours. If it still doesn’t set, melt it again. Add another half cup of chocolate chips to thicken it. Stir well and let it cool again.
In this blog post, we covered how to make delicious chocolate marshmallow fudge. We explored essential and optional ingredients, plus tips for measuring. I broke down the step-by-step process, making it easy for you to follow. We also shared tricks for smooth fudge and popular variations. Proper storage methods keep your fudge fresh longer.
Enjoy making this treat and try your creative flavors. With practice, you'll master fudge-making and impress everyone.