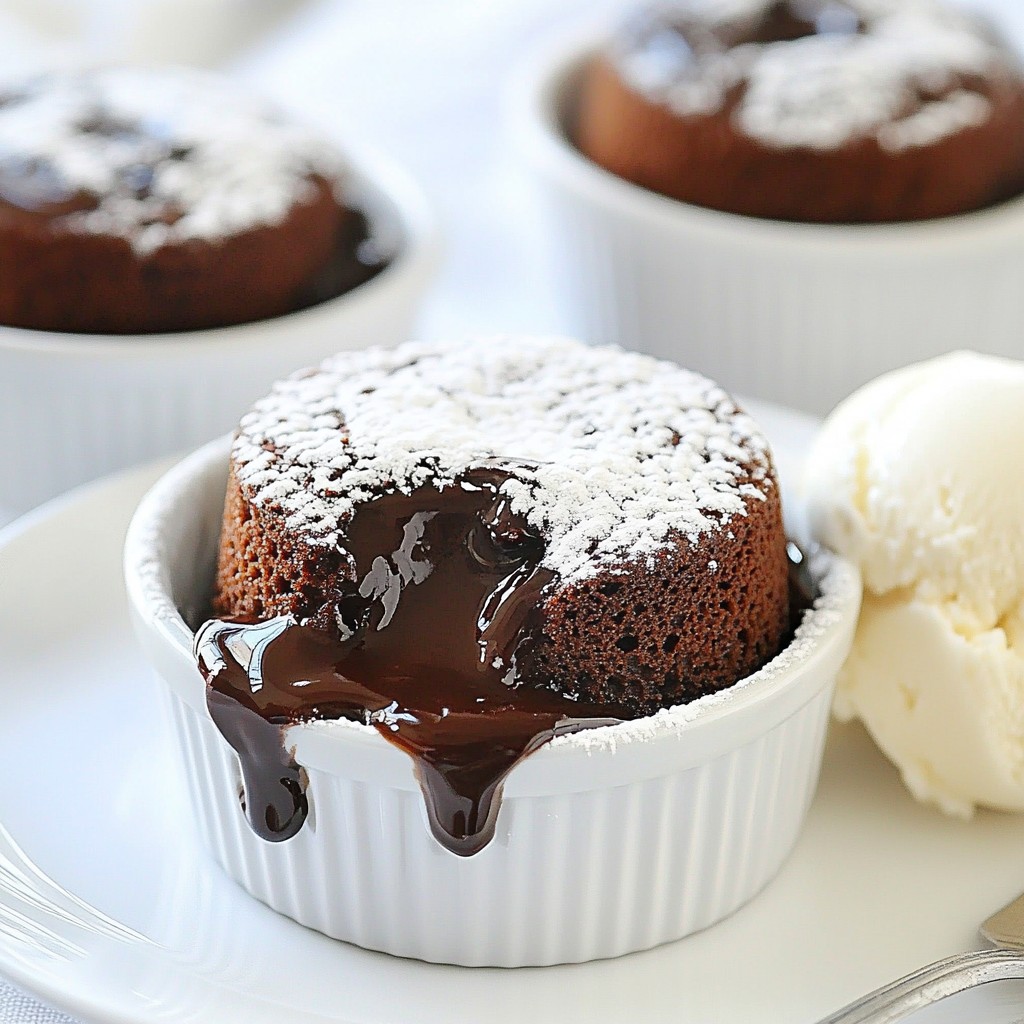
If you love chocolate and coffee, you’re in for a treat! These Chocolate Espresso Lava Cakes are a perfect blend of rich flavors and gooey goodness. With just a few simple ingredients, you can impress your friends and family with a dessert that oozes decadence. In this guide, I will walk you through easy steps to create this delightful dessert at home. Let’s dive into the world of chocolate espresso bliss!
Why I Love This Recipe
- Decadent Flavor: The combination of rich dark chocolate and espresso creates a luxurious taste that is simply irresistible.
- Instant Gratification: These lava cakes bake in just 12-14 minutes, delivering a delicious dessert in no time.
- Perfect for Sharing: With four individual servings, these cakes are perfect for a romantic dinner or a gathering with friends.
- Customizable Delight: Serve with ice cream or fresh berries to elevate the dessert experience to a new level.
Ingredients
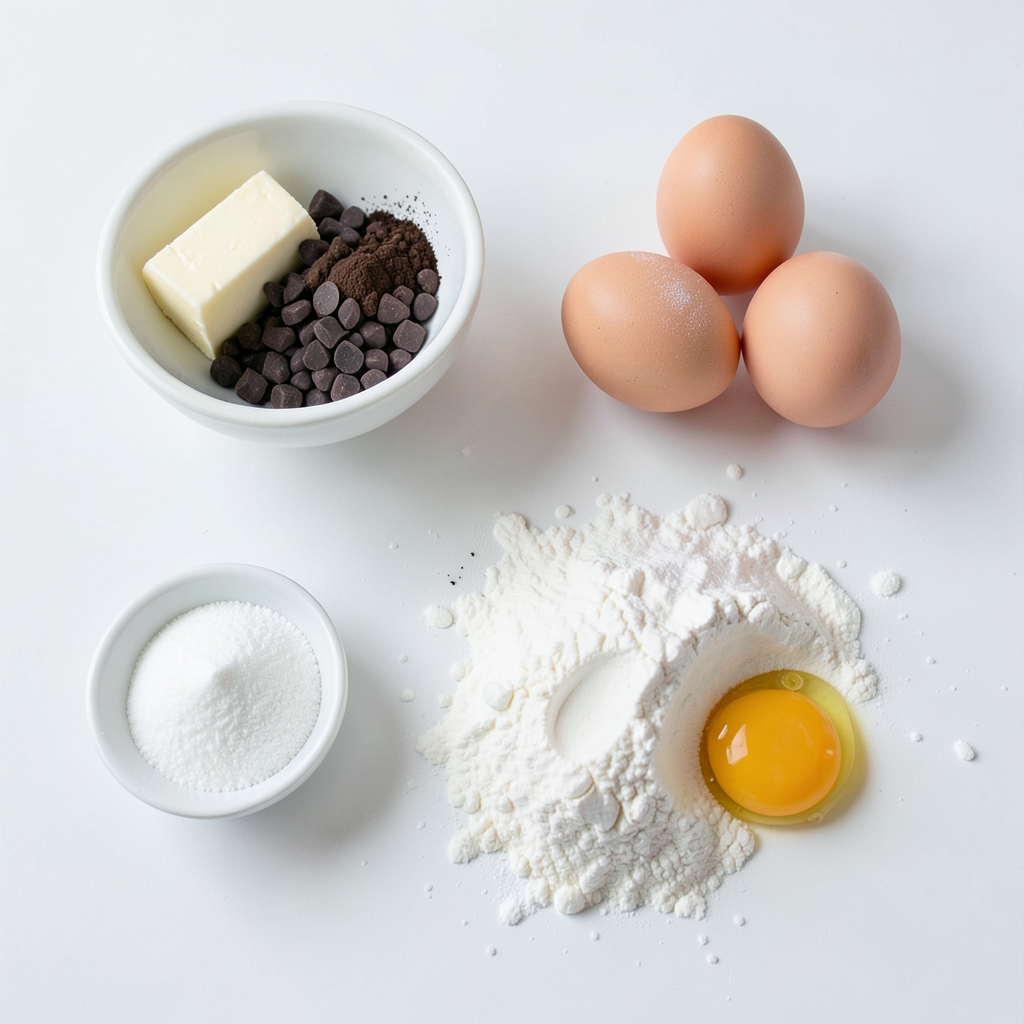
To make chocolate espresso lava cakes, you need the following ingredients:
- 1/2 cup unsalted butter
- 1 cup dark chocolate chips (70% cocoa)
- 2 tablespoons instant espresso powder
- 2 large eggs
- 2 large egg yolks
- 1/2 cup granulated sugar
- 1/4 cup all-purpose flour
- 1/4 teaspoon salt
- Optional Toppings: Powdered sugar, vanilla ice cream
These ingredients blend together to create that rich, gooey center you crave. The dark chocolate gives it depth, while the espresso adds a lovely kick. Make sure to use high-quality chocolate for the best flavor. The butter helps the cakes stay moist and gives them a nice sheen. The eggs and yolks create the perfect structure, while the flour keeps them light.
If you want to elevate your dessert, consider adding powdered sugar or a scoop of vanilla ice cream on top. The cold ice cream contrasts nicely with the warm cake, creating a delightful experience.
Step-by-Step Instructions
Preheat Oven and Prepare Ramekins
- Set oven to 425°F (220°C).
- Grease and dust ramekins with cocoa powder.
Start by preheating your oven. This step makes sure your cakes bake evenly. Greasing the ramekins helps them release easily after baking. Dusting with cocoa powder adds a nice touch and keeps them from sticking.
Melt Chocolate Mixture
- Combine butter, dark chocolate chips, and espresso powder.
- Heat in microwave, stirring in intervals.
In a microwave-safe bowl, mix the butter, dark chocolate chips, and espresso powder. Heat this mixture in the microwave. Stir after every 30 seconds until it melts into a smooth blend. This mixture gives the cakes their rich flavor.
Prepare Egg Mixture
- Whisk eggs, egg yolks, and sugar until fluffy.
In another bowl, whisk the eggs, egg yolks, and sugar together. Keep whisking until the mix looks light and fluffy. This step adds air to your batter, making it rise nicely.
Mix Batter
- Combine chocolate and egg mixtures.
- Fold in flour and salt.
Pour the warm chocolate mix into the egg mixture. Stir gently until blended. Then, fold in the flour and salt carefully. Mixing too hard can make the cakes dense, so be gentle.
Bake Cakes
- Distribute batter into ramekins.
- Bake for 12-14 minutes until edges set.
Spoon the batter into your prepared ramekins, filling them about three-quarters full. Place the ramekins on a baking sheet for easier handling. Bake them for 12-14 minutes, watching closely. The edges should be firm, but the centers should still jiggle.
Serve Cakes
- Cool and invert onto plates.
- Dust with powdered sugar and serve with ice cream.
Let the cakes cool for a minute after baking. Run a knife around the edges to loosen them. Invert each ramekin onto a plate to serve. Dust the tops with powdered sugar for a sweet finish. For a treat, add a scoop of vanilla ice cream. Enjoy the warm, gooey chocolate inside!
Tips & Tricks
Achieving the Perfect Lava Center
Baking time is key for a great lava center. If you bake too long, the center will harden. Aim for 12-14 minutes in the oven. Watch closely as the edges set but the middle stays jiggly. To check doneness, gently shake the ramekin. If the center wiggles, it’s ready.
Equipment Recommendations
The right ramekins make a big difference. Use 6-ounce ramekins for the best results. They help the cakes bake evenly. For mixing, a large bowl and a whisk are best. A spatula is great for folding in flour. Have a baking sheet ready for easy handling.
Presentation Ideas
Serve your lava cakes warm, and they will shine! A scoop of vanilla ice cream pairs well. The cold ice cream contrasts with the warm cake. For a fancy look, dust the tops with powdered sugar. Use a fine sieve for an even sprinkle. You can also add fresh berries for extra color.
Pro Tips
- Use high-quality chocolate: The flavor of your lava cakes relies heavily on the chocolate used. Opt for premium dark chocolate with at least 70% cocoa for a rich taste.
- Don’t overbake: To achieve that gooey center, it's crucial to keep an eye on the baking time. Once the edges are set and the center is slightly jiggly, it's time to take them out.
- Chill the batter: If you have time, refrigerate the batter for about 30 minutes before baking. This can help the cakes maintain their shape and enhance the lava effect.
- Serve immediately: These cakes are best enjoyed right out of the oven while the center is still molten. Pair with vanilla ice cream for an indulgent treat!
Variations
Flavor Variations
You can change up your chocolate espresso lava cakes with fun flavors. Adding extracts like vanilla or almond gives a new twist. Just a teaspoon mixed in can elevate the taste. You can also try different chocolates. Use milk chocolate for a sweeter cake or dark chocolate for a richer flavor. Mixing chocolates can create layers of taste.
Dietary Adjustments
If you need gluten-free cakes, simply swap all-purpose flour for almond or coconut flour. These flours work well and keep the cakes soft. For vegan options, replace eggs with flax eggs or applesauce. Use dairy-free chocolate and a vegan butter substitute. This way, everyone can enjoy the treat.
Topping Alternatives
Toppings can make your lava cakes even better. Fresh fruits like raspberries or strawberries add a nice touch. Whipped cream is creamy and delicious on top. You could drizzle berry sauce or caramel for extra flavor. Get creative with your toppings to match your taste!
Storage Info
Storing Leftovers
To keep your chocolate espresso lava cakes fresh, follow these tips:
- Refrigerate promptly: Place leftover cakes in an airtight container. This keeps them moist.
- Use parchment paper: If stacking, put parchment paper between layers to avoid sticking.
When reheating, do so gently:
- Microwave: Heat on low for about 20-30 seconds. Check to avoid overheating.
- Oven: Preheat to 350°F (175°C) and warm for 5-7 minutes. This keeps the center gooey.
Freezing Cakes
You can freeze these cakes either before or after baking:
- Before baking: Fill the ramekins, cover with plastic wrap, and freeze. Bake from frozen, adding two extra minutes to the time.
- After baking: Let them cool completely. Wrap each cake in plastic wrap and then in foil. Freeze for up to three months.
To maintain quality, consider these tips:
- Label your cakes: Write the date and type on the wrap, so you know what you have.
- Thaw in the fridge: When ready to eat, thaw in the fridge overnight before reheating.
These steps ensure you enjoy your lava cakes at their best!
FAQs
How can I tell when my lava cake is done?
To check if your lava cake is done, watch the edges. They should be set, while the center stays soft. You can gently shake the ramekin. If it jiggles a little, it's ready. Avoid overbaking, as this will lose the gooey center. The perfect texture is key for that lava effect.
Can I make lava cakes in advance?
Yes, you can prep the batter ahead of time. Store it in the fridge for up to one day. When ready to bake, pour the batter into the ramekins. Bake them straight from the fridge to keep the center soft. Remember, they only need about 12-14 minutes in the oven.
What can I serve with chocolate espresso lava cakes?
These cakes pair well with many treats. A scoop of vanilla ice cream adds creaminess. Fresh berries bring a nice tartness. Whipped cream can add a light touch. For drinks, pair with espresso or a rich coffee. Each option enhances the chocolate flavor wonderfully.
You learned how to make delicious chocolate espresso lava cakes. We covered the key ingredients, step-by-step instructions, and tips to get that perfect gooey center. Variations and storage ideas help you make this dessert your own.
Enjoy trying different flavors and toppings. Each bite offers rich chocolate and a burst of espresso. With practice, you'll impress everyone with your baking skills. Dive into this tasty treat and have fun!