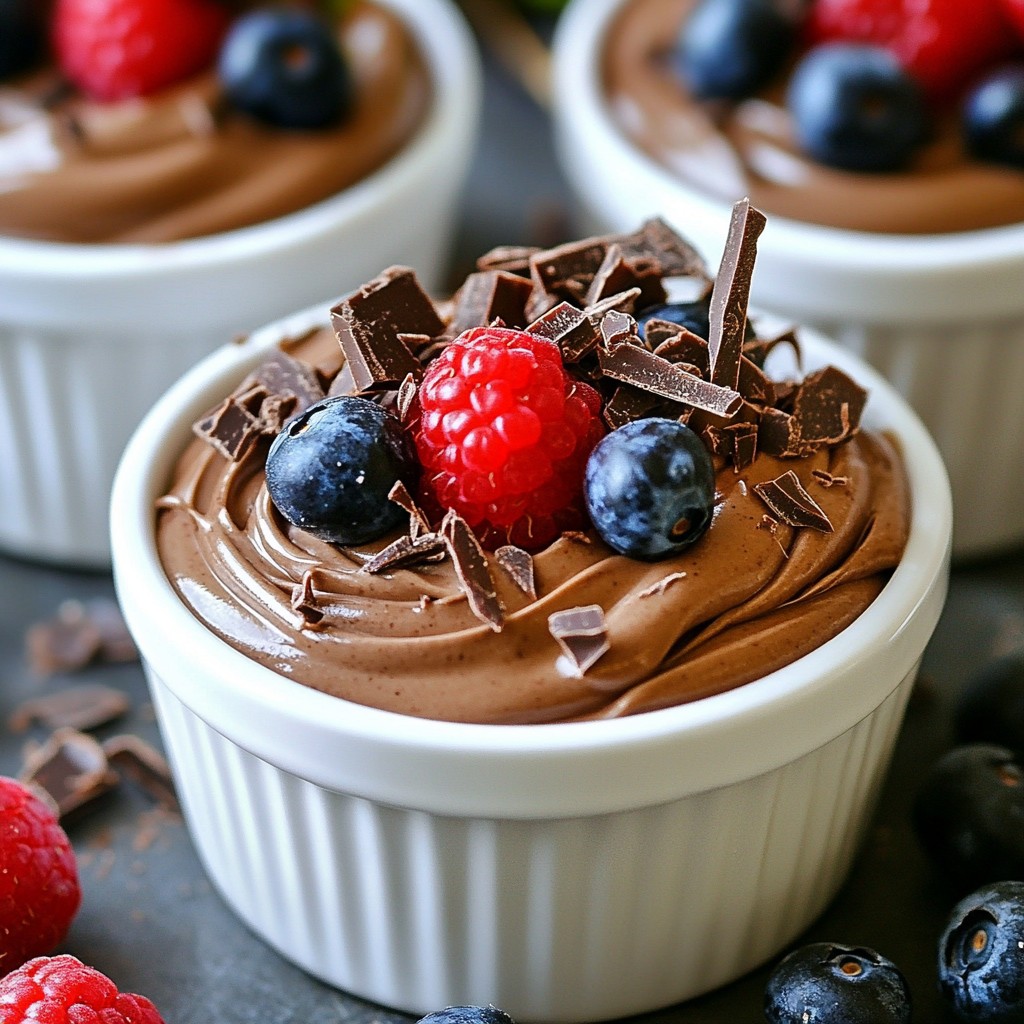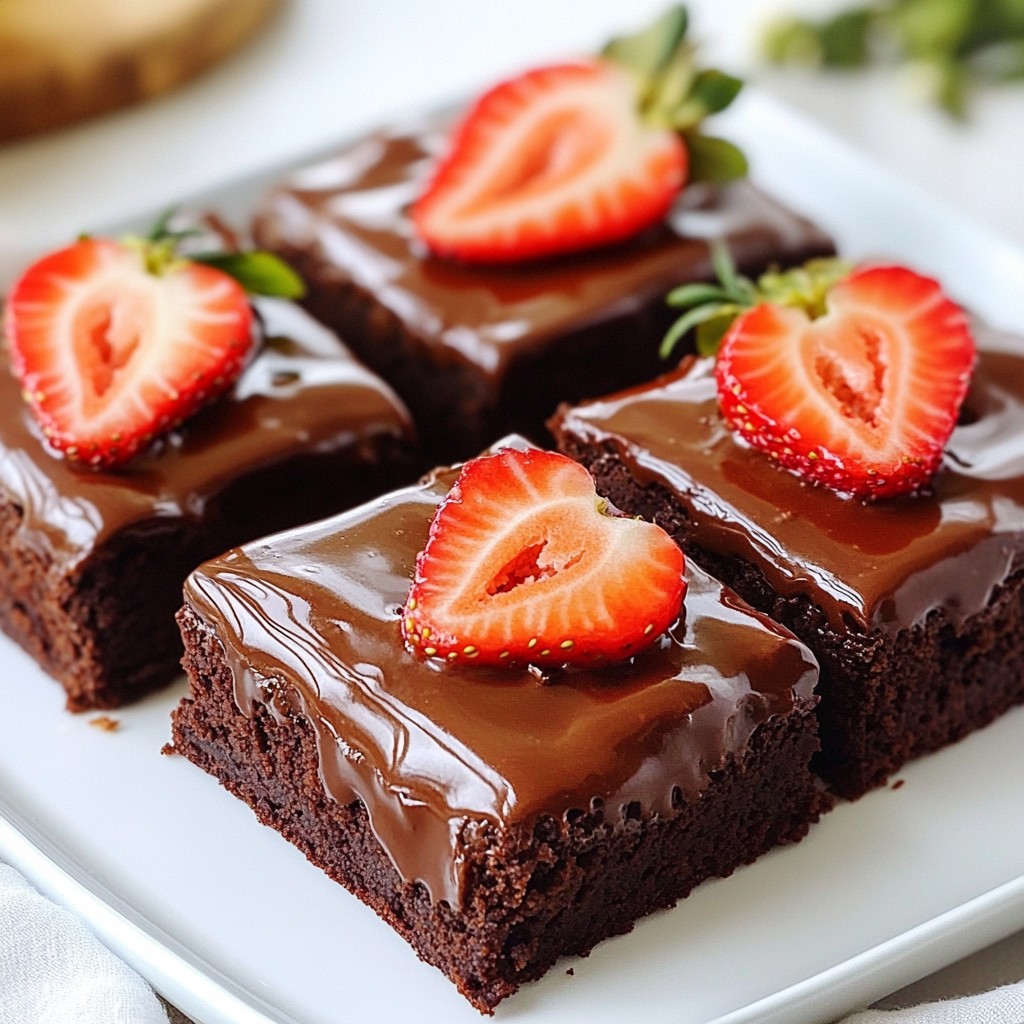
Do you crave a treat that combines chocolate and strawberries in an easy recipe? Look no further! Chocolate Covered Strawberry Brownies are a simple yet indulgent delight. In this blog post, I'll show you the key ingredients, steps, and tips to make these delicious brownies at home. You'll impress friends and family with this sweet treat that's perfect for any occasion. Let’s dive in!
Why I Love This Recipe
- Decadent Flavors: The rich chocolate combined with fresh strawberries creates an irresistible flavor profile that satisfies every sweet tooth.
- Easy to Make: This recipe is straightforward and requires minimal effort, making it perfect for both novice and experienced bakers.
- Perfect for Any Occasion: Whether it's a birthday, holiday, or just a casual get-together, these brownies are sure to impress your guests.
- Beautiful Presentation: The vibrant strawberries on top not only enhance the flavor but also add a stunning visual appeal to the dessert.
Ingredients
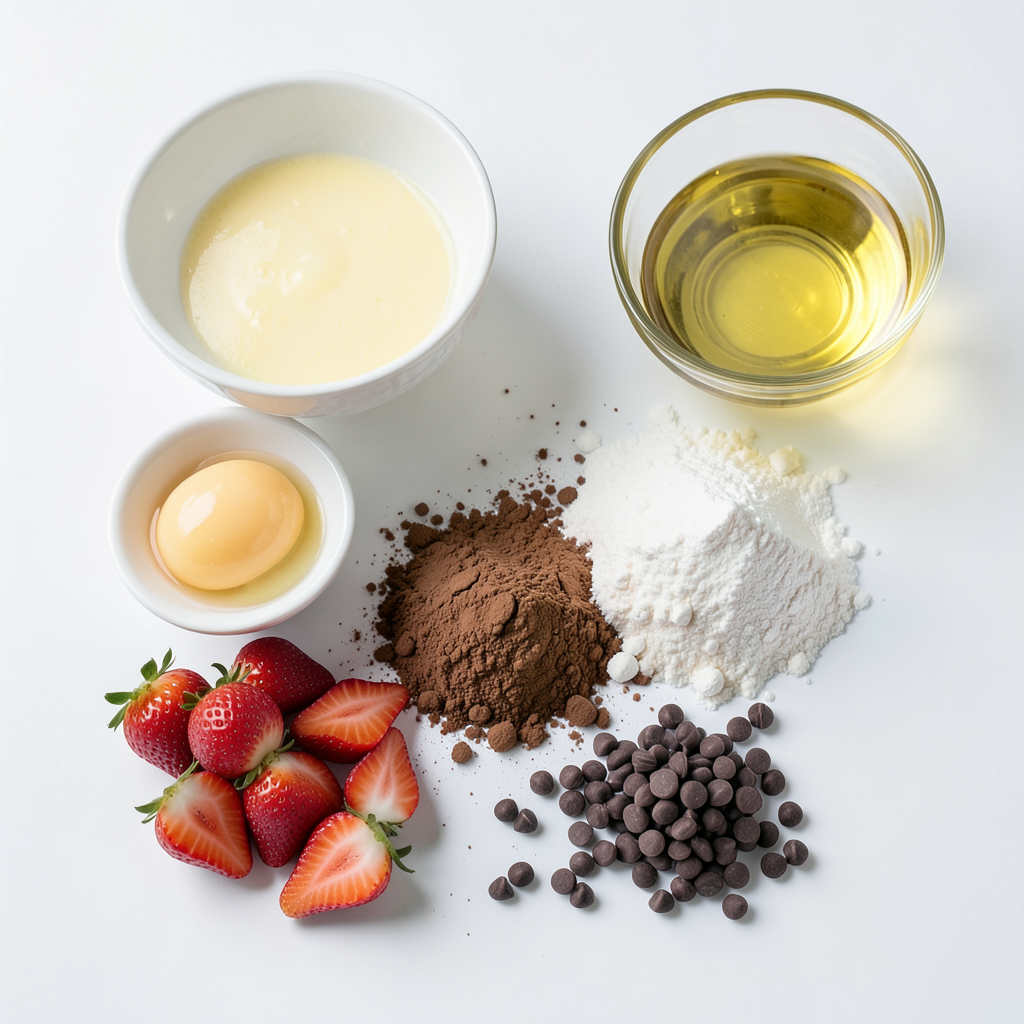
List of key ingredients for Chocolate Covered Strawberry Brownies
To make these delicious brownies, gather these key ingredients:
- 1 cup unsalted butter, melted
- 1 ¾ cups granulated sugar
- 4 large eggs
- 1 teaspoon vanilla extract
- 1 cup all-purpose flour
- ½ cup unsweetened cocoa powder
- ½ teaspoon salt
- 1 cup fresh strawberries, hulled and sliced
- 1 cup semi-sweet chocolate chips
- 1 tablespoon vegetable oil
These ingredients create a rich and fudgy brownie base topped with chocolate and strawberries.
Optional ingredients for customization
You can make these brownies even more special by adding:
- Chopped nuts like walnuts or pecans for crunch
- A pinch of espresso powder to enhance the chocolate flavor
- A sprinkle of sea salt for a sweet and salty twist
These options allow you to tailor the brownies to your taste.
Substitutions for dietary restrictions
If you have dietary needs, here are some substitutions:
- Use coconut oil instead of butter for a dairy-free option
- Swap granulated sugar with coconut sugar for a more natural sweetener
- Use gluten-free flour instead of all-purpose flour to make it gluten-free
These swaps let everyone enjoy these tasty brownies, no matter their diet!
Step-by-Step Instructions
Prepping the oven and baking pan
Start by preheating your oven to 350°F (175°C). This step warms the oven for even baking. Next, grab a 9x13 inch baking pan. Grease the pan well with cooking spray or butter. This prevents the brownies from sticking.
Mixing the brownie batter
In a large mixing bowl, pour in 1 cup of melted unsalted butter. Add 1 ¾ cups of granulated sugar. Whisk these together until smooth and glossy. Next, add 4 large eggs one at a time, mixing well after each. Stir in 1 teaspoon of vanilla extract until combined.
In a separate bowl, sift together 1 cup of all-purpose flour, ½ cup of unsweetened cocoa powder, and ½ teaspoon of salt. This removes lumps and helps with mixing. Gradually fold the dry mix into the wet ingredients. Do this gently to avoid dense brownies.
Baking and cooling the brownies
Pour the brownie batter into your prepared baking pan. Use a spatula to spread it evenly. Bake in the preheated oven for 25-30 minutes. To check if they are done, insert a toothpick into the center. It should come out clean with a few moist crumbs. After baking, cool the brownies in the pan on a wire rack for 10-15 minutes.
Preparing the chocolate topping
While the brownies cool, prepare the chocolate topping. In a microwave-safe bowl, combine 1 cup of semi-sweet chocolate chips with 1 tablespoon of vegetable oil. Microwave in 30-second intervals, stirring well after each. Continue until the mixture is smooth and melted.
Assembling the final dessert
Once the brownies are cool, pour the melted chocolate over the top. Spread it evenly with a spatula. Now, take 1 cup of hulled and sliced fresh strawberries. Decorate the chocolate layer by gently pressing the strawberries into the chocolate. This makes your brownies look beautiful. Let the chocolate set at room temperature for 30 minutes or refrigerate for 10 minutes. Finally, cut the brownies into squares and enjoy!
Tips & Tricks
Achieving the perfect brownie texture
To get soft and fudgy brownies, start with room temperature eggs. They blend better. Mix the wet and dry ingredients until just combined. Overmixing can make the brownies tough. Using melted butter adds richness. Bake until a toothpick comes out with some moist crumbs. This means they are perfect.
Best practices for melting chocolate
When melting chocolate, use a microwave-safe bowl. Place chocolate chips and vegetable oil together. Heat in 30-second bursts. Stir between each burst to avoid burning. The chocolate should be smooth and shiny. If it’s too thick, add a bit more oil to help it spread better.
How to properly slice strawberries
Choose ripe strawberries for the best taste. First, wash them gently under cool water. Remove the green tops, then slice them into even pieces. Aim for about ¼ inch thick. This helps them sit nicely on the brownies and look pretty. Press them lightly into the chocolate to keep them in place.
Pro Tips
- Use Room Temperature Ingredients: Ensure that your eggs and butter are at room temperature before mixing. This helps to create a smooth batter and ensures even baking.
- Don’t Overmix: Mix the batter just until the dry ingredients are incorporated. Overmixing can lead to tough brownies instead of the desired fudgy texture.
- Check for Doneness: Use a toothpick to check for doneness in the center of the brownies. It should come out with a few moist crumbs, ensuring they remain fudgy.
- Chill for Better Cutting: For clean cuts, refrigerate the brownies for about 30 minutes after topping with chocolate. This makes slicing easier and helps the chocolate set perfectly.
Variations
Adding nuts or other mix-ins
You can easily add nuts or other mix-ins to your brownies. Chopped walnuts or pecans work great. Just stir in about half a cup of your favorite nuts into the batter. This adds a nice crunch and flavor. You can also try adding chocolate chunks or caramel bits. These mix-ins bring new tastes and textures.
Using different types of chocolate
Switching up the type of chocolate can change the flavor profile. You might use dark chocolate instead of semi-sweet. This gives the brownies a richer taste. If you prefer a sweeter treat, try milk chocolate. You can also mix different types of chocolate. Combine dark and white chocolate for a fun twist.
Making it gluten-free or vegan
To make these brownies gluten-free, swap the all-purpose flour with gluten-free flour. Look for a blend that works well in baking. For a vegan version, replace the butter with coconut oil and use flax eggs. To make a flax egg, mix one tablespoon of ground flaxseed with three tablespoons of water. Let it sit for a few minutes to thicken. These changes keep the delicious flavor while meeting dietary needs.
Storage Info
How to store leftover brownies
Store your leftover brownies in an airtight container. This keeps them fresh and moist. Place a piece of parchment paper in between layers to prevent sticking. They will last up to five days at room temperature. If you want them to last longer, refrigerate them. Just remember to let them warm up a bit before serving.
Tips for freezing brownies
Freezing brownies is easy and keeps them tasty. First, let your brownies cool completely. Then, cut them into squares. Wrap each square tightly in plastic wrap. After that, place the wrapped brownies in a freezer bag. They can last up to three months in the freezer. When you crave a brownie, just take one out and let it thaw.
Best way to reheat brownies
To reheat brownies, use your microwave. Place a brownie on a microwave-safe plate. Heat it for about 10-15 seconds. This warms it up without drying it out. You can also use an oven for reheating. Preheat it to 350°F (175°C). Place the brownies on a baking sheet and warm them for 5-10 minutes. Enjoy your warm, gooey treat!
FAQs
How do I know when the brownies are done?
You can check if the brownies are done by inserting a toothpick into the center. If the toothpick comes out clean or has a few moist crumbs, they are ready. Usually, it takes about 25 to 30 minutes to bake them. If you overbake, they may become dry. Keep an eye on them during the last few minutes.
Can I use frozen strawberries instead?
Yes, you can use frozen strawberries. Just thaw them first and drain any extra juice. This helps to prevent soggy brownies. Fresh strawberries give a nice texture, but frozen ones work well too.
How long do chocolate covered strawberry brownies last?
These brownies last for about 3 to 4 days at room temperature. If you want to keep them longer, store them in the fridge. You can also freeze them for up to 2 months. Just make sure to wrap them tightly.
What should I serve with brownies?
Brownies taste great with vanilla ice cream or whipped cream. You can also serve them with fresh fruit or a drizzle of chocolate sauce. Pairing them with a hot drink, like coffee or tea, makes for a perfect treat.
Now you know how to make Chocolate Covered Strawberry Brownies. We discussed key ingredients, step-by-step instructions, and helpful tips to get the best results. You can also customize the recipe with different mix-ins or dietary swaps.
Enjoy these delicious treats fresh or stored for later. Remember, these brownies not only taste great but also impress anyone who sees them. Happy baking!