Chili Lime Roasted Chickpeas Crispy and Flavorful Snack

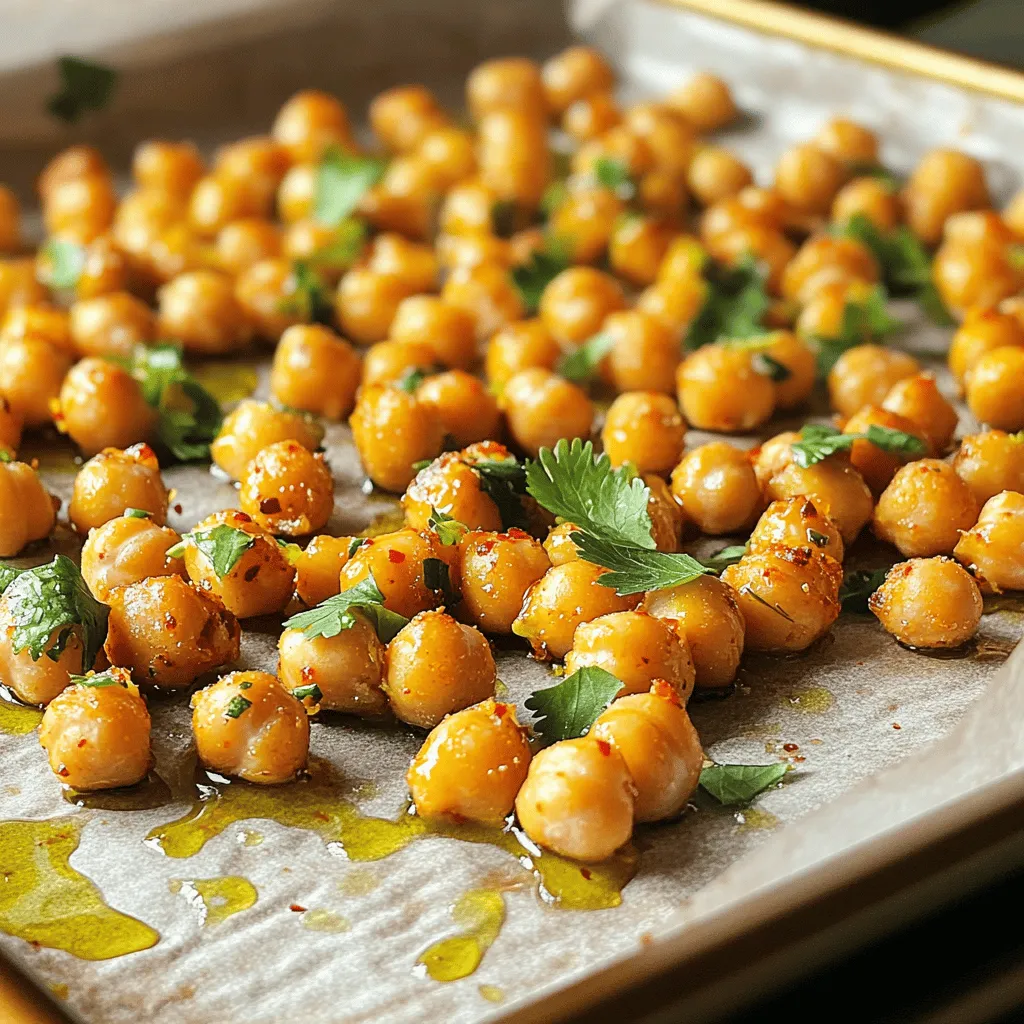
Looking for a snack that’s both crispy and packed with flavor? Look no further than Chili Lime Roasted Chickpeas! With just a few pantry staples, you can whip up a tasty and healthy treat that satisfies your crunchy cravings. In this post, I’ll walk you through the simple steps, share tips for maximum crispiness, and suggest fun variations. Get ready to elevate your snacking game!

Ingredients

Main Ingredients

– 2 cans (15 oz each) chickpeas

– 2 tablespoons high-quality olive oil

– Fresh cilantro leaves (optional)

Spices and Seasonings

– Chili powder

– Smoked paprika

– Garlic powder

– Onion powder

– Cayenne pepper

Citrus Component

– Zest of 1 lime

– Juice of 1 lime

– Salt, to taste

Chili lime roasted chickpeas start with simple but tasty ingredients. I love using canned chickpeas because they are quick and easy. You want to drain and rinse them well. This removes any canning liquid and helps them crisp up better. High-quality olive oil adds flavor and helps the spices stick.

For spices, I use chili powder and smoked paprika for a warm, smoky taste. Garlic and onion powder add depth. A pinch of cayenne pepper gives a nice kick. You can adjust the heat based on your taste.

The citrus component brightens the dish. The zest and juice of one lime give a fresh, zesty flavor. Salt brings everything together. If you like, sprinkle fresh cilantro leaves on top for color and extra flavor. This full recipe makes a great snack that is both crispy and flavorful.

Step-by-Step Instructions

Preparing the Oven and Baking Sheet

– Preheat oven to 400°F (200°C).

– Line a baking sheet with parchment paper.

Preparing the Chickpeas

– Drain and rinse chickpeas.

– Pat chickpeas dry with a kitchen towel.

Making the Marinade

– Combine olive oil and spices.

– Whisk until smooth.

Coating the Chickpeas

– Gently fold chickpeas into the marinade.

– Ensure even coating without breaking.
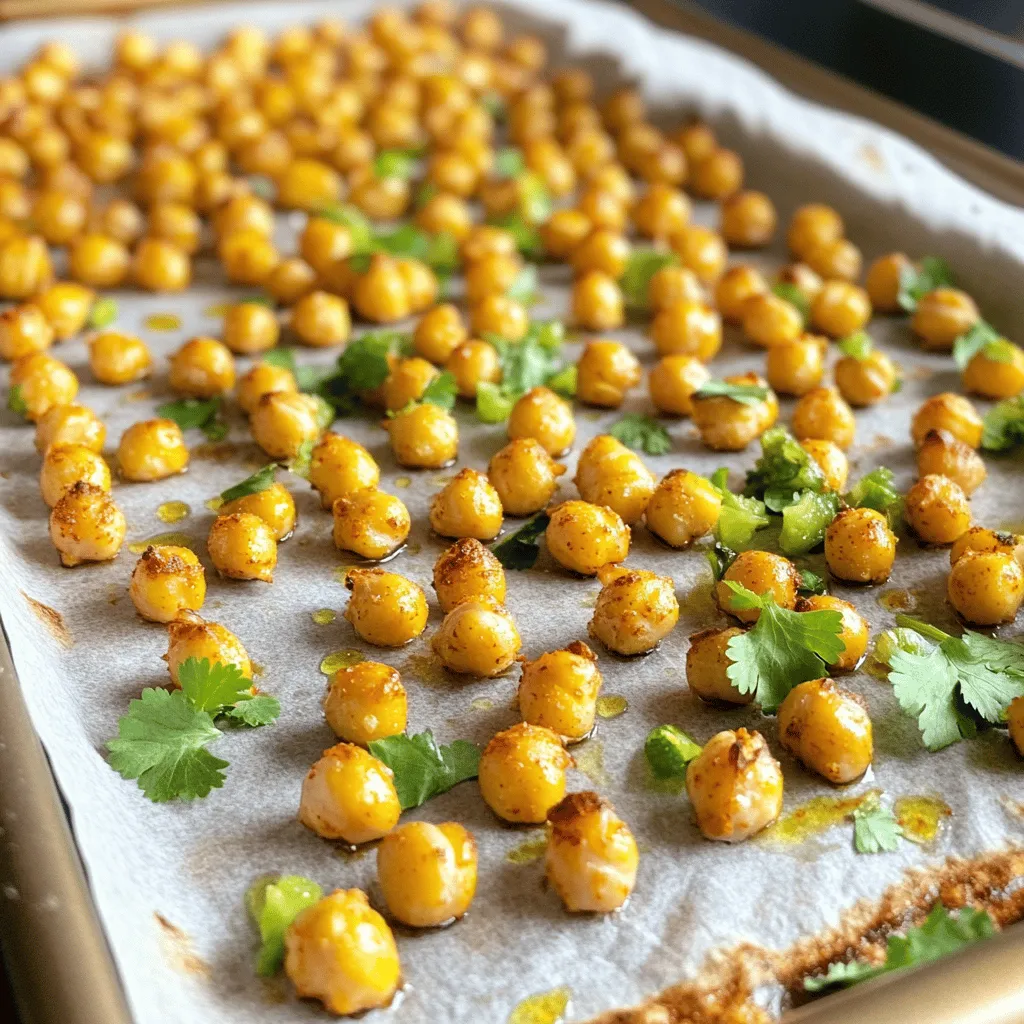
Roasting

– Spread seasoned chickpeas on the baking sheet.

– Roast for 25-30 minutes, shaking halfway.

Finishing Touches

– Cool for a few minutes.

– Serve with optional cilantro garnish.

For the complete recipe, check out the Full Recipe.

Tips & Tricks

Achieving Maximum Crispiness

To make your chickpeas crispy, dry them well. After rinsing, I always pat them with a clean towel. This step is key for great texture. If moisture remains, they will not crisp up. Next, avoid overcrowding on the baking sheet. Spread the chickpeas out in a single layer. This allows each chickpea to get nice and crispy.

Adjusting Spice Level

You can change the heat by adjusting cayenne pepper. If you like it mild, use less. For more heat, add extra cayenne. You can also try other spices like paprika or cumin. These add different flavors, so feel free to experiment.

Enhancing Flavor

Garnishes can really elevate the dish. Fresh cilantro adds a nice touch. You can also try adding diced avocado or a sprinkle of feta cheese. For lime, you can substitute lemon or orange juice for a twist. This gives your chickpeas a new flavor profile. Try these ideas to make your snack even better. For the complete recipe, check the Full Recipe section.

Variations

Flavor Infusions

You can change the taste of your chickpeas easily. One fun way is to add smoked chipotle. This spice gives a nice, smoky twist to your snack. If you like heat, try adding more cayenne pepper too. You can also experiment with different citrus fruits. Orange or lemon zest can add a unique flavor. Each fruit brings its own fun taste to the dish.

Colorful Alternatives

Why not switch up the legumes? Black beans are a great choice. They have a different color and taste, but they work well. You can also add vegetables. Try mixing in diced bell peppers or zucchini. These add color and texture, making your snack even better.

Serving Suggestions

Chili lime roasted chickpeas are great on their own. But they are even better with dips. Pair them with hummus or guacamole for extra flavor. You can also sprinkle them on salads. They add crunch and taste, making your meal more exciting. For the full recipe, check out the main section of this article.

Storage Info

Proper Storage Techniques

To keep your Chili Lime Roasted Chickpeas crispy, choose the right container. Use an airtight container. Glass jars or plastic containers with tight lids work well. Avoid metal containers, as they can trap moisture.

To maintain crispness, store them at room temperature. If you put them in the fridge, they may lose their crunch. For extra protection, add a paper towel in the container. This will help soak up any moisture.

Shelf Life

If you keep your chickpeas at room temperature, they last about 3-4 days. Make sure they are in a cool, dry place. If you want them to last longer, consider freezing them. Just remember to let them cool completely before freezing.

For refrigeration, I recommend eating them within 5 days. They may not be as crispy, but they’ll still be tasty. When you reheat them, pop them back in the oven for a few minutes. This will help regain some of that crunch.

For the full recipe, check out the details above.

FAQs

How long do Chili Lime Roasted Chickpeas last?

Chili Lime Roasted Chickpeas can last up to five days. Store them in an airtight container at room temperature. They will stay crispy if stored correctly.

Can I make baked chickpeas in advance?

Yes, you can make baked chickpeas in advance. Simply follow the recipe and let them cool. Store them in a container. When ready to eat, reheat them in the oven for a few minutes to regain crispness.

What can I serve with roasted chickpeas?

You can serve roasted chickpeas with many dishes. They make a great snack on their own or can be added to salads. Try pairing them with dips like hummus or guacamole for extra flavor.

Are roasted chickpeas healthy?

Yes, roasted chickpeas are healthy. They are high in protein and fiber, which help keep you full. They also contain vitamins and minerals. This makes them a great snack option compared to chips or candy.

This article covered how to make Chili Lime Roasted Chickpeas, from ingredients to serving tips. You learned about key ingredients, the baking process, and ways to store them. Remember to dry the chickpeas well for a crispy finish. Feel free to adjust the spices to fit your taste. With these tips and tricks, you can enjoy a healthy snack that’s packed with flavor. Try different variations for fun twists. Enjoy your cooking journey and taste the deliciousness of your homemade roasted chickpeas!

- 2 cans (15 oz each) chickpeas - 2 tablespoons high-quality olive oil - Fresh cilantro leaves (optional) - Chili powder - Smoked paprika - Garlic powder - Onion powder - Cayenne pepper - Zest of 1 lime - Juice of 1 lime - Salt, to taste Chili lime roasted chickpeas start with simple but tasty ingredients. I love using canned chickpeas because they are quick and easy. You want to drain and rinse them well. This removes any canning liquid and helps them crisp up better. High-quality olive oil adds flavor and helps the spices stick. For spices, I use chili powder and smoked paprika for a warm, smoky taste. Garlic and onion powder add depth. A pinch of cayenne pepper gives a nice kick. You can adjust the heat based on your taste. The citrus component brightens the dish. The zest and juice of one lime give a fresh, zesty flavor. Salt brings everything together. If you like, sprinkle fresh cilantro leaves on top for color and extra flavor. This full recipe makes a great snack that is both crispy and flavorful. - Preheat oven to 400°F (200°C). - Line a baking sheet with parchment paper. - Drain and rinse chickpeas. - Pat chickpeas dry with a kitchen towel. - Combine olive oil and spices. - Whisk until smooth. - Gently fold chickpeas into the marinade. - Ensure even coating without breaking. - Spread seasoned chickpeas on the baking sheet. - Roast for 25-30 minutes, shaking halfway. - Cool for a few minutes. - Serve with optional cilantro garnish. For the complete recipe, check out the Full Recipe. To make your chickpeas crispy, dry them well. After rinsing, I always pat them with a clean towel. This step is key for great texture. If moisture remains, they will not crisp up. Next, avoid overcrowding on the baking sheet. Spread the chickpeas out in a single layer. This allows each chickpea to get nice and crispy. You can change the heat by adjusting cayenne pepper. If you like it mild, use less. For more heat, add extra cayenne. You can also try other spices like paprika or cumin. These add different flavors, so feel free to experiment. Garnishes can really elevate the dish. Fresh cilantro adds a nice touch. You can also try adding diced avocado or a sprinkle of feta cheese. For lime, you can substitute lemon or orange juice for a twist. This gives your chickpeas a new flavor profile. Try these ideas to make your snack even better. For the complete recipe, check the Full Recipe section. {{image_4}} You can change the taste of your chickpeas easily. One fun way is to add smoked chipotle. This spice gives a nice, smoky twist to your snack. If you like heat, try adding more cayenne pepper too. You can also experiment with different citrus fruits. Orange or lemon zest can add a unique flavor. Each fruit brings its own fun taste to the dish. Why not switch up the legumes? Black beans are a great choice. They have a different color and taste, but they work well. You can also add vegetables. Try mixing in diced bell peppers or zucchini. These add color and texture, making your snack even better. Chili lime roasted chickpeas are great on their own. But they are even better with dips. Pair them with hummus or guacamole for extra flavor. You can also sprinkle them on salads. They add crunch and taste, making your meal more exciting. For the full recipe, check out the main section of this article. To keep your Chili Lime Roasted Chickpeas crispy, choose the right container. Use an airtight container. Glass jars or plastic containers with tight lids work well. Avoid metal containers, as they can trap moisture. To maintain crispness, store them at room temperature. If you put them in the fridge, they may lose their crunch. For extra protection, add a paper towel in the container. This will help soak up any moisture. If you keep your chickpeas at room temperature, they last about 3-4 days. Make sure they are in a cool, dry place. If you want them to last longer, consider freezing them. Just remember to let them cool completely before freezing. For refrigeration, I recommend eating them within 5 days. They may not be as crispy, but they’ll still be tasty. When you reheat them, pop them back in the oven for a few minutes. This will help regain some of that crunch. For the full recipe, check out the details above. Chili Lime Roasted Chickpeas can last up to five days. Store them in an airtight container at room temperature. They will stay crispy if stored correctly. Yes, you can make baked chickpeas in advance. Simply follow the recipe and let them cool. Store them in a container. When ready to eat, reheat them in the oven for a few minutes to regain crispness. You can serve roasted chickpeas with many dishes. They make a great snack on their own or can be added to salads. Try pairing them with dips like hummus or guacamole for extra flavor. Yes, roasted chickpeas are healthy. They are high in protein and fiber, which help keep you full. They also contain vitamins and minerals. This makes them a great snack option compared to chips or candy. This article covered how to make Chili Lime Roasted Chickpeas, from ingredients to serving tips. You learned about key ingredients, the baking process, and ways to store them. Remember to dry the chickpeas well for a crispy finish. Feel free to adjust the spices to fit your taste. With these tips and tricks, you can enjoy a healthy snack that’s packed with flavor. Try different variations for fun twists. Enjoy your cooking journey and taste the deliciousness of your homemade roasted chickpeas!

Chili Lime Roasted Chickpeas

Looking for a tasty and nutritious snack? Try these Chili Lime Roasted Chickpeas! This easy recipe combines chickpeas, zesty lime, and a kick of spices for a crunchy and flavorful treat you can't resist. Perfect for a healthy snack or party appetizer, these roasted chickpeas are not only simple to make but are also packed with protein. Click through to discover the full recipe and start snacking smart today!

Ingredients
  

2 cans (15 oz each) chickpeas, thoroughly drained and rinsed

2 tablespoons high-quality olive oil

1 teaspoon chili powder

1 teaspoon smoked paprika

1/2 teaspoon garlic powder

1/2 teaspoon onion powder

1/4 teaspoon cayenne pepper (or more, based on spice preference)

Zest of 1 lime (approximately 1 tablespoon)

Juice of 1 lime (approximately 2 tablespoons)

Salt, to taste

Fresh cilantro leaves for garnish (optional)

Instructions
 

Preheat Your Oven: Start by preheating your oven to 400°F (200°C). Prepare a baking sheet by lining it with parchment paper to prevent sticking.

    Prepare the Chickpeas: Spread the drained and rinsed chickpeas onto the lined baking sheet in a single, even layer. Use a clean kitchen towel to gently pat them dry, removing any excess moisture. This step is crucial for achieving crispiness.

      Mix the Marinade: In a large mixing bowl, combine the olive oil, chili powder, smoked paprika, garlic powder, onion powder, cayenne pepper, lime zest, lime juice, and a pinch of salt. Whisk the mixture thoroughly until a smooth marinade forms.

        Coat the Chickpeas: Carefully add the dried chickpeas to the bowl with the marinade. Use a gentle folding motion to coat each chickpea evenly with the spice mixture without breaking them.

          Arrange for Roasting: Transfer the seasoned chickpeas back onto the baking sheet, making sure they are spread out in a single layer. Avoid overcrowding to ensure proper roasting.

            Roast the Chickpeas: Place the baking sheet in the preheated oven and roast the chickpeas for 25-30 minutes. Halfway through the cooking time, shake the pan to promote even cooking and crispness. The chickpeas should look golden brown and crispy when done.

              Cool and Crisp: Once roasted, remove the sheet from the oven and allow the chickpeas to cool for a few minutes; during this time, they will continue to crisp up.

                Serve and Garnish: Serve the chickpeas warm or at room temperature. For an extra burst of flavor, sprinkle with fresh cilantro leaves if desired.

                  Prep Time: 10 minutes | Total Time: 40 minutes | Servings: 4

                    Leave a Comment

                    Recipe Rating