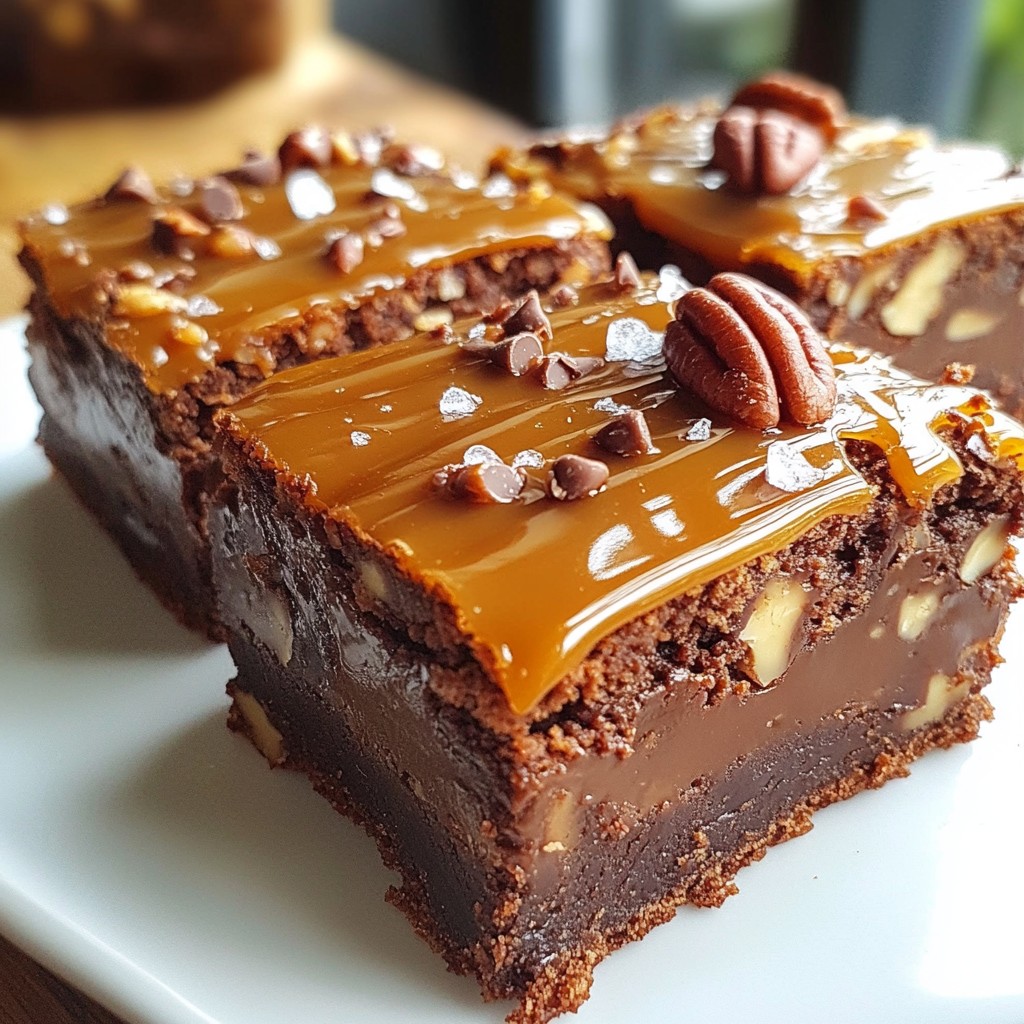
Craving a sweet treat that bursts with flavor? You’re in the right place! My Caramel Turtle Brownies blend rich chocolate, gooey caramel, and crunchy pecans for a dessert that delights. With just a few simple ingredients and steps, you can create a brownie that’s both indulgent and unforgettable. Let’s dive into the delicious world of turtle brownies and get baking!
Why I Love This Recipe
- Decadent Flavor: These brownies are rich and indulgent, with a perfect balance of chocolate and caramel that makes every bite a delight.
- Easy to Make: This recipe is straightforward, combining simple ingredients and easy steps, making it perfect for bakers of all skill levels.
- Perfect for Sharing: With 16 generous servings, these brownies are ideal for gatherings, parties, or any occasion where you want to impress!
- Customizable: Feel free to add your favorite nuts, swap in different types of chocolate, or adjust the caramel for a unique twist on this classic treat.
Ingredients
Main Ingredients
- 1 cup unsalted butter
- 2 ¼ cups granulated sugar
- 4 large eggs
- 1 tablespoon pure vanilla extract
Dry Ingredients
- 1 ¼ cups all-purpose flour
- ½ cup unsweetened cocoa powder
- 1 teaspoon baking powder
- ½ teaspoon fine sea salt
Add-ins and Toppings
- 1 cup semi-sweet chocolate chips
- 1 cup chopped pecans
- ½ cup rich caramel sauce
- Flaky sea salt for finishing
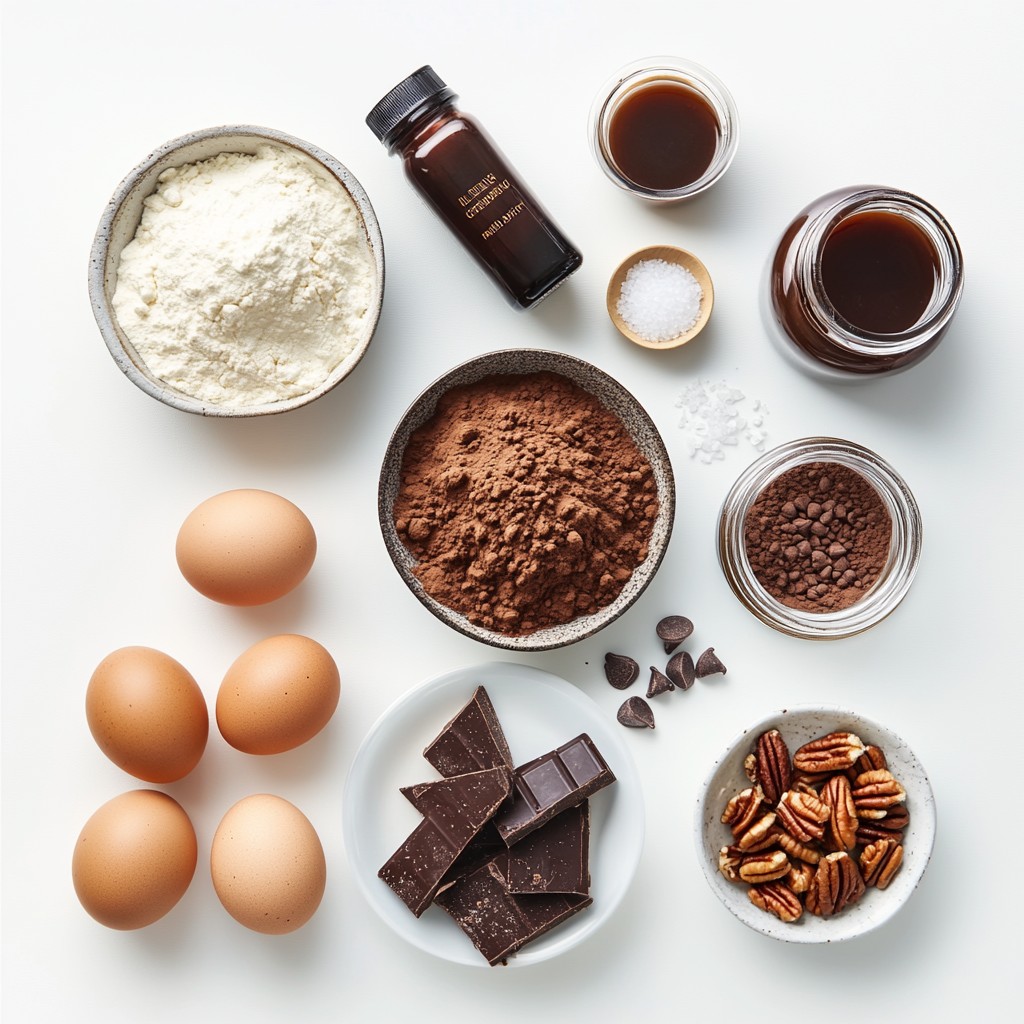
Gathering these ingredients is the first step to making your caramel turtle brownies. Start with unsalted butter, which gives you control over the saltiness. Granulated sugar adds sweetness and helps create that chewy texture we love. The eggs are vital, adding moisture and richness.
Next, we have the dry ingredients. All-purpose flour gives structure, while cocoa powder brings that deep chocolate flavor. Baking powder helps the brownies rise, and the fine sea salt balances the sweetness.
For the best part, the add-ins and toppings! Chocolate chips provide bursts of flavor, and chopped pecans add a nice crunch. The rich caramel sauce creates those gooey layers. Finally, a sprinkle of flaky sea salt on top enhances the overall taste.
With these ingredients, you are all set to create a truly indulgent treat that everyone will enjoy!
Step-by-Step Instructions
Preparing the Batter
1. First, preheat your oven to 350°F (175°C). Grease a 9x13-inch baking pan with cooking spray or butter.
2. Next, melt 1 cup of unsalted butter in a medium saucepan over low heat. Once melted, take it off the heat and add 2 ¼ cups of granulated sugar. Stir until the mixture looks glossy and smooth. Let it cool for about 5 minutes.
3. Now, crack 4 large eggs into the cooled mixture, adding them one at a time. Mix well after each egg. Then, add 1 tablespoon of pure vanilla extract and stir until fully combined.
Mixing Dry Ingredients
1. In a separate bowl, sift together 1 ¼ cups of all-purpose flour, ½ cup of unsweetened cocoa powder, 1 teaspoon of baking powder, and ½ teaspoon of fine sea salt.
2. Gradually fold these dry ingredients into the wet mixture. Mix gently until there are no flour streaks left.
Assembling the Brownies
1. Pour half of the brownie batter into the prepared pan. Spread it evenly across the bottom.
2. Drizzle half of the ½ cup of rich caramel sauce over the brownie layer.
3. Carefully spread the remaining brownie batter over the caramel. Drizzle the rest of the caramel sauce on top.
4. Finally, sprinkle a small handful of reserved chocolate chips and chopped pecans over the top for added crunch.
Baking and Cooling
1. Bake in the preheated oven for 25-30 minutes. Check for doneness by inserting a toothpick into the center. It should come out with moist crumbs, not wet batter.
2. Once baked, take the pan out of the oven and let the brownies cool completely in the pan on a wire rack.
3. After cooling, drizzle extra caramel sauce on top and finish with a sprinkle of flaky sea salt for a special touch.
Tips & Tricks
Ensuring the Perfect Texture
To get the best texture in your caramel turtle brownies, mixing well is key. When you add the eggs, beat them in one at a time. This helps create a smooth batter. Don't rush this step. Mix until everything is just combined. Over-mixing can make brownies tough and chewy rather than soft and fudgy.
To check if your brownies are done, use a toothpick. Insert it into the center. If it comes out with some moist crumbs, they are ready. If it’s wet, give them a few more minutes. Keep an eye on them, as every oven is different.
Storage Tips
To keep your brownies fresh, store them in an airtight container. They stay good at room temperature for about 3 days. If you want to keep them longer, place them in the fridge. Just remember to let them come to room temp before serving.
For reheating, pop a brownie in the microwave for 10-15 seconds. This will warm it up and soften the caramel. You can also enjoy them cold, as they have a rich taste that shines through.
Serving Suggestions
For a great presentation, cut your brownies into neat squares. Arrange them on a rustic wooden board or a pretty cake stand. Drizzle some extra caramel sauce on top for an eye-catching touch.
Pair your brownies with vanilla ice cream for a delightful contrast. The cold ice cream balances the rich chocolate and caramel. You can also serve them with a cup of coffee or a glass of milk for a perfect treat.
Pro Tips
- Use Room Temperature Ingredients: Allow your eggs and butter to come to room temperature before mixing. This ensures a smoother batter and better incorporation of ingredients, resulting in fudgier brownies.
- Don’t Overbake: Keep a close eye on the brownies as they bake. The key to a fudgy texture is to remove them from the oven when a toothpick inserted comes out with moist crumbs, not completely clean.
- Layering for Extra Flavor: For an even richer taste, consider adding a layer of chocolate ganache on top of the brownies after they cool. It enhances the chocolate richness and adds a lovely shine.
- Store Properly: To keep your brownies fresh, store them in an airtight container at room temperature for up to 3 days. For longer storage, refrigerate or freeze them, separating layers with parchment paper.
Variations
Nut-Free Option
If you want a nut-free treat, you can still enjoy these brownies. Instead of pecans, use chocolate chips or crunchy cookie pieces. This keeps the texture rich without the nuts. You can even add seeds like sunflower or pumpkin for a bit of crunch. These swaps make the brownies safe for those with nut allergies.
Gluten-Free Version
For a gluten-free option, substitute all-purpose flour with gluten-free flour blends. Look for blends that include rice flour, potato starch, or tapioca flour. These blends perform well in baking. You can also use almond flour, but be aware it may change the texture slightly. Just remember to check that your baking powder is gluten-free too.
Flavor Enhancements
Want to kick up the flavor? Try adding a teaspoon of espresso powder to the batter. It enhances the chocolate taste without making it taste like coffee. You can also mix in some toffee bits or swirl in peanut butter for extra richness. These little tweaks transform your brownies into something truly special.
Storage Info
Storing Brownies
To keep your brownies fresh, you can store them at room temperature or in the fridge. If you choose room temperature, place them in an airtight container. This keeps them soft and chewy. They will stay good for about three days this way.
If you prefer refrigeration, wrap the brownies tightly in plastic wrap. Then place them in a container. This method helps them last up to a week. However, the cold may change their texture slightly, making them firmer.
Freezing Brownies
Freezing brownies is a great way to save them for later. To do this, let your brownies cool completely. Then, cut them into squares. Wrap each square in plastic wrap, and place them in a freezer-safe bag or container. They can last in the freezer for up to three months.
When you are ready to enjoy them, take out the brownies and let them thaw in the fridge overnight. For a quick thaw, you can leave them at room temperature for about an hour. Enjoying them this way keeps their rich flavor and texture intact.
FAQs
What makes caramel turtle brownies different from regular brownies?
Caramel turtle brownies stand out due to their rich layers of caramel and pecans. Regular brownies are usually just chocolatey and fudgy. The caramel adds sweetness and a gooey texture. Chopped pecans introduce a delightful crunch. Together, they create a mix of flavors and textures that you won't find in standard brownies.
Can I make these brownies ahead of time?
Yes, you can make these brownies ahead of time. Bake them up to three days in advance. After they cool, cover them tightly in plastic wrap or foil. This keeps them fresh. For longer storage, place them in an airtight container. You can even freeze them for up to three months. Just remember to thaw them in the fridge before serving.
What can I substitute for caramel sauce?
If you don't have caramel sauce, you have options. You can use chocolate sauce as a quick fix. Another choice is to make a homemade caramel with sugar, butter, and cream. Just cook the sugar until it melts and turns golden, then mix in butter and cream. This gives you a fresh and tasty caramel.
How do I know when the brownies are done baking?
To check if your brownies are done, use the toothpick test. Insert a toothpick into the center. If it comes out with moist crumbs, they are ready. If it comes out clean, they may be overbaked. Visually, look for a slight crust on top. The edges should pull away from the pan, but the center will still look soft.
These caramel turtle brownies blend rich flavors and textures. You start with butter, sugar, and eggs for a moist base. Mixing in cocoa and toppings creates a treat that's hard to resist. Following the step-by-step guide helps ensure a perfect bake every time.
Remember, it's all about the right mixing and storage for freshness. Whether you stick with pecans or try nut-free options, there's something here for everyone. Enjoy experimenting with different flavors. Your baking journey starts now, and I know you'll create something amazing.