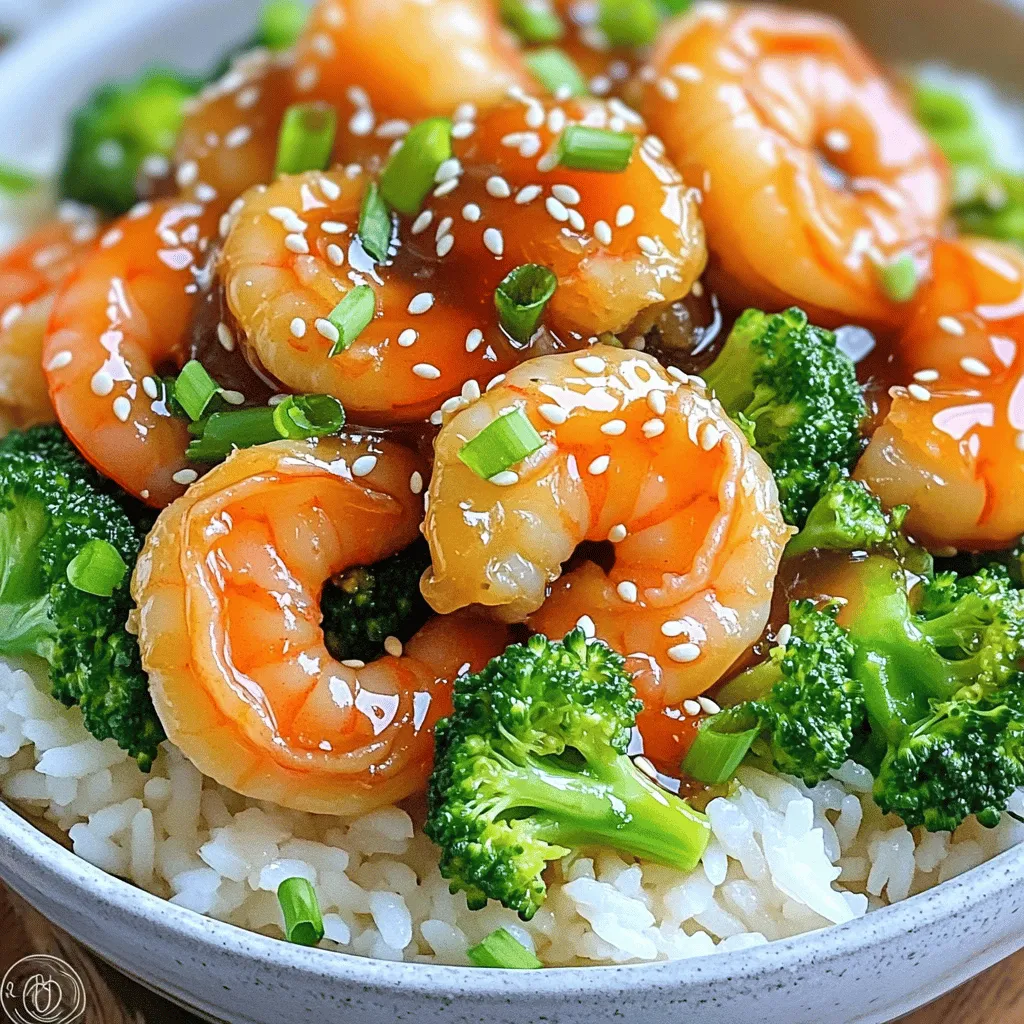
Honey Garlic Shrimp and Broccoli Quick Dinner Recipe
Ready for a quick and tasty dinner? This Honey Garlic Shrimp and Broccoli recipe is just what you need. It’s
Ready for a quick and tasty dinner? This Honey Garlic Shrimp and Broccoli recipe is just what you need. It’s
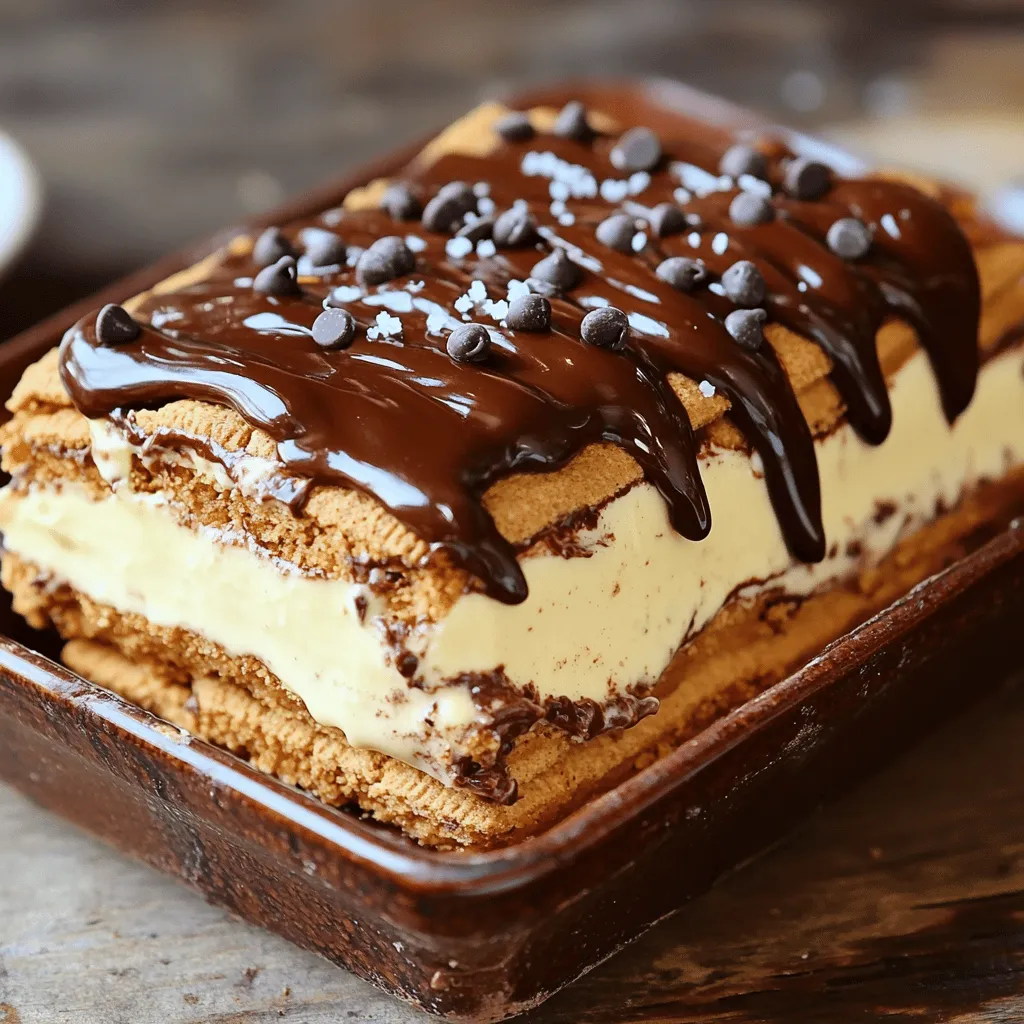
Indulge your sweet tooth with my No-Bake Chocolate Eclair Cake! This dreamy dessert is easy to make and perfect for
![- 12 large sea scallops - 1 tablespoon olive oil - 2 tablespoons unsalted butter - 2 cloves garlic, minced - Zest of 1 lemon - 1 tablespoon fresh parsley, finely chopped - Sea salt and freshly ground black pepper, to taste - Lemon wedges, for serving Choosing the right scallops When picking scallops, look for large, plump ones. Fresh scallops should smell like the ocean, not fishy. Their color should be creamy white or light beige. Importance of freshness Fresh scallops make all the difference. Use them within a day of buying. Store them in the coldest part of your fridge. Do not freeze them unless you must. Frozen scallops often lose their sweet flavor and tender texture. For more details on making this dish, check out the Full Recipe. Pat the scallops dry with paper towels. This helps them get a great sear. If they are wet, they will steam instead of sear. Season both sides with sea salt and black pepper. This simple step adds flavor. Temperature is key for scallops. Make sure they are at room temperature before cooking. Cold scallops can cause uneven cooking. Let them sit out for about 15 minutes before you start. Heat a non-stick skillet over medium-high heat. Add the olive oil and wait until it shimmers. This means the oil is hot enough. Carefully place the scallops in the skillet, making sure they do not touch. Sear them for about 2-3 minutes. You want a deep golden crust on the bottom. After that, gently flip the scallops using tongs. Add the unsalted butter and minced garlic to the pan. Baste the scallops with the melting butter using a spoon. This adds rich flavor and keeps them moist. Cook for another 2-3 minutes. Before taking the pan off the heat, sprinkle in the lemon zest and parsley. Toss the scallops gently to coat them. This adds a fresh taste that brightens the dish. Transfer the scallops to a serving plate right away. Drizzle any leftover garlic butter from the skillet on top. Garnish with extra parsley and serve with lemon wedges. This makes the dish look inviting and adds a nice citrus touch. Enjoy your meal! For the full recipe, check out the details above. - Ideal heat level: Start with medium-high heat. The oil should shimmer but not smoke. This range cooks the scallops well without burning them. - Timing tips: Sear each side for 2-3 minutes. Do not flip them too soon. You want a nice crust. - Suggested seasonings: Use sea salt and fresh black pepper for a simple taste. Add lemon zest for brightness. - Accompaniments: Serve with lemon wedges to add acidity. Fresh parsley adds a pop of color and flavor. - Overcrowding the pan: Cook scallops in batches if needed. They should not touch each other. This helps them sear properly. - Under-seasoning: Season the scallops well. A little salt and pepper elevate their natural taste. For the complete recipe, refer to the [Full Recipe]. {{image_4}} You can easily change the taste of your scallops. One way is to add chili flakes for a spicy kick. Just sprinkle a pinch on the scallops before cooking. This small change can make a big impact. Another option is to switch up the herbs. Instead of parsley, try thyme or dill. Both herbs add a fresh flavor that brightens the dish. They work well with the scallops and garlic butter. When it comes to serving, think about side dishes that complement your scallops. A light salad or some roasted vegetables work great. They add color and flavor to your plate. For drinks, a crisp white wine is a perfect match. A Sauvignon Blanc or Chardonnay enhances the meal. The wine’s acidity balances the richness of the scallops. While pan-searing is quick and easy, you have other options. Grilling scallops can give them a smoky flavor. Just preheat your grill and cook them quickly for a unique taste. Baking is another method you can try. It’s a gentler way to cook scallops. However, it won’t give you that nice, crispy crust. For a perfect sear and texture, stick to pan-searing. You can find the full recipe in the main article. To keep your leftover scallops fresh, you should refrigerate them right away. Place them in an airtight container. This helps prevent any strong odors from mixing with other foods. Make sure to keep them in the coldest part of your fridge. If you want to store them longer, you can freeze your scallops. First, wrap them tightly in plastic wrap or aluminum foil. Then, place them in a freezer bag. This will stop freezer burn and keep them safe for about three months. When you reheat scallops, you want to keep them tender. The best way is to use a skillet. Heat a small amount of oil over low heat. Add the scallops and cook for just a few minutes on each side. This method keeps them from getting tough. Avoid microwaving scallops. Microwaves can make them rubbery. You lose the nice sear and flavor when you do this. Fresh scallops will last in the fridge for one to two days. If they smell fishy, it’s time to toss them. Frozen scallops can last for up to three months, but for the best taste, use them sooner. Always check for freshness before cooking. Yes, you can use frozen scallops. Just make sure to thaw them properly. To do this, place the scallops in the fridge overnight. If you're short on time, you can run them under cold water for about 30 minutes. Avoid using warm water, as it can cook the scallops. Pan-seared scallops taste great with simple sides. Here are some options: - Creamy risotto - Garlic mashed potatoes - Steamed asparagus - Fresh green salad - Lemon butter pasta These sides balance the rich flavor of the scallops. Perfectly cooked scallops are golden brown on the outside. They should feel firm yet tender. Here are some tips: - Look for a golden crust. - The inside should be opaque and slightly translucent. - Use a fork to check if they flake easily. With these signs, you can enjoy scallops cooked just right. For the full recipe, check the section above. In this post, you learned how to cook sea scallops perfectly. We explored essential ingredients, tips for selecting fresh scallops, and step-by-step cooking instructions. We also discussed variations and how to store leftovers safely. Remember, cooking scallops is about timing and technique. With practice, you’ll impress everyone with your cooking skills. Enjoy your delicious dish, and don't shy away from experimenting!](https://recipetorch.com/wp-content/uploads/2025/05/1712ce36-25c7-4406-9087-276abb21ecd5.webp)
Gordon Ramsay’s pan-seared scallops are a quick and tasty dish you can master. Fresh scallops, simple seasonings, and a hot
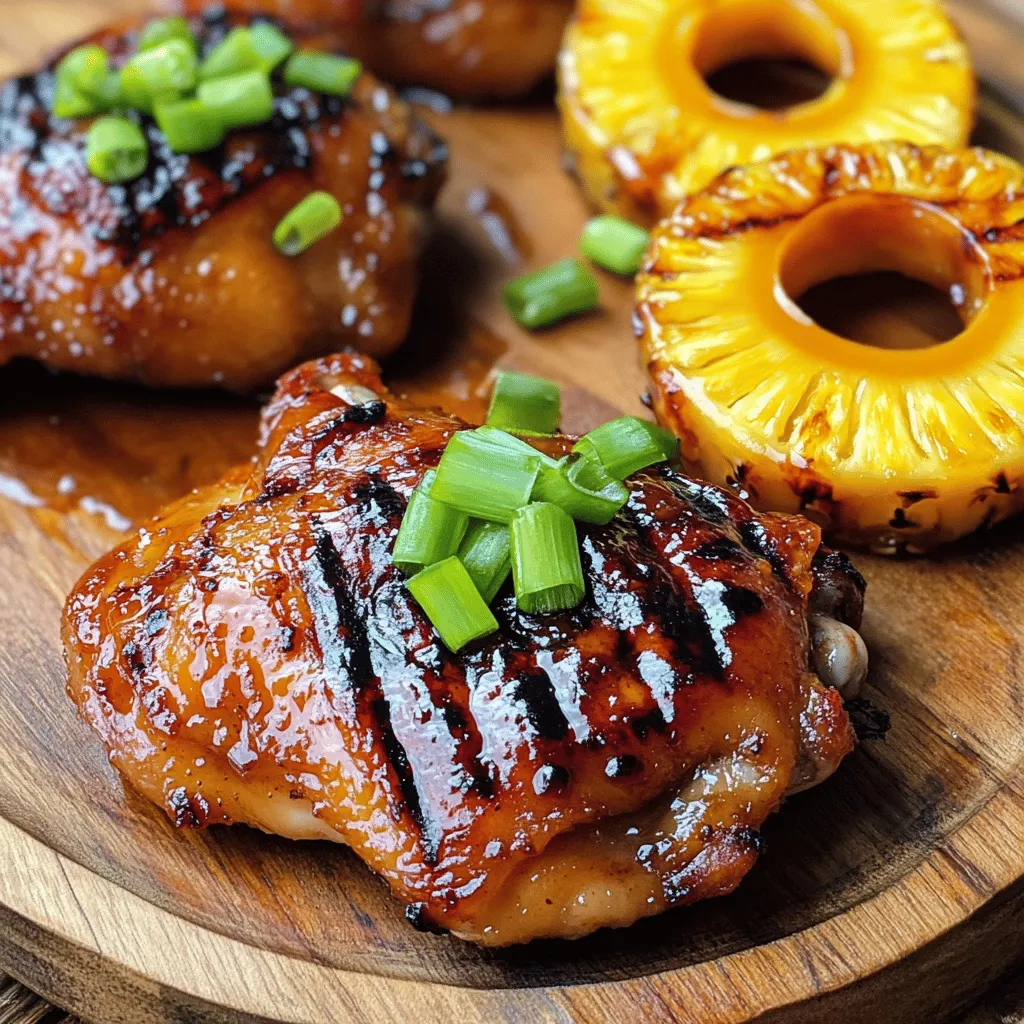
Are you ready to savor the taste of Hawaii right at home? Huli Huli Chicken is a delicious dish that
![- 1 pound large shrimp, peeled and deveined - 4 medium zucchinis, spiralized into noodles - 3 tablespoons olive oil - 4 cloves garlic, finely minced - 1 teaspoon red pepper flakes - 1 lemon, juiced and zested - 1/4 cup low-sodium chicken broth - Salt and freshly ground black pepper to taste - Fresh parsley, chopped, for garnish - Grated Parmesan cheese (optional) When making Skinny Shrimp Scampi with Zucchini Noodles, use fresh, high-quality ingredients. Fresh shrimp adds flavor and texture. Look for large shrimp that are firm and pink. Peel and devein them yourself for the best taste. Zucchini noodles are a great base. Spiralizing zucchini gives a fun twist to this dish. They cook quickly and hold flavor well. You can use a spiralizer or a julienne peeler. The key is to make even, thin noodles for a great bite. The olive oil is essential for sautéing. It gives richness and depth to the dish. Garlic adds a strong aroma and flavor. Use fresh garlic; it’s much better than pre-minced. Red pepper flakes bring a nice kick. Adjust the amount based on your spice preference. Lemon juice and zest brighten the dish. They cut through the richness of the shrimp and oil. Chicken broth adds moisture and enhances flavor. Use low-sodium broth to control salt levels. Lastly, garnish with fresh parsley. It adds color and freshness. You can sprinkle grated Parmesan on top for extra richness. For the complete recipe, refer to the Full Recipe. This dish is simple yet elegant, perfect for any occasion. - Heat 2 tablespoons of olive oil in a large skillet over medium heat. Allow the oil to warm for about 1 minute. - Once hot, add minced garlic and red pepper flakes. Sauté for around 30 seconds until the garlic is fragrant but not browned. - Increase the heat to medium-high. Add the shrimp to the skillet. Season with salt and black pepper. Cook the shrimp for 2-3 minutes, stirring occasionally, until they turn pink and opaque. - In the same skillet, pour in the last tablespoon of olive oil and chicken broth. Bring to a gentle simmer. - Add the spiralized zucchini noodles to the skillet. Toss them gently in the broth. Cook for 2-4 minutes, stirring often, until the noodles are tender yet still al dente. - Return the cooked shrimp to the skillet. Add freshly squeezed lemon juice and lemon zest. Toss everything together gently to combine and heat through for about 1 more minute. - Remove the skillet from the heat. Sprinkle chopped parsley over the top for freshness. - Serve the dish right away on warm plates. Offer grated Parmesan cheese on the side for those who want it. For the complete details and measurements, check the Full Recipe. To make great zucchini noodles, start by choosing firm zucchinis. Look for ones that are not too big. Bigger zucchinis can be watery. To avoid watery zucchini noodles, salt them lightly before cooking. This helps draw out excess moisture. After salting, let them sit for about 10 minutes, then pat them dry with a paper towel. For spiralizing, use a good quality spiralizer. Hold the zucchini with one hand and twist it. This will give you long, even noodles. You can also use a vegetable peeler for wider ribbons if you prefer. To prepare this dish in advance, cook the shrimp and store them in the fridge. You can spiralize the zucchini a day ahead too. Just keep them in an airtight container. When storing, keep the shrimp separate from the noodles. This helps to keep the noodles from getting soggy. For freshness, consume within two days. Reheat the shrimp, then toss in the noodles just before serving. Add more herbs for extra flavor. Fresh basil or thyme pairs well with shrimp. You can also try adding a pinch of smoked paprika for a smoky touch. For more texture, consider adding cherry tomatoes or bell peppers. They cook quickly and brighten the dish. Another option is to swap out chicken broth for vegetable broth. This keeps it light but adds depth to the flavor. If you want a richer taste, sprinkle in some grated Parmesan cheese before serving. It melts beautifully and adds creaminess. For the full recipe, check the [Full Recipe] section to get started on your culinary adventure! {{image_4}} For a tasty twist, you can swap out zucchini noodles. Consider using these options: - Spaghetti squash - Shirataki noodles - Carrot noodles These alternatives keep your dish low in carbs. They also add unique flavors and textures. If you want to change the chicken broth, try vegetable broth. This swap adds a different taste without losing the low-sodium benefit. You can also use homemade broth for even more flavor. You can boost your dish with extra vegetables. Here are some great choices: - Cherry tomatoes - Spinach - Bell peppers These add color and make your meal more nutritious. You can sauté them with the garlic or mix them in at the end. Want more protein? You can switch shrimp for: - Scallops - Chicken breast - Firm tofu Each choice brings its own flavor. This way, you can keep your meals exciting and varied. If you need gluten-free options, this dish is already safe. Just make sure your broth is gluten-free. For a dairy-free version, skip the Parmesan cheese. You can use nutritional yeast for a cheesy flavor without dairy. This keeps your dish creamy and satisfying. By making these small changes, you can enjoy a personalized Skinny Shrimp Scampi with Zucchini Noodles. For the full recipe, check out the earlier section. After you enjoy your Skinny Shrimp Scampi, store any leftovers in a safe way. Let the dish cool down for about 30 minutes. This helps prevent condensation in the container. Use airtight containers to keep the shrimp and zucchini fresh. Glass or plastic containers work well. You can store the leftovers in the fridge for up to three days. When you’re ready to eat again, reheating is key. The best way to reheat shrimp scampi is on the stove. Use a skillet over low heat. Add a splash of chicken broth to keep it moist. Stir gently until it’s warm. If you want to refresh the flavors, squeeze some fresh lemon juice over it. If you want to save it for later, you can freeze the dish. Start by letting it cool completely. Then, place it in a freezer-safe container. Make sure to remove as much air as possible to prevent freezer burn. It can stay in the freezer for up to three months. When you're ready to eat, thaw it overnight in the fridge. Reheat as mentioned above for the best taste. For the complete recipe, check out the [Full Recipe]. It takes about 20 minutes to make Skinny Shrimp Scampi. You need around 10 minutes for prep. Cooking takes about 10 minutes. This quick time makes it great for busy nights. Yes, you can use frozen shrimp. First, thaw them in cold water. It takes about 15-20 minutes. Once thawed, drain them well. Cook them just like fresh shrimp for the best taste. You can serve this dish with a green salad or garlic bread. Steamed vegetables also pair well. For a light meal, try a side of mixed greens. Wine lovers might enjoy a crisp white wine with it. In this blog post, we explored how to make a delicious Skinny Shrimp Scampi. You learned about the main ingredients, crucial seasonings, and step-by-step cooking instructions. I shared tips for perfect zucchini noodles and how to prep meals ahead of time. We also discussed variations and dietary options to suit your needs. As you try this recipe, remember that customization is key. Enjoy your healthy meal packed with flavor and nutrients!](https://recipetorch.com/wp-content/uploads/2025/05/4eefec01-a9c5-4c2e-a0a5-7a039f2c809b.webp)
Craving a light and tasty meal? Try my Skinny Shrimp Scampi with Zucchini Noodles! This fresh dish is perfect for
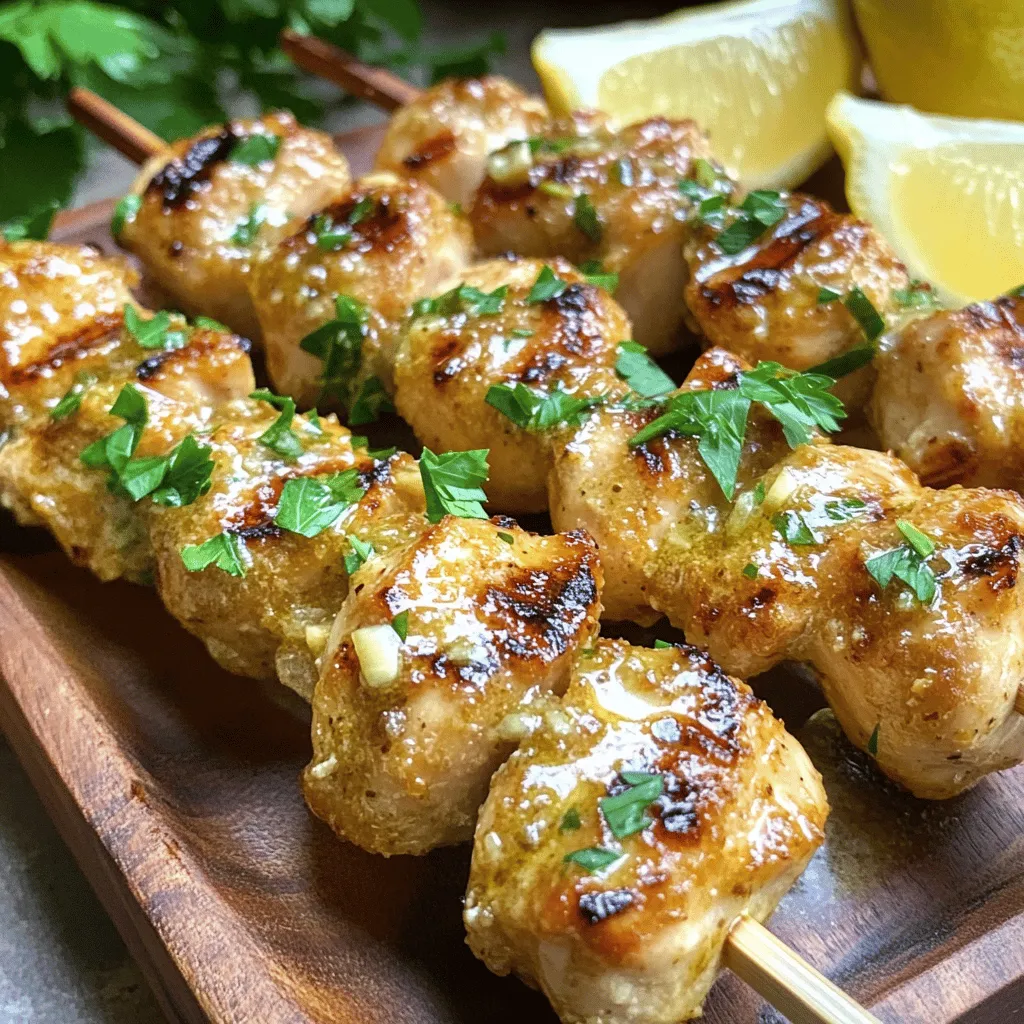
Get ready to impress your taste buds with Grilled Chicken Bites with Garlic Sauce Delight! These juicy bites are packed
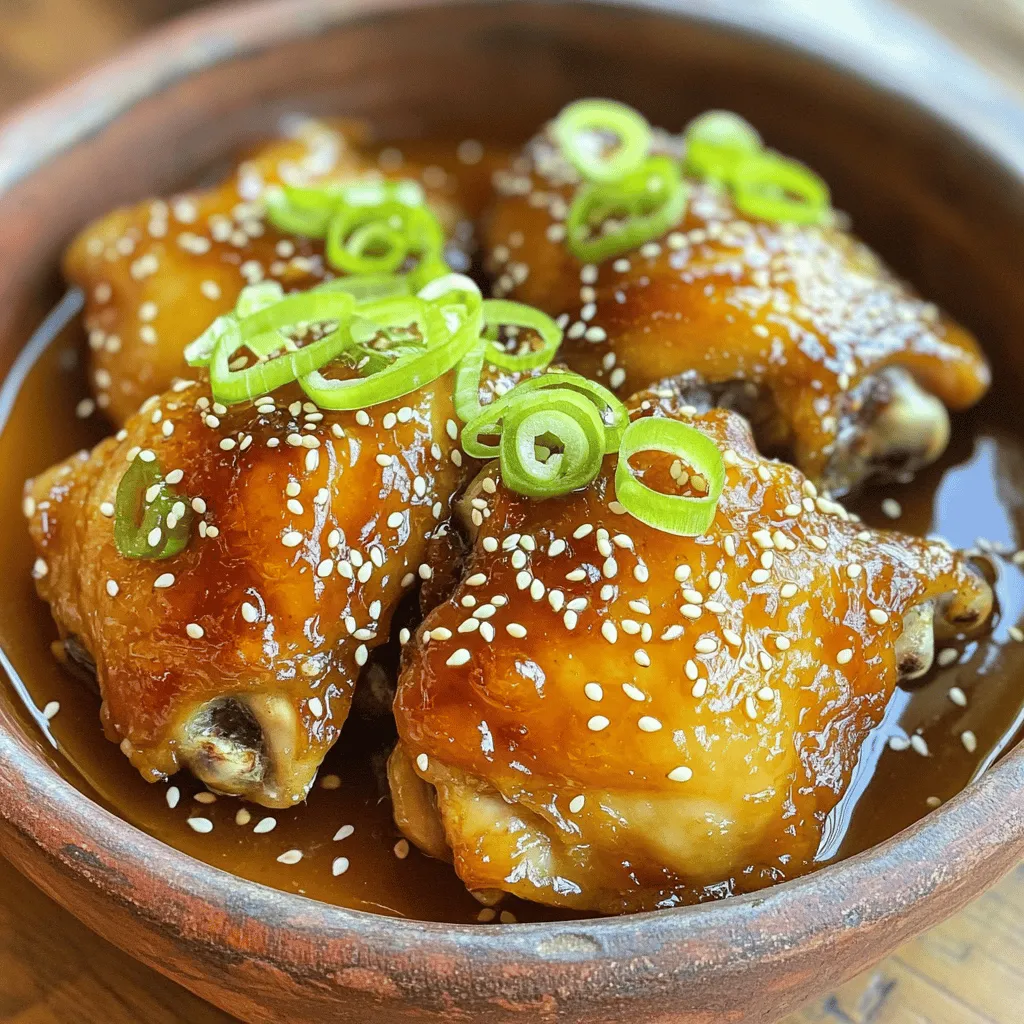
Looking for a quick and tasty dinner idea? I’ve got you covered with my Sticky Honey Chicken recipe! This dish
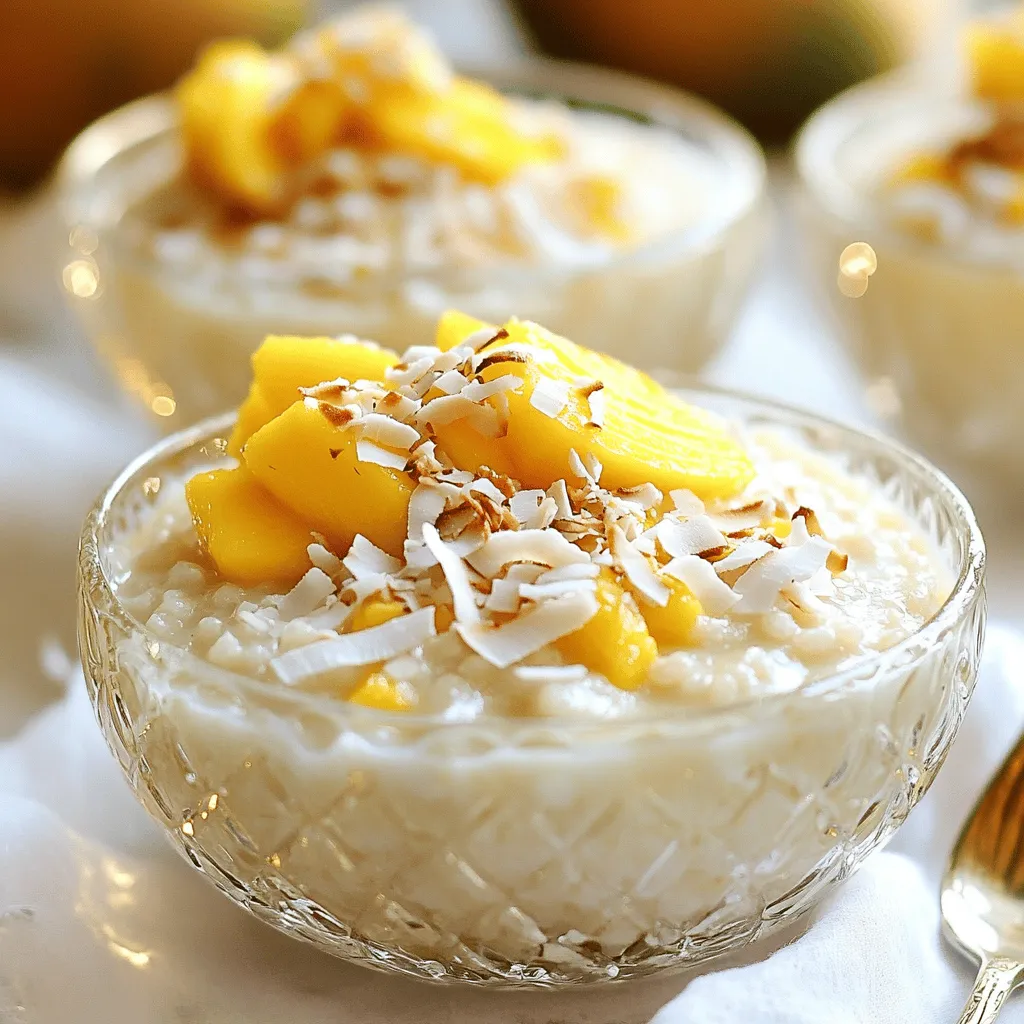
If you love the magical world of Disney, you’ll enjoy this Coconut Rice Pudding recipe! This tasty dessert is a
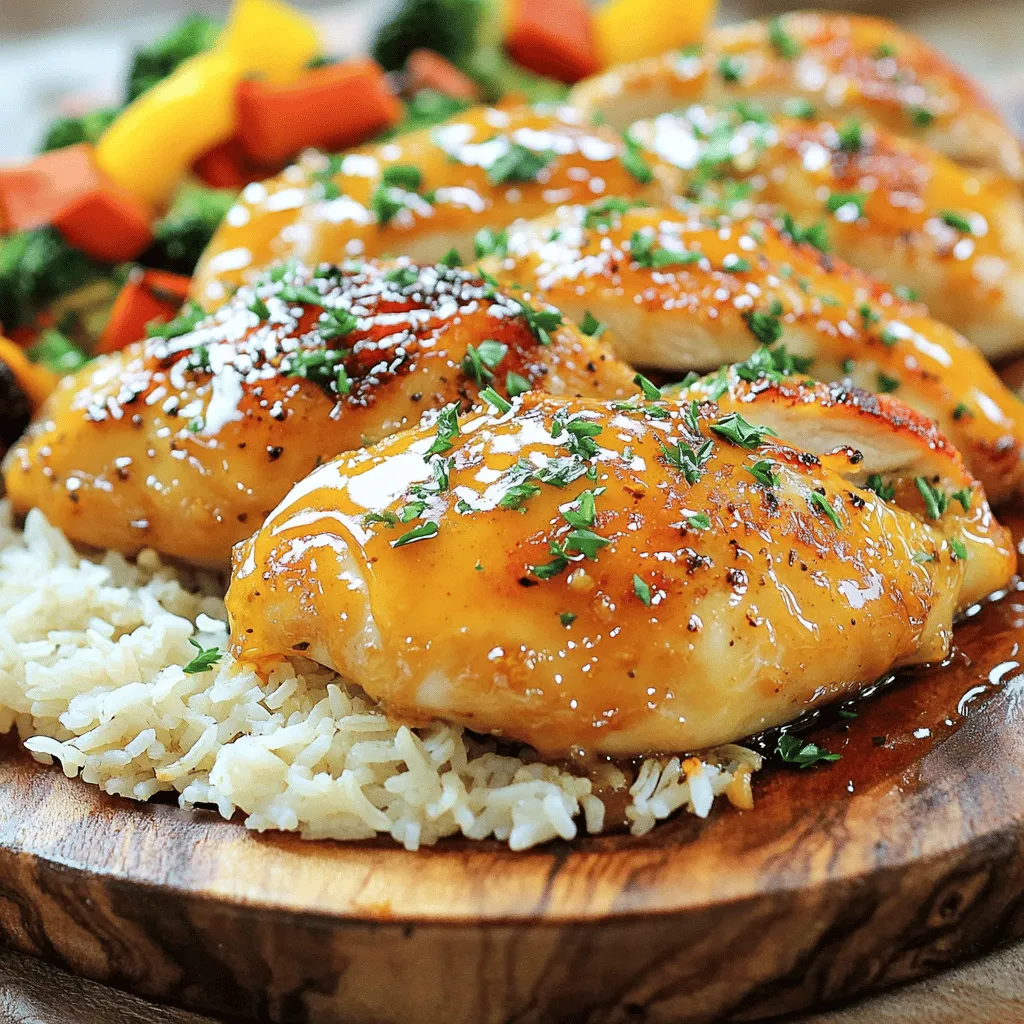
Are you ready for a dinner that’s quick, easy, and packed with flavor? My Easy Honey Garlic Chicken Breasts will
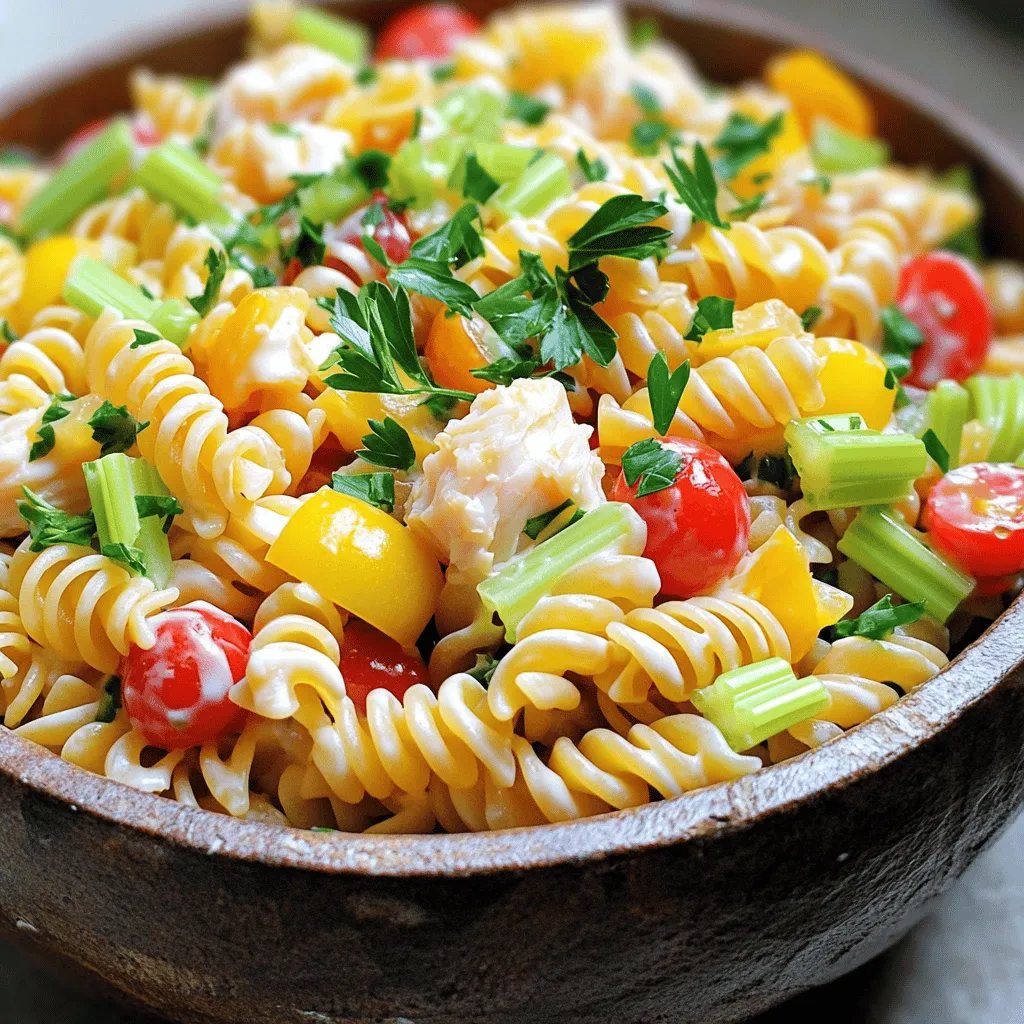
Looking for a dish that’s quick, tasty, and sure to impress? You’re in the right place! My Super Easy Crab
