
Spicy Mexican Hot Chocolate Cookies Delightful Recipe
If you love chocolate and a kick of spice, you’ll adore my Spicy Mexican Hot Chocolate Cookies! This delightful recipe
If you love chocolate and a kick of spice, you’ll adore my Spicy Mexican Hot Chocolate Cookies! This delightful recipe
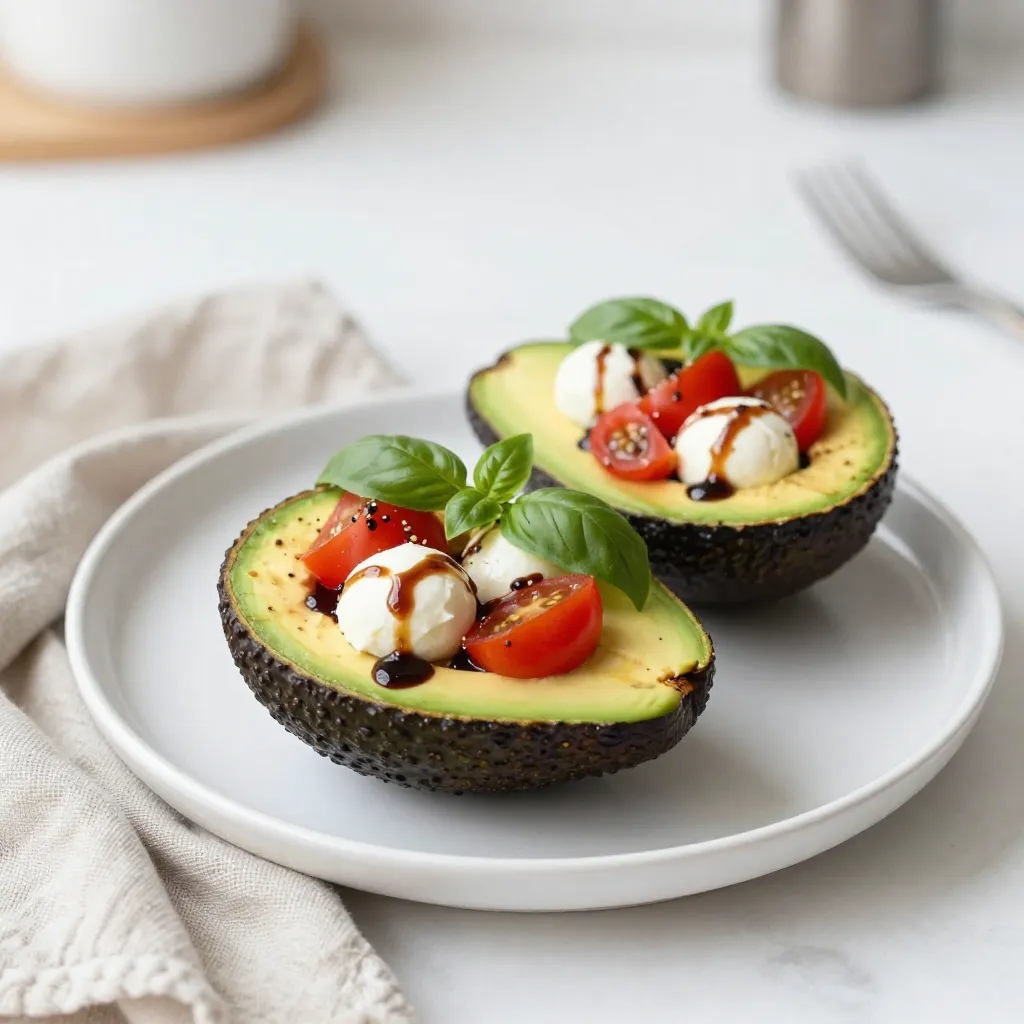
Looking for a fresh and flavorful dish that’s easy to make? Caprese Stuffed Avocados are your answer! With ripe avocados,

Ready to add some sunshine to your dinner table? Tropical Pineapple Salsa Chicken is a bright and flavorful meal that

Indulging in Lemon Raspberry Thumbprint Cookies is a delightful way to brighten your day! These sweet treats combine tangy lemon

If you’re searching for a dish that’s both tasty and simple, you’ve found it! Spinach Feta Stuffed Chicken is a

Welcome to a burst of flavor and freshness! If you’re searching for a quick, delicious meal, this Sesame Ginger Noodle

Warm up your fall days with a delicious Chai Spiced Apple Cider Latte! This cozy drink combines the rich flavors
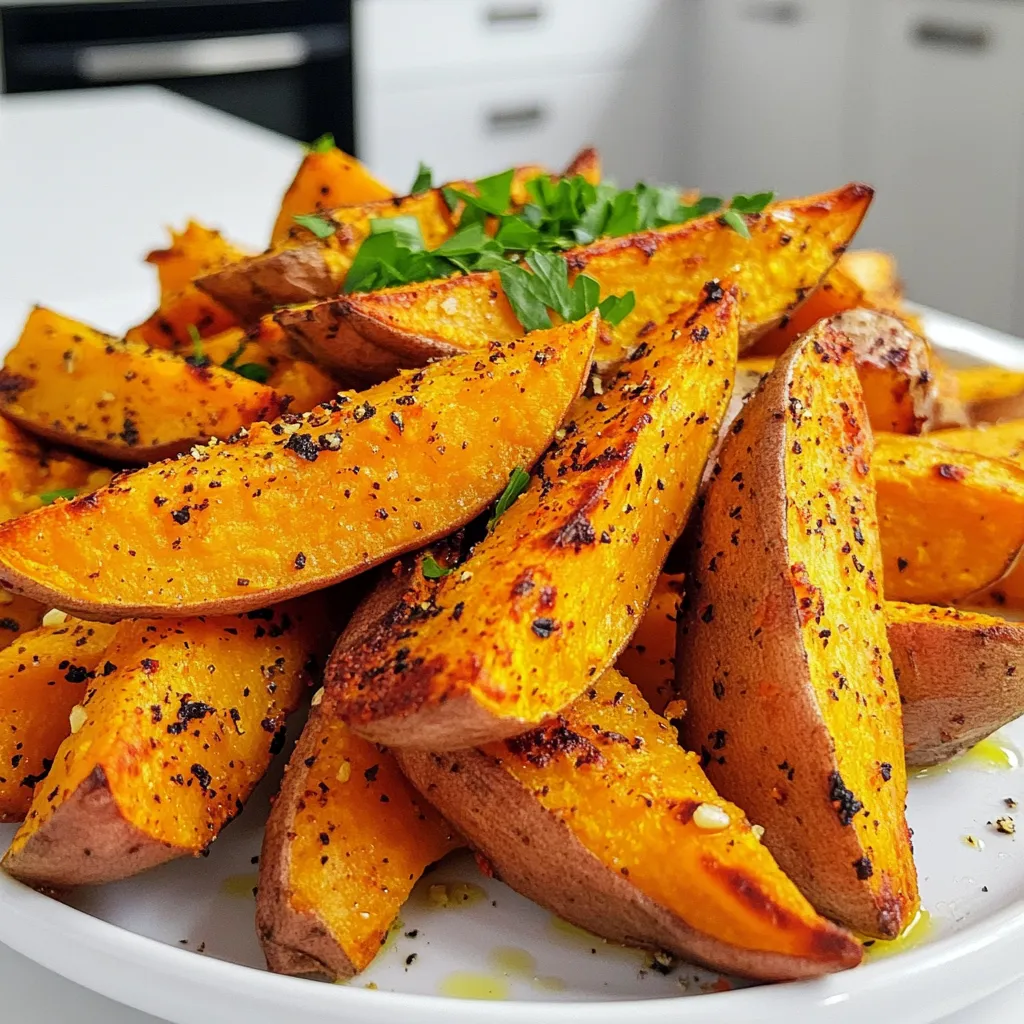
Looking for a tasty and simple side dish? You’ll love my Air Fryer Garlic Sweet Potato Wedges! This recipe gives

Do you crave that creamy, cheesy goodness from Panera’s Broccoli Cheddar Soup? You’re in luck! In this post, I will

Looking for a sweet treat that’s both fun to make and delicious? You’re in the right place! These Chocolate Marshmallow
