
Stuffed Bell Peppers with Quinoa Healthy Flavor Burst
Looking for a meal that’s both tasty and good for you? Stuffed bell peppers with quinoa are a perfect choice!
Looking for a meal that’s both tasty and good for you? Stuffed bell peppers with quinoa are a perfect choice!
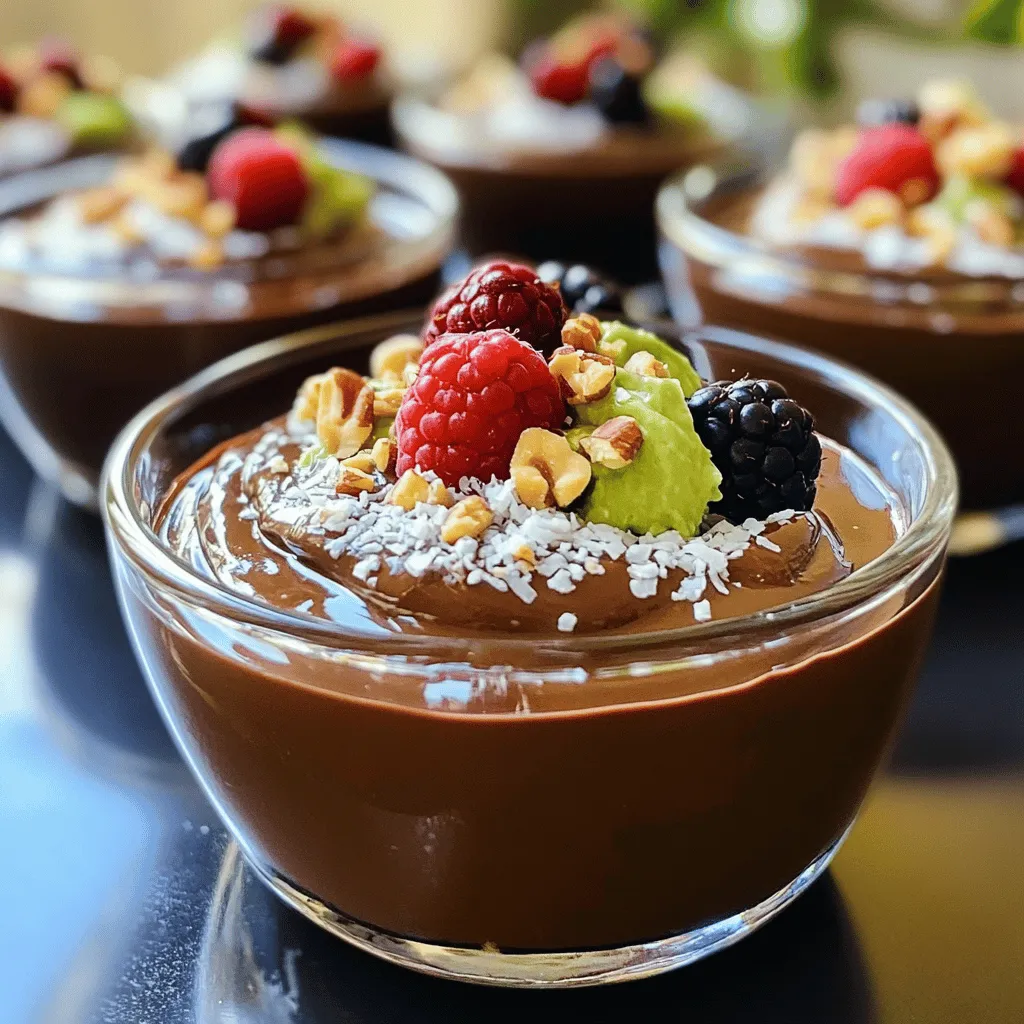
Imagine indulging in a rich, creamy dessert that’s also healthy. With my Chocolate Avocado Pudding, you can do just that!
![To make the best honey butter biscuits, you need a few simple ingredients. Here’s the list: - Essential dry ingredients - 2 cups all-purpose flour - 1 tablespoon baking powder - 1/2 teaspoon baking soda - 1/4 teaspoon salt - Key wet ingredients - 1/4 cup unsalted butter, cold and cubed - 3/4 cup buttermilk, cold - 1/4 cup honey (plus more for serving) - 2 tablespoons unsalted butter, melted (for brushing) - Recommended brands for quality results - For flour, I recommend King Arthur or Bob's Red Mill. - Use any cold, unsalted butter you like, but Challenge Butter is a great choice. - For buttermilk, look for brands that are fresh and local if possible. These ingredients are easy to find at any grocery store. Using high-quality brands helps ensure your biscuits turn out fluffy and delicious. Enjoy the baking process and the sweet smell of these biscuits! For the full recipe, check the detailed instructions provided earlier. Start by preheating your oven to 425°F (220°C). This temperature is key to getting those biscuits nice and fluffy. While the oven heats, line your baking sheet with parchment paper. This will help the biscuits not stick, making cleanup easy. Preheating your oven is also crucial. It ensures the biscuits bake evenly and rise well. In a large bowl, whisk together the flour, baking powder, baking soda, and salt. Make sure this mixture is uniform. This step helps the biscuits rise properly. Sifting the flour is vital, too. It removes lumps and adds air, making your biscuits lighter. Use cold butter for this recipe. Cold butter creates flakiness in the biscuits. Cut it into the flour mixture until it looks like coarse crumbs. You’ll want to keep some small bits of butter intact for the best texture. Next, pour in the cold buttermilk and honey. Gently fold everything together, but do not overmix. This keeps your dough tender. Transfer the dough to a lightly floured surface. Knead it gently about 3-4 times to bring it together. Then, pat the dough into a rectangle about 1 inch thick. When cutting the biscuits, use a floured biscuit cutter or glass. Press straight down without twisting; this helps them rise evenly. Place the biscuits on the prepared baking sheet with space between them. Brush the tops with melted butter. Bake for about 12-15 minutes. Look for a golden color on the tops. They should also rise nicely. When done, let them cool for about 5 minutes on a wire rack. Serve warm with honey butter for a sweet treat. Enjoy these fluffy delights, and don’t forget to check the [Full Recipe] for more details! To make fluffy biscuits, keep your ingredients cold. Cold butter and buttermilk help create steam, making biscuits rise. When you mix, do it gently. Overmixing can lead to dense biscuits. You can also swap out some all-purpose flour for cake flour. This gives a lighter texture. If you want a more robust biscuit, try whole wheat flour. Just remember, different flours may change the taste and texture. You can make your honey butter biscuits even better. Add herbs like rosemary or thyme to your dough. This brings a fresh taste that pairs well with honey. For the honey butter, try mixing in cinnamon or vanilla. These add warmth and depth to the flavor. If you want a little kick, a pinch of cayenne works wonders too. Customize your honey butter to match your taste. For the complete recipe, check out the Full Recipe section. {{image_4}} To make these biscuits savory, you need to adjust a few ingredients. Start by adding 1 cup of shredded cheddar cheese. Also, mix in 1/4 cup of chopped chives. This adds flavor and a nice touch to the dough. When you add cheese, be mindful of the texture. Don't overmix after adding the cheese. You want a light, fluffy biscuit, not a dense one. The little bits of cheese will melt and create pockets of flavor. If you need a gluten-free version, use a gluten-free flour blend. Look for blends with xanthan gum, as it helps bind the dough. Use 2 cups of this flour mix instead of all-purpose flour. You may also need to adjust the wet ingredients. Add an extra tablespoon of buttermilk to keep the dough moist. Gluten-free dough can be a bit drier, so this helps a lot. Making mini biscuits is a fun way to serve snacks. To do this, cut the dough into smaller rounds. Use a smaller biscuit cutter or glass. Bake them for about 8-10 minutes instead of the usual time. Keep an eye on them to avoid burning. These mini bites pair well with dips like honey mustard or ranch. You can also serve them with spreads for a tasty treat. For the full recipe, check out the Honey Butter Biscuits Delight. To keep your honey butter biscuits fresh, store them properly. You can store them at room temperature if you plan to eat them within a day or two. Place them in an airtight container to keep them soft. Avoid refrigeration, as it can make biscuits dry and tough. For longer storage, freeze the biscuits. Wrap them individually in plastic wrap. Then, place them in a freezer bag. This method prevents freezer burn and helps maintain flavor. You can freeze them for up to three months. When you're ready to eat, just thaw them at room temperature. When it's time to enjoy your biscuits again, reheating is key. The best way to reheat them is in an oven. Preheat your oven to 350°F (175°C). Place the biscuits on a baking sheet and warm them for about 5-10 minutes. This method keeps them soft and fluffy. If you want a quick option, use the microwave. Place a biscuit on a microwave-safe plate. Heat it for about 10-15 seconds. This method is fast but may make the biscuit a bit chewy. To revive your biscuits and bring back the fresh taste, brush them with a little melted butter before reheating. Yes, you can use regular milk. However, it changes the texture and flavor. Buttermilk makes biscuits tender and adds a slight tang. To make a quick substitute, mix one cup of milk with one tablespoon of vinegar or lemon juice. Let it sit for five minutes. This will give you a similar taste and texture. To get flaky biscuits, work with cold butter. Use a pastry cutter to mix butter into the flour. Leave some small bits of butter. This helps create layers. Also, don’t overwork the dough. Knead it gently and just enough to combine. The less you handle it, the flakier your biscuits will be. Honey butter biscuits are perfect for breakfast or brunch. You can serve them with eggs or bacon. They also pair well with jam or fresh fruit. For lunch or dinner, try them with soups or stews. They add a sweet touch to savory meals. Enjoy them warm, topped with honey butter for a delicious treat! For the full recipe, check out the Honey Butter Biscuits Delight section. In this post, we explored how to make honey butter biscuits from scratch. I shared essential ingredients, step-by-step baking tips, and even variations to try. Making fluffy, flavorful biscuits can be easy with the right methods. Remember, you can adjust ingredients to suit your taste, whether savory or sweet. Enjoy baking, and don't be afraid to experiment. You’ll impress everyone with your delicious biscuits. Happy baking!](https://recipetorch.com/wp-content/uploads/2025/05/bb47d2fb-6e85-4e18-9958-485b7fc45eb4.webp)
If you’re craving warm, flaky biscuits that melt in your mouth, you’re in the right place! My simple Honey Butter

Are you looking for a quick, healthy breakfast that tastes amazing? Apple Cinnamon Overnight Oats are your answer! With just
![To create perfect Nutella stuffed pancakes, gather these simple ingredients: - 1 cup all-purpose flour - 2 tablespoons granulated sugar - 1 tablespoon baking powder - 1/2 teaspoon salt - 1 cup milk (preferably whole) - 1 large egg - 2 tablespoons unsalted butter, melted - 1/4 cup Nutella (plus extra if desired) - Oil or butter for greasing - Optional toppings (whipped cream, fresh strawberries) These ingredients are easy to find and work together to make a delicious breakfast. The flour and sugar give the pancakes their base, while baking powder helps them rise. The milk adds creaminess, and the egg binds everything together. Melted butter gives a rich flavor, and Nutella is the star of the show! You can get creative with toppings to make your pancakes even more special. Check out the Full Recipe for detailed instructions. In a large bowl, combine the all-purpose flour, granulated sugar, baking powder, and salt. Use a whisk to mix well. Keep whisking until no lumps remain. This step helps create a smooth batter for your pancakes. In another bowl, whisk together the milk, large egg, and melted unsalted butter. Mix until it is smooth. Gradually pour this wet mix into the dry ingredients. Stir gently until just combined. Don't worry about a few lumps; overmixing can make your pancakes tough. First, preheat your non-stick skillet over medium heat. Lightly grease it with oil or butter to prevent sticking. For each pancake, pour about 1/4 cup of batter onto the skillet. Cook for 1-2 minutes until small bubbles form on the surface. Next, carefully place about 1 tablespoon of Nutella in the center of the pancake. Quickly cover the Nutella with another tablespoon of batter. Make sure it is completely sealed. Cook for another 1-2 minutes until the edges turn golden brown. Gently flip the pancake and cook for an additional 1-2 minutes until both sides are golden brown. Continue this process with the remaining batter. Add more oil or butter to the skillet as needed. Serve the pancakes warm. You can add a swirl of whipped cream and some fresh strawberries for a bright touch. Enjoy the tasty treat you've made! For the full recipe, check out the complete instructions. To make the best Nutella stuffed pancakes, focus on your batter. Avoid overmixing it. This keeps the pancakes fluffy. Mix the dry and wet ingredients until they just come together. Some lumps are okay. The right batter should be thick but pourable. If it’s too thick, add a little milk. For even cooking, heat your skillet over medium heat. A good test is to sprinkle a drop of water on the skillet. If it dances, it’s ready. When you pour the batter, use about 1/4 cup for each pancake. Add the Nutella in the center while the pancake cooks. To flip without spilling the filling, use a wide spatula. Slide it under the pancake gently, then flip quickly. Make your pancakes look amazing! Stack them high, with the fluffiest ones on top. Drizzle chocolate syrup over the stack. Dust with powdered sugar for a sweet touch. Add a dollop of whipped cream and some fresh strawberries on the side. These small details make your breakfast indulgent and eye-catching. For the full recipe, check out the complete instructions to bring this dish to life! {{image_4}} You can switch up the filling to keep things fun. Try using peanut butter instead of Nutella. It gives a rich and creamy taste. You can also add chocolate chips for an extra chocolatey kick. If you want more flavor, add some fruits like bananas or strawberries. Nuts can also add a nice crunch. Just chop them up and sprinkle them in the filling. If you need gluten-free pancakes, use a gluten-free flour mix. This works well and keeps the pancakes soft. For a vegan option, swap the egg for a mashed banana or applesauce. You can use almond or oat milk instead of regular milk. These changes keep the taste great while fitting your diet. Want to add a twist? Mix in cocoa powder for chocolate-flavored pancakes. A teaspoon of vanilla extract can also enhance the taste. For a warm touch, add spices like cinnamon or nutmeg. These flavors blend nicely with the Nutella and make your pancakes unique. You can explore more ideas and options in the [Full Recipe]. To keep your Nutella stuffed pancakes fresh, store them in the fridge. Place the pancakes in an airtight container. This helps them stay soft and tasty. Make sure to layer parchment paper between each pancake. This prevents them from sticking together. If you want to freeze Nutella stuffed pancakes, wait until they cool. Then, wrap each pancake in plastic wrap. Place them in a freezer-safe bag. Remove as much air as possible. This keeps them fresh for up to three months. When you are ready to enjoy your pancakes again, there are a few ways to reheat them. You can use a microwave, oven, or skillet. - Microwave: Place one pancake on a microwave-safe plate. Heat for about 20-30 seconds. Check to see if it’s warm enough. If not, heat in 10-second bursts until warm. - Oven: Preheat your oven to 350°F (175°C). Lay pancakes on a baking sheet. Cover with foil to keep them moist. Heat for about 10 minutes. - Skillet: Heat a non-stick skillet over low heat. Add a little butter to the pan. Place pancakes in the skillet and cover. Heat for a few minutes on each side until warm. To keep your pancakes tasting great, avoid overheating. This can make them tough. Enjoy your warm, Nutella-filled pancakes just like they were made fresh! To stop Nutella from leaking, seal it well. After pouring the batter, add a spoonful of Nutella in the center. Quickly cover it with more batter. Ensure it’s fully covered before flipping. This keeps the filling inside while cooking. You can also press the edges slightly with a spatula to seal better. Yes, you can prep these pancakes early. Mix the batter the night before and store it in the fridge. Just remember to give it a good stir before you cook. You can also cook the pancakes ahead. Let them cool and store them in an airtight container. They can last in the fridge for up to three days. Pair these pancakes with fresh fruit like strawberries or bananas. They also go great with whipped cream or a scoop of ice cream. For drinks, try hot chocolate or coffee. You could even serve them with a fruit smoothie for a fun twist. Check out the Full Recipe for more serving ideas! Making Nutella stuffed pancakes is fun and easy. We covered the key ingredients, mixing steps, and cooking methods. I shared tips to perfect your batter and cooking technique. You can try different fillings and dietary options, making these pancakes your own. Store leftovers properly to enjoy later. Keep experimenting with flavors and toppings to make breakfast exciting. Nutella stuffed pancakes can be your go-to treat for any meal! Enjoy your cooking adventure!](https://recipetorch.com/wp-content/uploads/2025/05/ef7dd7ef-3e52-4923-ae16-ccffa31e3e65.webp)
Welcome to a breakfast revolution! Nutella Stuffed Pancakes are the ultimate way to start your day. Imagine fluffy pancakes filled
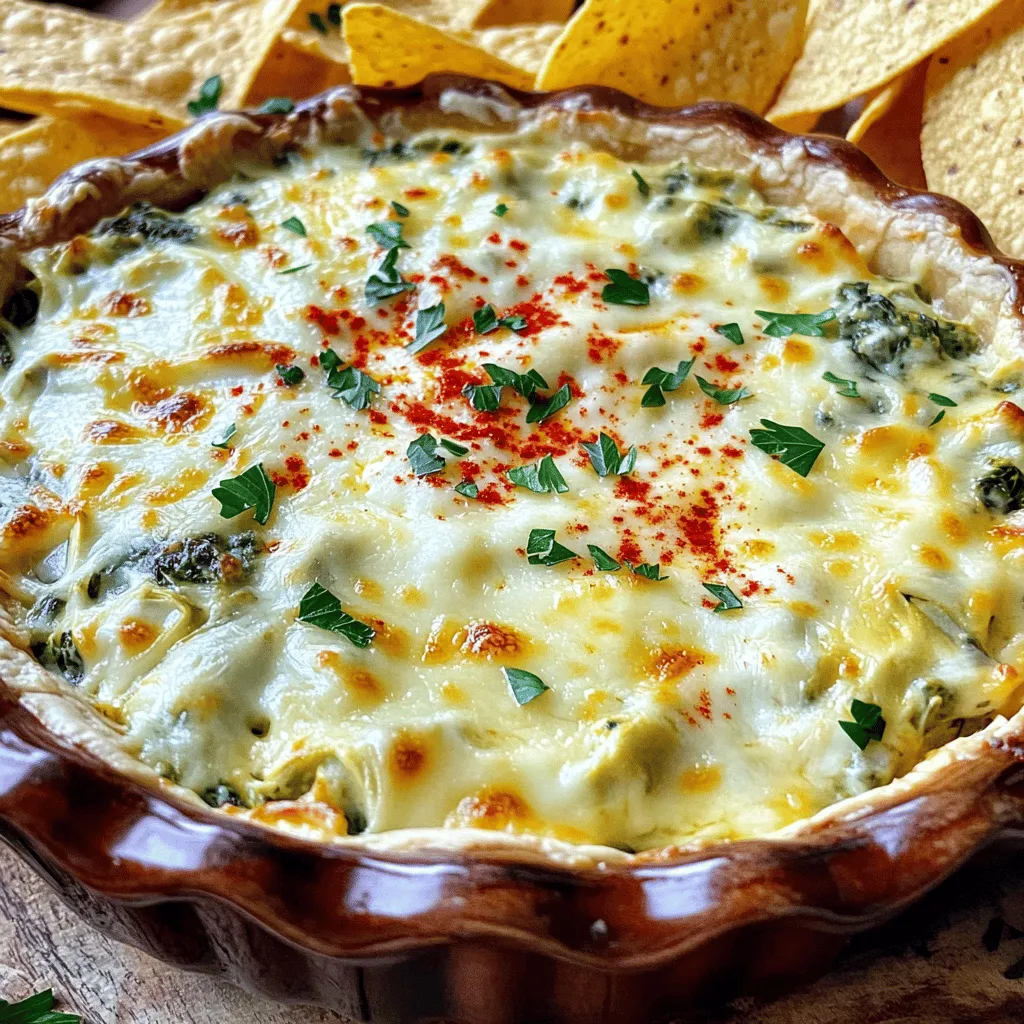
Looking for a crowd-pleasing appetizer? This Creamy Spinach Artichoke Dip is easy to whip up and packed with flavor. You

Ready for a meal that’s as easy as it is tasty? One-Pan Lemon Herb Chicken and Rice is your answer!
![- 1 cup rolled oats - 1/2 cup natural peanut butter (or almond butter) - 1/2 cup honey or maple syrup - 1/4 cup unsweetened cocoa powder - 1/2 cup shredded coconut (optional) - 1/2 teaspoon vanilla extract - 1/4 teaspoon salt - 1/4 cup dark chocolate chips (optional) These ingredients are simple yet powerful. The rolled oats form the base and give a hearty feel. Peanut butter adds creaminess and protein. Honey or maple syrup brings sweetness. Cocoa powder is the star, giving rich chocolate flavor. If you like texture, consider adding shredded coconut. It gives a nice chew. Vanilla extract adds warmth and aroma. A pinch of salt balances out the sweetness, enhancing all the flavors. Dark chocolate chips are optional, but they add extra chocolatey goodness. When you gather these ingredients, you set the stage for a quick and easy treat. You can find the full recipe in the recipe section. Enjoy creating a delicious snack for yourself or to share! To start, gather your ingredients. In a medium saucepan, combine the honey, cocoa powder, and salt. Heat this mixture over medium heat. Stir gently until it starts to shimmer, which takes about 2-3 minutes. This step is key—it helps blend the flavors well. Make sure it doesn’t boil, as we want a smooth texture. Once your mixture shimmers, remove the saucepan from heat. Now it’s time to add the peanut butter or almond butter. Stir in the vanilla extract too. Mix until the ingredients become creamy and well combined. This is where the magic happens; the mixture becomes richer and more delicious. Next, add the rolled oats to your chocolate mixture. Stir well until all the oats are coated. If you want extra texture, fold in the shredded coconut now. For a sweeter touch, add dark chocolate chips at this stage. They melt slightly and create a nice surprise in every bite. Once mixed, let the mixture cool for a few minutes. Then, scoop spoonfuls onto a lined baking sheet. Lightly flatten each mound to shape them into cookies. Cover the baking sheet and pop it in the fridge for at least 30 minutes. This helps the cookies firm up nicely. For the full recipe, check out the detailed instructions above. To make your cookies just right, adjust the sweetness with honey or maple syrup. Honey gives a rich taste, while maple syrup adds a unique flavor. You can start with 1/2 cup and tweak it to your taste. If you want a nutty twist, try almond butter instead of peanut butter. This change offers a new flavor profile and still keeps the cookies creamy. Chilling the cookie mixture is key for easy handling. After mixing, let it cool for a few minutes. Then, place it in the fridge for about 30 minutes. This helps the cookies firm up. When it’s time to scoop, use a spoon or small cookie scoop. This ensures even sizes. Shape them gently with the back of a spoon to form nice mounds. For a fun presentation, arrange the cookies on a colorful plate. Drizzle melted chocolate over the tops for a touch of elegance. Pair the cookies with fresh fruit, like strawberries or raspberries. This adds a fresh contrast and makes the dessert more appealing. For more delicious ideas, check out the Full Recipe for No-Bake Chocolate Oatmeal Cookies. {{image_4}} You can easily make gluten-free cookies by using certified gluten-free oats. This keeps the cookies safe for those with gluten allergies. For a vegan option, swap honey for maple syrup. This change keeps the cookies sweet and plant-based. Adding spices can change the flavor of your cookies. Try a pinch of cinnamon for warmth. A sprinkle of sea salt can balance sweetness and elevate taste. You can also experiment with different nut butters. Almond butter gives a nutty twist, while cashew butter adds creaminess. Get creative by adding fun mix-ins! Toss in some seeds like chia or flax for added nutrition. Dried fruits like raisins or cranberries add sweetness and chewiness. Nuts like walnuts or pecans give a nice crunch. Personalize your cookies to fit your taste! For the complete recipe, check out the [Full Recipe]. To keep your no-bake chocolate oatmeal cookies fresh, store them in an airtight container. Place a piece of parchment paper between layers to avoid sticking. You can keep them in the fridge for up to a week. This helps maintain their texture and flavor. If you want to save cookies for later, freezing is a great option. To freeze, first let the cookies cool completely. Then, place them in a single layer on a baking sheet and freeze for one hour. Once firm, transfer them to a freezer-safe bag. They can last for up to three months in the freezer. In the fridge, these cookies can last about a week. They will still taste good and have great texture. If you notice any changes, it’s time to toss them. Signs that cookies may no longer be good include a strange smell, discoloration, or a hard and dry texture. Always trust your senses! Yes, you can use quick oats. They will work well in this recipe. Quick oats may make the cookies a bit softer. They absorb moisture faster than rolled oats. If you prefer a chewier texture, stick with rolled oats. Chill the cookies for at least 30 minutes. This allows them to firm up and hold their shape. If you want them firmer, feel free to chill them longer. Just cover them well to keep them fresh. If you lack cocoa powder, try using carob powder. It offers a similar taste without the caffeine. You might also use melted dark chocolate instead. Just remember, it may change the cookie's texture. These cookies can be a healthier treat option. They contain oats, which are high in fiber. Peanut butter adds protein and healthy fats. Use honey or maple syrup for natural sweetness. Just keep portion sizes in mind. Yes, you can make them without nut butter. You can use sunflower seed butter or soy nut butter instead. If you want a different flavor, try using coconut oil. Just ensure it is melted before mixing it in. For the full recipe, check the earlier sections. In this blog post, we explored how to make tasty no-bake chocolate oatmeal cookies. You learned about the key ingredients, preparation steps, and tips to perfect your cookies. I shared variations for different diets and creative mix-ins to keep things exciting. Storing your cookies properly ensures they stay fresh longer. With these easy instructions, you can enjoy delicious treats anytime. Try these cookies today and see how fun baking can be!](https://recipetorch.com/wp-content/uploads/2025/05/0e6c8822-85ba-4b4c-a17a-edd41d41827d.webp)
Looking for a sweet treat that’s fast and easy? No-Bake Chocolate Oatmeal Cookies are your answer! With simple ingredients and

Looking for a tasty and easy snack? Look no further! Crispy Air Fryer Brussels Sprouts are here to delight your
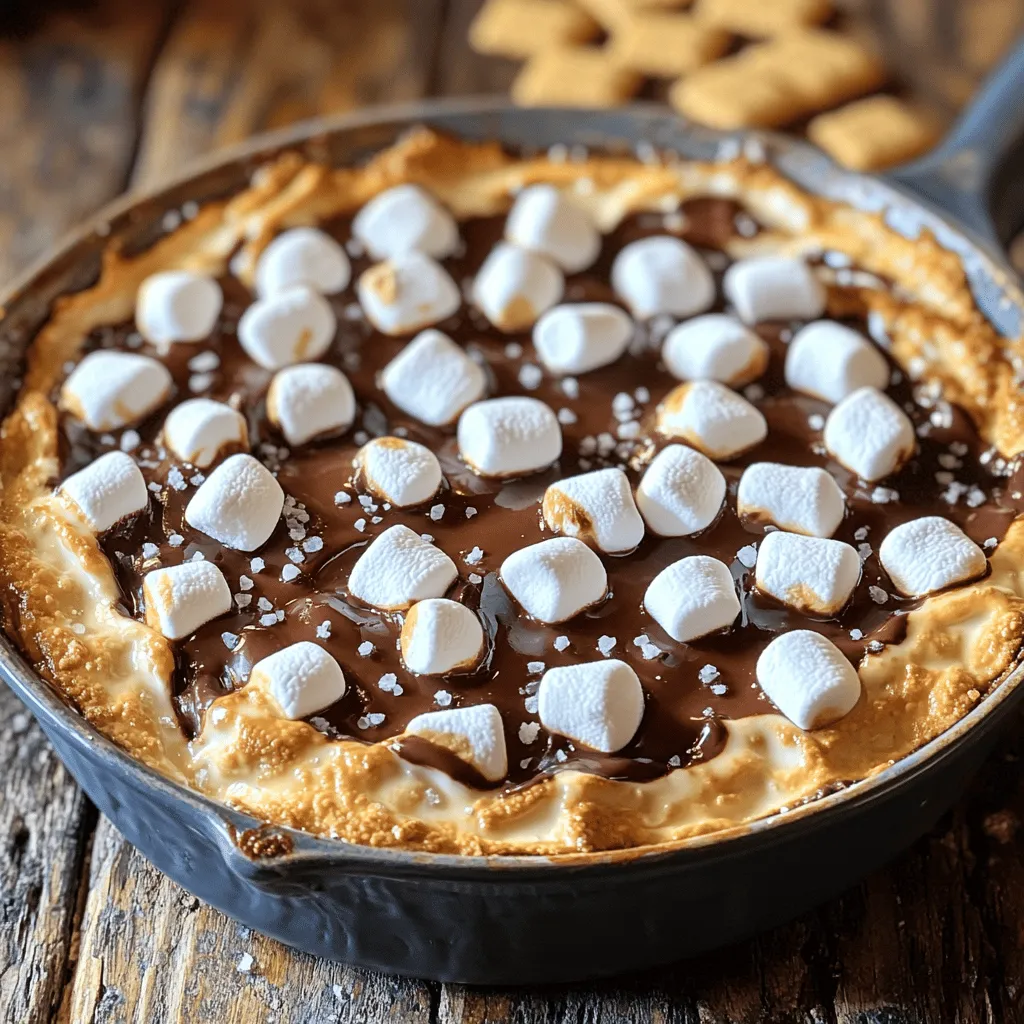
Ready for a treat that brings the campfire right to your kitchen? My S’mores Dip in the Oven is the
