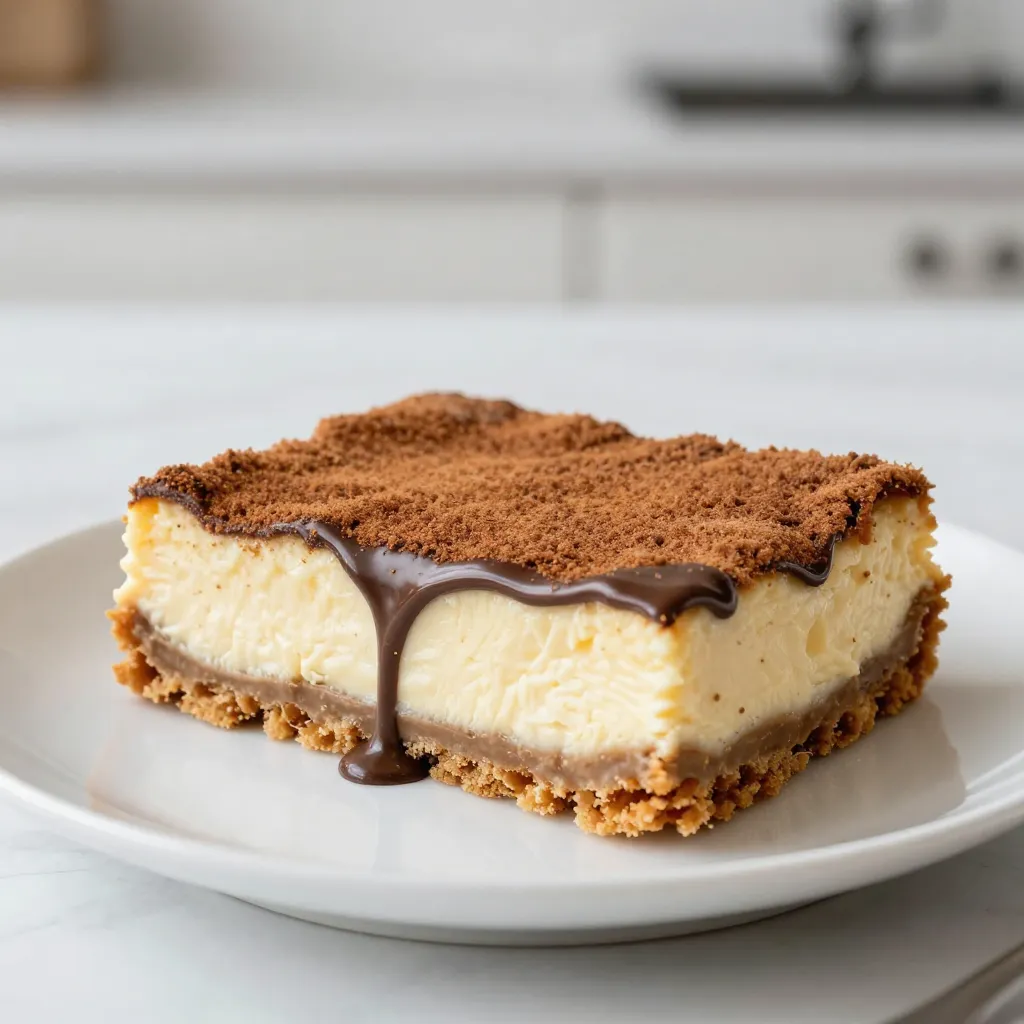
Churro Cheesecake Bars Deliciously Sweet Treats
Are you ready to indulge in a sweet delight that brings together two beloved desserts? These Churro Cheesecake Bars will
Are you ready to indulge in a sweet delight that brings together two beloved desserts? These Churro Cheesecake Bars will
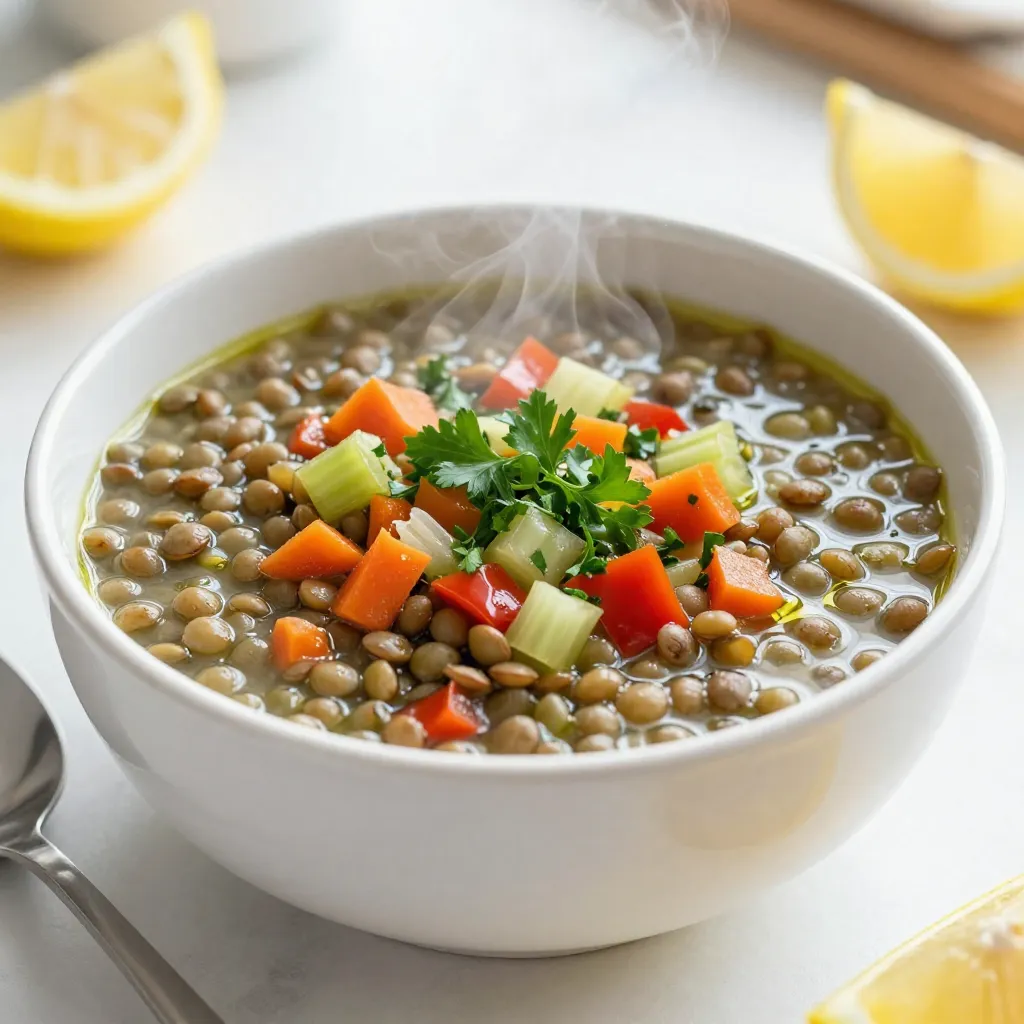
If you’re looking for a dish that’s both flavorful and healthy, Mediterranean Lentil Soup is your answer! Packed with protein
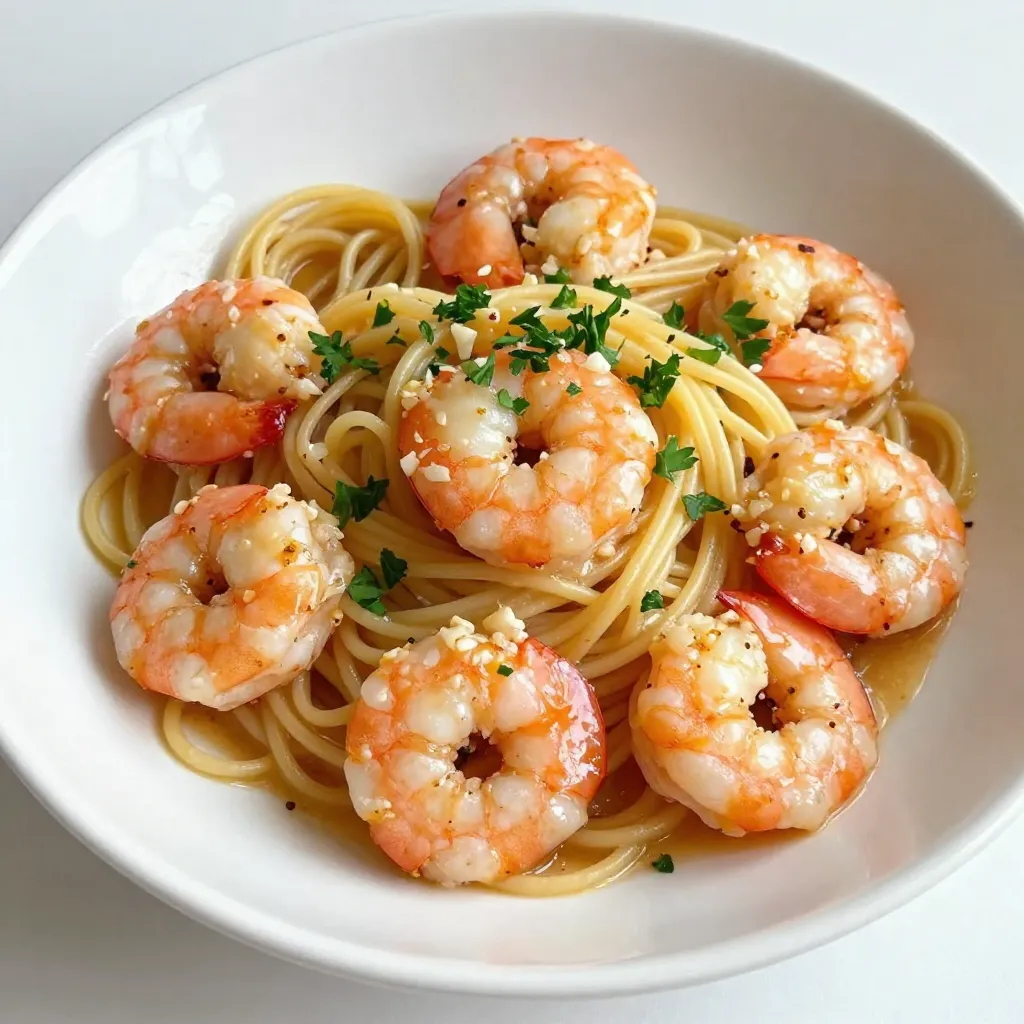
If you’re craving a simple yet delicious dish, Garlic Butter Shrimp Scampi is a winner! This dish blends tender shrimp,
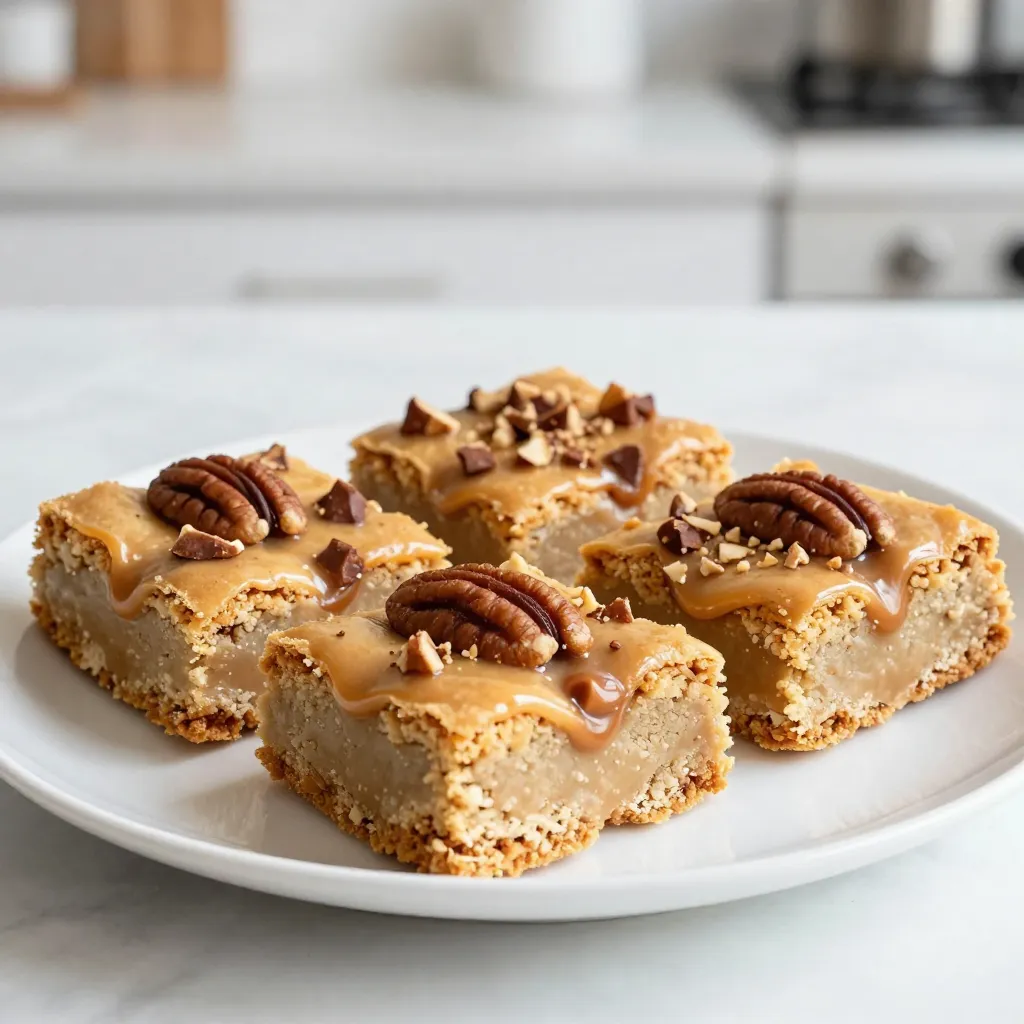
Looking for a sweet treat that’s simple to make and oh-so-satisfying? Butterscotch blondies are the answer! With their rich flavor
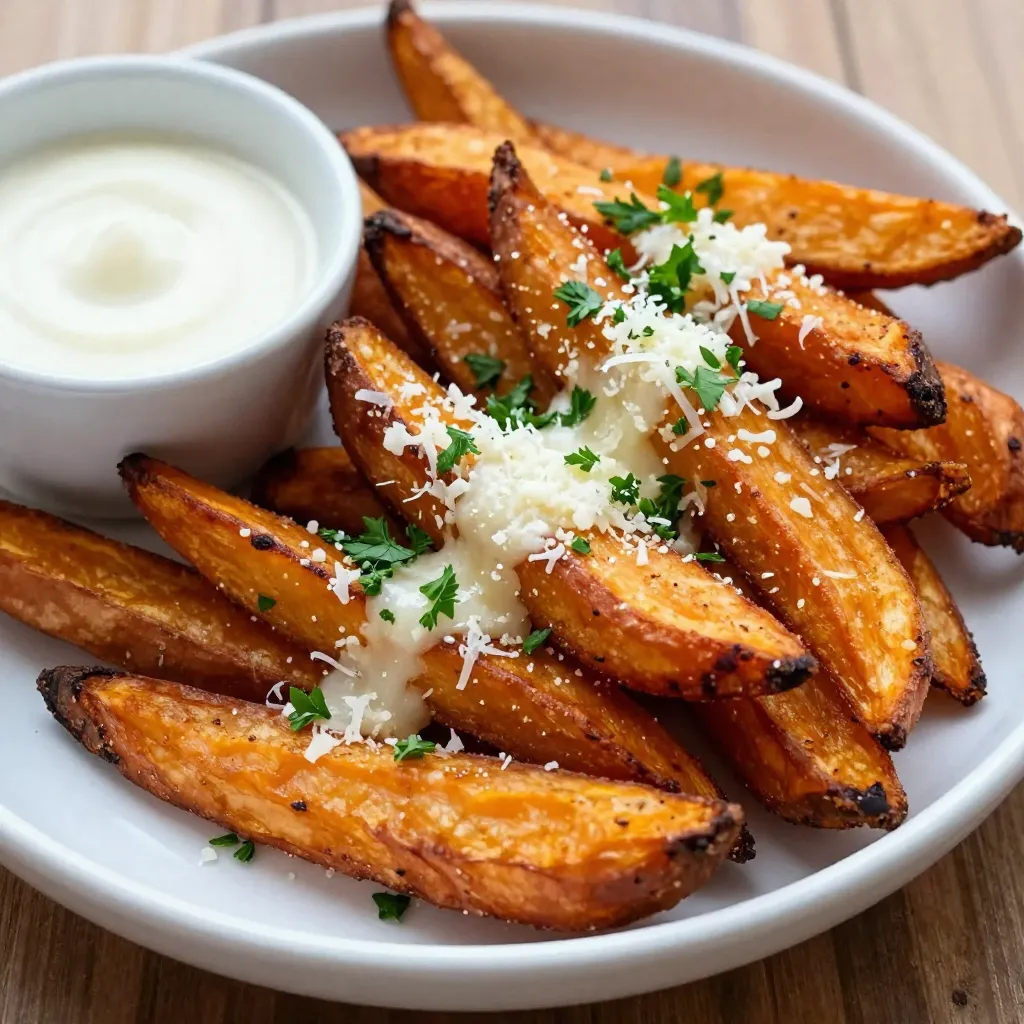
Looking for a tasty snack that’s both crispy and satisfying? You need to try my Garlic Parmesan Sweet Potato Fries!
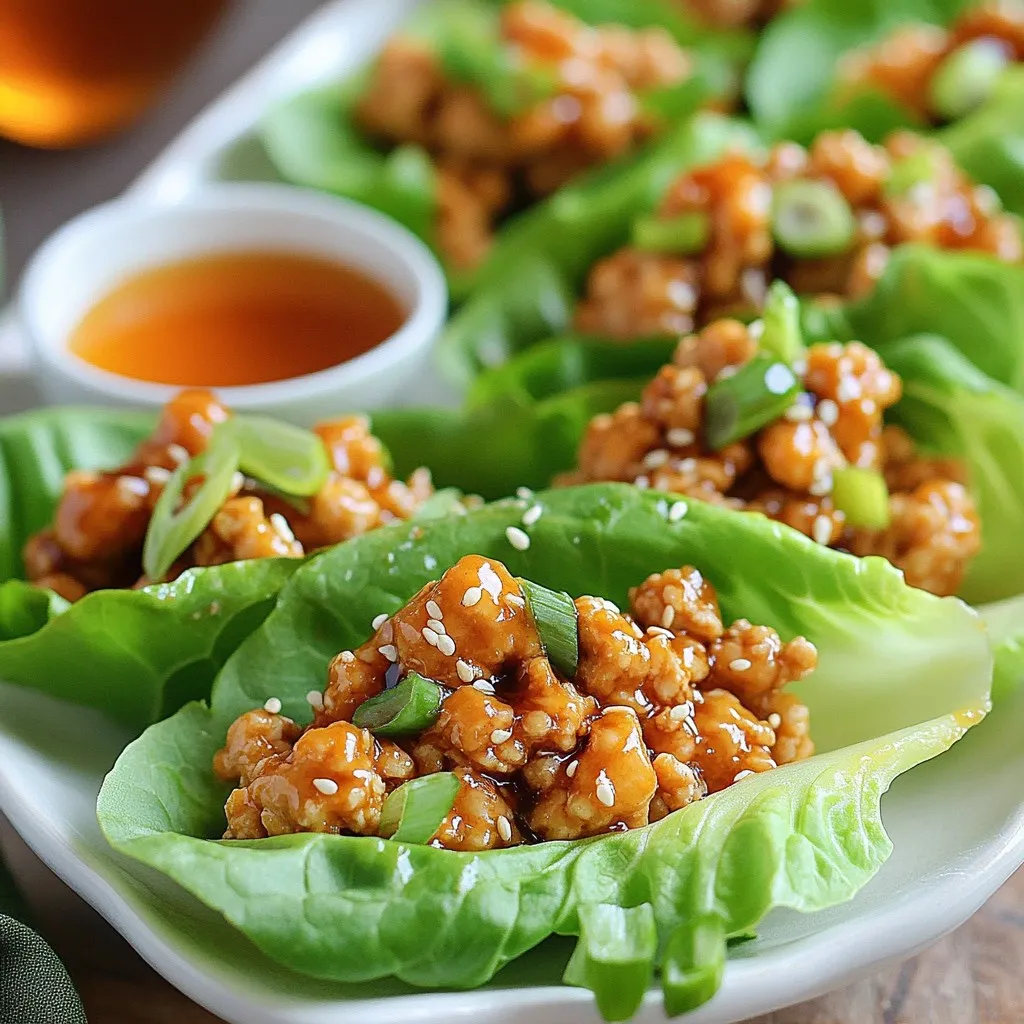
Are you ready for a tasty twist on dinner? Honey Sesame Chicken Lettuce Wraps deliver sweet and savory flavors in
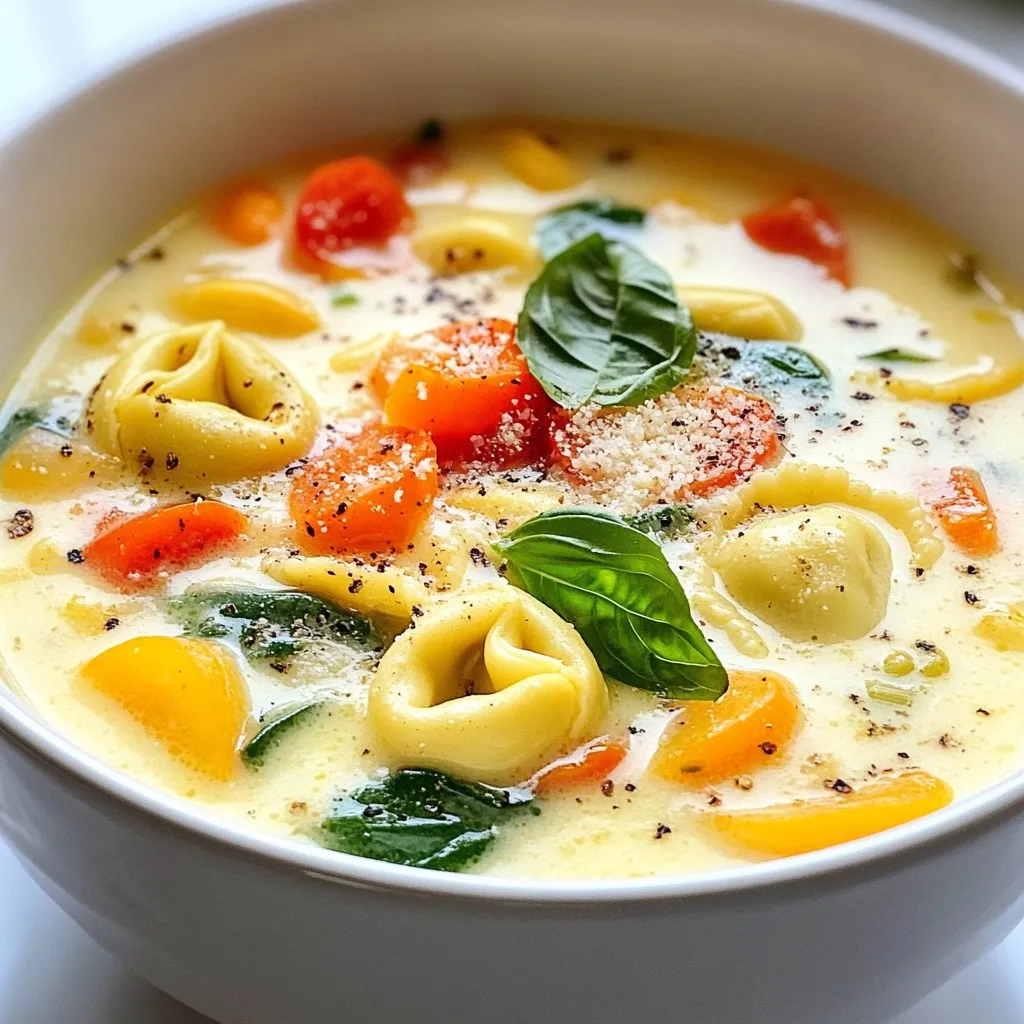
When you need a warm, cozy meal, look no further than Crockpot Tortellini Soup. This dish combines rich flavors and

Welcome to the world of Coconut Lime Chicken Soup, where comfort meets flavor! This dish combines tender chicken, creamy coconut

If you crave a treat that’s both easy and delicious, this Strawberry Cream Cheese Danish is for you! You’ll use
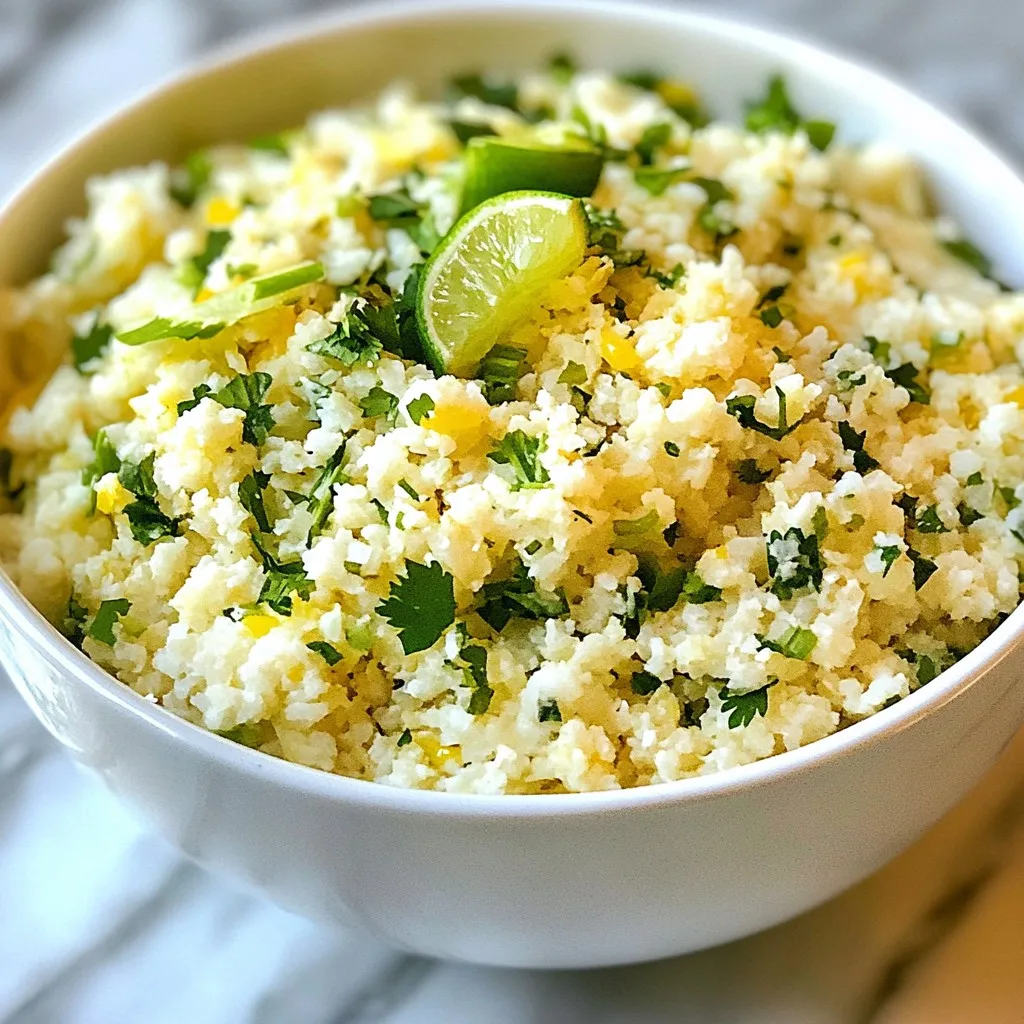
If you’re looking for a fresh and tasty dish, Cilantro Lime Cauliflower Rice is a must-try! This low-carb alternative to
