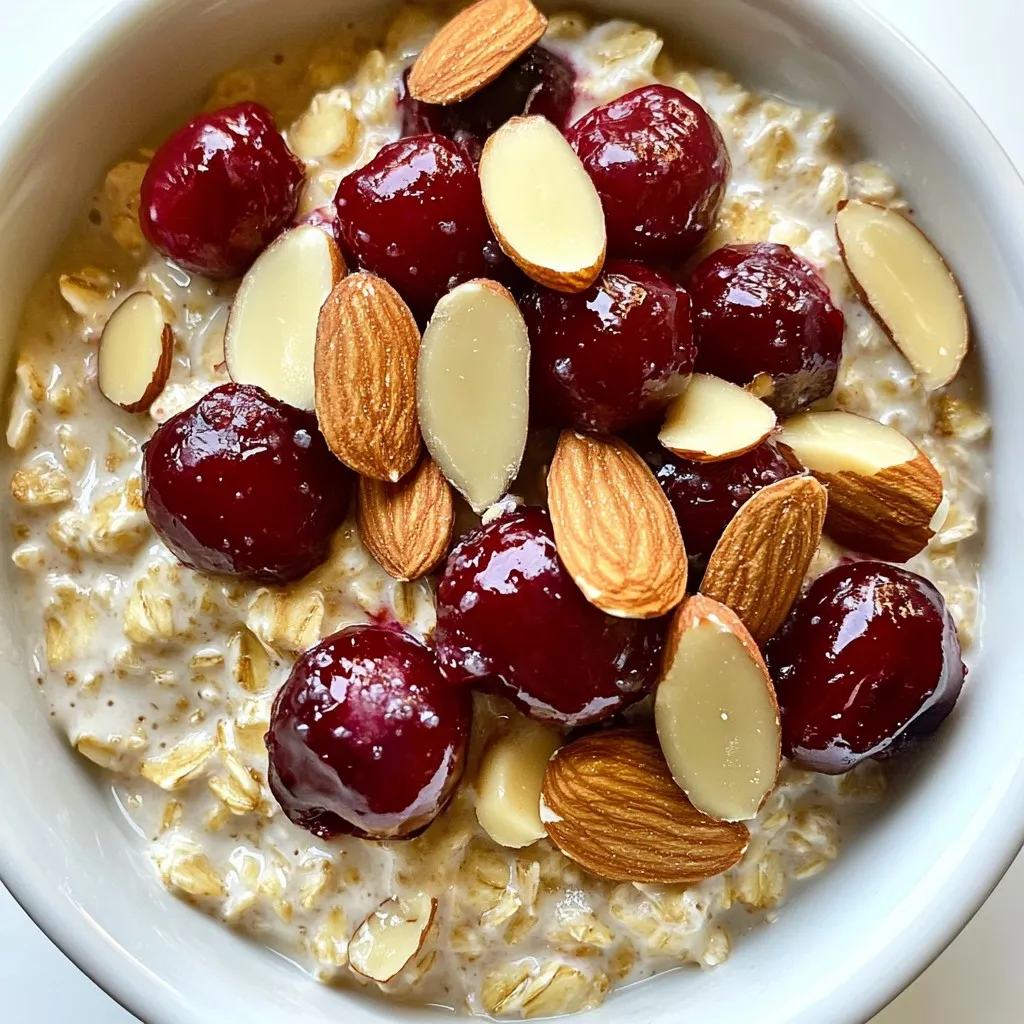
Cherry Almond Overnight Oats Creamy Breakfast Delight
Start your day with a burst of flavor! Cherry almond overnight oats are a creamy breakfast delight that you can
Start your day with a burst of flavor! Cherry almond overnight oats are a creamy breakfast delight that you can
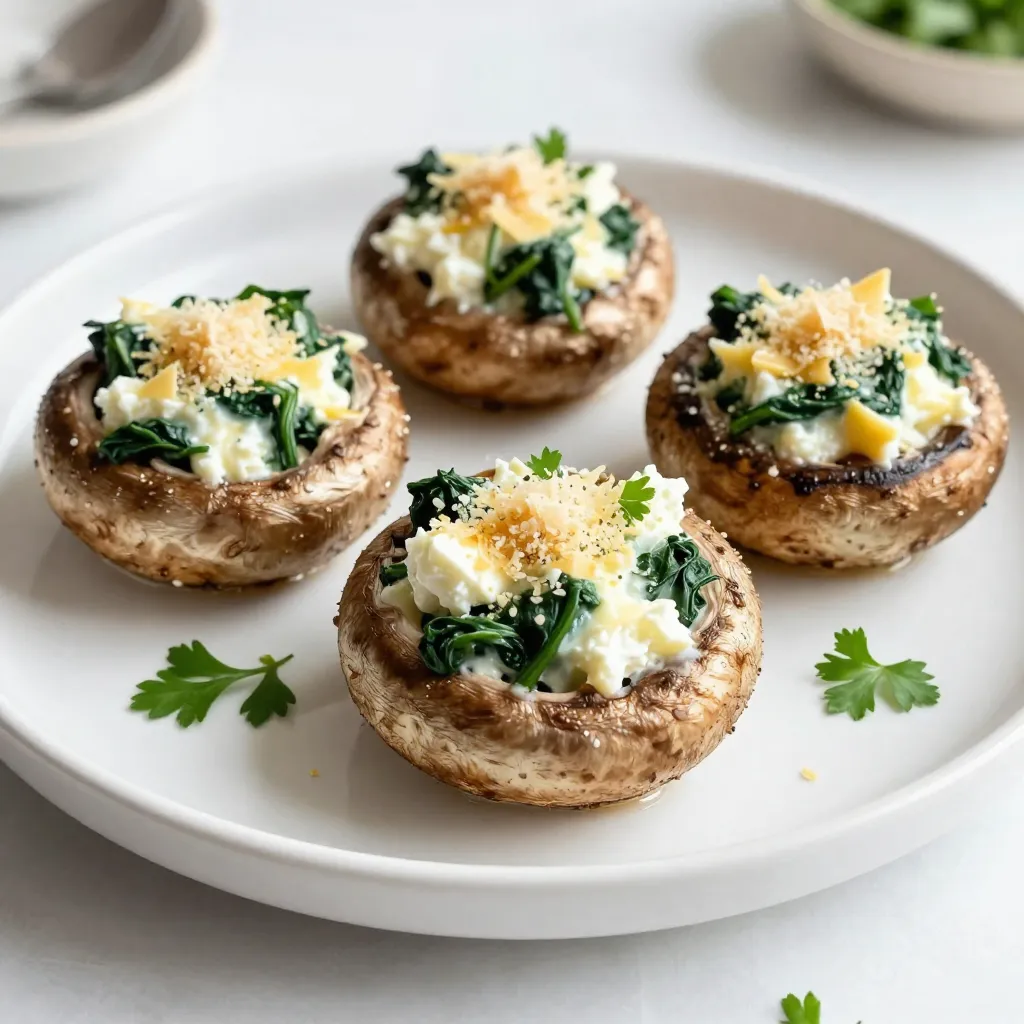
If you’re craving a tasty treat that packs a punch, try my Cheesy Spinach Stuffed Mushrooms. They are simple to
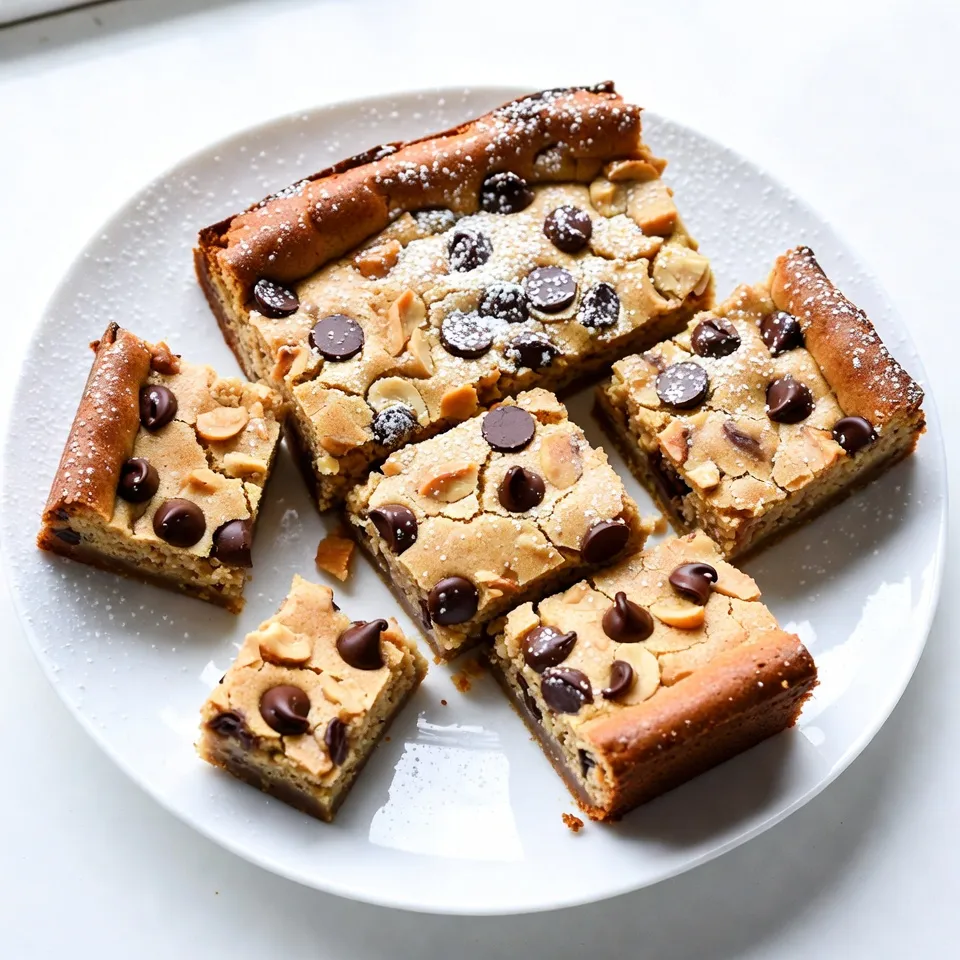
Craving a sweet treat that combines rich peanut butter with gooey chocolate? Look no further! These Peanut Butter Chocolate Chip

Looking for a simple yet delicious dinner idea? Herb Roasted Chicken & Veggies is the answer! This tasty dish combines

Craving something sweet and crunchy? Butterscotch pecan cookies are a dream dessert. With a mix of creamy butterscotch chips and
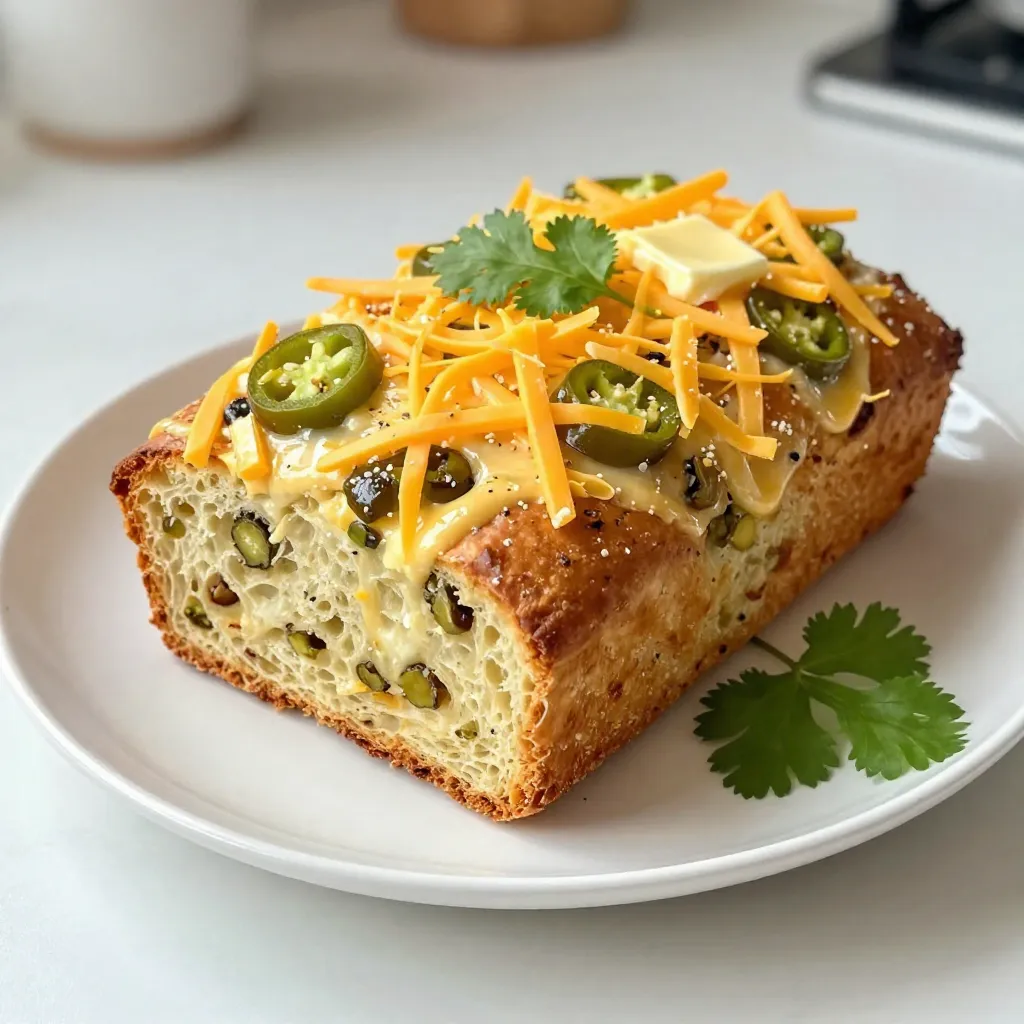
If you’re ready to spice up your baking routine, let’s dive into Jalapeño Cheddar Beer Bread! This easy and fun

Looking for a quick side dish that packs a flavor punch? Honey Garlic Glazed Carrots are your answer! With just

Are you ready to dive into a bowl of fresh, zesty goodness? My Cilantro Lime Shrimp Bowl brings together juicy

Looking for a quick and tasty meal? You’ve found it! My Chili Lime Salmon Sheet Pan recipe is packed with

Welcome to your new favorite comfort food! Cinnamon Spice Snickerdoodle Bread is warm, sweet, and packed with flavor. Imagine cozying
