
Easy Veggie Stir Fry Quick and Healthy Recipe Guide
Are you ready to whip up a vibrant, healthy dish in no time? My Easy Veggie Stir Fry Quick and
Are you ready to whip up a vibrant, healthy dish in no time? My Easy Veggie Stir Fry Quick and
![- 2 pounds baby potatoes (either red or yellow), halved - 3 tablespoons extra virgin olive oil - 1 teaspoon garlic powder - 1 teaspoon onion powder - 1 teaspoon smoked paprika - ½ teaspoon dried rosemary - ½ teaspoon dried thyme - Salt and freshly ground black pepper, to taste - Fresh parsley, finely chopped (for garnish) Crispy roasted potatoes start with the right ingredients. Choosing baby potatoes gives you a great shape and texture. I love using red or yellow ones. The small size helps them cook evenly. The olive oil is key for crispiness. It helps the skin brown nicely. The garlic powder and onion powder add depth to the flavor. Smoked paprika gives a nice, warm touch. Herbs like rosemary and thyme bring a fresh taste. They pair well with the potatoes. Salt and pepper balance everything. Fresh parsley adds color and brightness when you serve them. It’s simple, but it makes a big difference. For the full recipe, check out the detailed steps I’ve shared. Set the oven temperature to 425°F (220°C). This high heat helps achieve that crispy texture. While the oven warms up, prepare a large baking sheet. Line it with parchment paper to stop sticking and make cleanup easy. Take your halved baby potatoes and place them in a big mixing bowl. Add 3 tablespoons of olive oil, 1 teaspoon of garlic powder, 1 teaspoon of onion powder, 1 teaspoon of smoked paprika, ½ teaspoon of dried rosemary, and ½ teaspoon of dried thyme. Sprinkle in salt and pepper to taste. Toss everything well until each potato gets coated in the seasoning. This step is key for flavor. Now, carefully spread the seasoned potatoes on the parchment-lined baking sheet. Make sure to place them in a single layer. Position the cut sides facing down. This will help them crisp up nicely. Slide the baking sheet into the preheated oven. Roast the potatoes for 25-30 minutes. Flip them halfway through cooking. This ensures they brown evenly. Keep an eye out for that golden brown color and crunchy texture. That's the sweet spot! After roasting, let the potatoes cool for a few minutes. Then, sprinkle them with finely chopped fresh parsley. This adds a pop of color and extra flavor. Serve the crispy potatoes in a colorful rustic bowl. You can also add a tasty dip on the side for more fun. For the full recipe, check the ingredients list above. To get the best crunch, use parchment paper instead of foil. This helps the potatoes brown better. Also, do not overcrowd the baking sheet. If the potatoes touch, they will steam instead of crisp. Give them space to shine! You can make these potatoes even tastier! Try adding different herbs and spices. Rosemary, thyme, or even a sprinkle of chili flakes can change the flavor. For an extra zing, add a touch of lemon zest or sprinkle some Parmesan cheese on top after roasting. These small changes can make a big impact! Want to save time? Prepare and season the potatoes a few hours before roasting. Just store them in the refrigerator until you are ready to cook. This way, the flavors soak in, and you can enjoy crispy potatoes with less effort. {{image_4}} You can make crispy roasted potatoes even better! Just add fresh herbs like rosemary or thyme. These herbs add a lovely aroma and taste. I like to use a mix for more depth. Also, add minced garlic for an extra flavor boost. The garlic roasts perfectly and gives a rich taste. This combination makes your potatoes shine! For those who love heat, try spicy roasted potatoes. Simply include cayenne pepper or chili powder in the seasoning mix. You can adjust the amount based on your taste. The heat pairs well with a cooling sauce like yogurt or sour cream. This balance keeps every bite exciting and enjoyable! Want a sweeter twist? Use cubed sweet potatoes instead of regular ones. Sweet potatoes offer a different flavor that many love. Just remember to adjust the cooking time based on size. They may need a little less time to cook through. This variation is perfect for those who like a hint of sweetness in their meal. For the full recipe, check out the [Full Recipe]. After enjoying your crispy roasted potatoes, let them cool down completely. This step helps keep them fresh. Store the potatoes in an airtight container. They will stay tasty for up to three days. If you want, you can keep them in the fridge. Just remember to seal the lid tight. To enjoy that crispy goodness again, reheat the potatoes in the oven. Set your oven to 400°F (200°C) and spread the potatoes on a baking sheet. Heat them for about 10-15 minutes. This method helps them regain their crunch. If you're short on time, you can use the microwave. Heat them briefly, just to warm up. Then, transfer them to the oven and broil for a few minutes. This will give you that crispy texture you love. To make crispy roasted potatoes, start by preheating your oven to 425°F (220°C). Then, take a large baking sheet and line it with parchment paper. This helps with easy cleanup. Next, in a mixing bowl, add 2 pounds of halved baby potatoes. Drizzle in 3 tablespoons of extra virgin olive oil. Add 1 teaspoon each of garlic powder, onion powder, and smoked paprika. Then, sprinkle in ½ teaspoon each of dried rosemary and thyme, along with salt and pepper to taste. Toss until the potatoes are well coated. Spread them out on the baking sheet, cut sides down. Roast for 25-30 minutes, flipping them halfway, until golden and crispy. Let them cool briefly before serving. Check the full recipe for more details. Yes, you can use other types of potatoes! Yukon gold and red potatoes are great options. They both have a creamy texture and roast well. These potatoes can provide a different flavor and texture. Just keep in mind that cooking times may vary slightly based on the size of the potatoes used. Crispy roasted potatoes pair well with many dishes. They make a great side for meats like chicken, beef, or pork. You can also serve them with salads for a hearty meal. For a fun twist, try serving them with dips, like a creamy ranch or zesty aioli. The options are endless! This blog post covered how to make crispy roasted potatoes. We started with the right ingredients, like baby potatoes and spices. Then, we walked through the steps to cook them until golden brown. I shared tips for getting that perfect crunch and ideas for variations. In conclusion, these potatoes are easy to make and can be fun to mix up. You can enjoy them with many dishes or on their own. Try this recipe, and you will impress everyone at your table. Enjoy your cooking!](https://recipetorch.com/wp-content/uploads/2025/07/6adad1a1-13a1-4f03-9849-e4ca1223499f.webp)
Craving a side dish that’s simple yet packs a punch? Crispy Roasted Potatoes are your answer! Whether you’re a seasoned

Craving something sweet and guilt-free? You’ll love this Vegan Peanut Butter Chocolate Fudge! It’s rich, creamy, and perfect for any

Looking for a delicious dinner that’s quick, easy, and packed with flavor? You’re in the right place! This One Pot

If you crave a tasty, easy snack, you’ve found it! This Spinach Artichoke Dip is creamy, cheesy, and full of
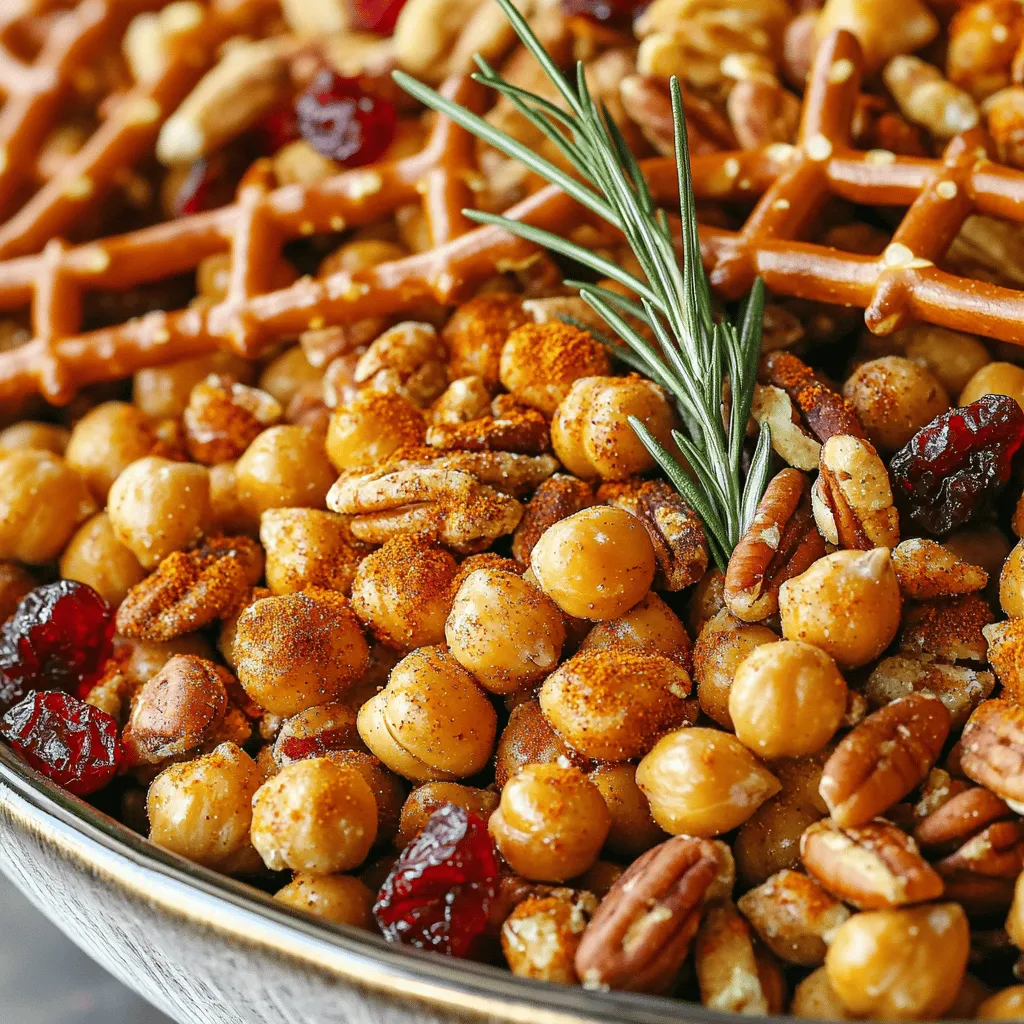
Looking for a tasty, crunchy snack that packs a healthy punch? In this blog post, I’ll guide you on making
![- 2 boneless, skinless chicken breasts - 1 cup Italian-seasoned breadcrumbs - 1/2 cup freshly grated Parmesan cheese - 1 cup marinara sauce - 1 cup shredded mozzarella cheese - 2 large eggs, beaten - 1 teaspoon garlic powder - 1 teaspoon Italian seasoning - Salt and freshly ground black pepper, to taste - Olive oil, for frying - Fresh basil leaves, for garnish The main ingredients are the stars of this dish. You need chicken breasts for the base. The Italian-seasoned breadcrumbs give it a crunchy crust. Freshly grated Parmesan adds a rich flavor. Marinara sauce keeps it moist and tasty. Shredded mozzarella pulls it all together with its melty goodness. For seasonings, garlic powder and Italian seasoning enhance the taste. Salt and pepper add the right touch. You’ll fry the chicken in olive oil, giving it a nice golden color. Fresh basil leaves are perfect for a pop of flavor at the end. This Easy Chicken Parmesan uses simple, fresh ingredients. You can find them at any store. I always choose high-quality products. They make a big difference in taste. For the full recipe, check below! - Preheat the oven to 375°F (190°C). - Pound the chicken breasts to an even thickness of about 1/2 inch. This helps them cook evenly. - In a shallow dish, mix the breadcrumbs, Parmesan, garlic powder, Italian seasoning, salt, and pepper. - In another bowl, beat the eggs to create the egg wash. This helps the coating stick. - First, dip the chicken in the egg wash. Let the excess drip off. - Next, coat it with the breadcrumb mix. Press down to ensure it sticks well. - Heat olive oil in a large skillet over medium-high heat. Sauté the breaded chicken for about 4-5 minutes on each side until golden brown. - Transfer the chicken to a baking dish. Pour marinara sauce over each piece. Top with shredded mozzarella cheese. - Bake in the preheated oven for 20 minutes until the cheese is bubbly and slightly golden. - Let the chicken rest for a few minutes. Garnish with fresh basil leaves before serving. This recipe is simple and tasty. You can find the Full Recipe for more details. Enjoy your cooking! To get that perfect breaded chicken, start with fresh ingredients. Fresh chicken and herbs add great taste. They make a big difference in flavor. Next, do not overcrowd the skillet. If you add too many pieces, the chicken will not fry well. It can steam instead of crisp. Cook in batches if needed. This way, every piece will be golden brown and crunchy. For the best cheese melt, I like to use a mix of mozzarella and provolone. This combo gives a rich and tasty layer. Mozzarella melts great, while provolone adds a nice zing. Finally, broil briefly for a bubbly finish. Broiling helps the cheese get a golden color and a crispy top. Keep an eye on it so it doesn’t burn! Enjoy your Easy Chicken Parmesan with these tips from the [Full Recipe]. {{image_4}} You can swap chicken for turkey or eggplant if you want a change. Eggplant gives a nice texture and flavor. Turkey is leaner and still tasty. If you need a gluten-free option, try gluten-free breadcrumbs. They work well and still give that crunchy bite. Want to spice things up? Add crushed red pepper for a kick. Just a pinch can make your dish pop. You can also mix in sautéed veggies into the sauce. Bell peppers, zucchini, or mushrooms add great taste and color. This way, you get extra nutrients and flavor in every bite. After enjoying Easy Chicken Parmesan, store leftovers in the fridge. Place the chicken in an airtight container. It will stay fresh for up to three days. If you want to freeze portions, wrap them tightly in plastic wrap first. Then, put them in a freezer bag. This helps prevent freezer burn and keeps the chicken tasty. When reheating, the oven works best for leftover chicken. Preheat your oven to 350°F (175°C). Place the chicken on a baking sheet. This method keeps the chicken crispy. Bake for about 15 minutes, or until heated through. If you use a microwave, place the chicken on a microwave-safe plate. Heat in short bursts, checking often. This way, you avoid soggy chicken. Remember, you want it crispy! Yes, you can prepare Easy Chicken Parmesan ahead of time. Start by breading the chicken and then refrigerate it for up to 24 hours. This helps the flavors blend and makes cooking easier later. You can also cook it fully and store leftovers. Just remember to cool it completely before storing. When ready to eat, you can reheat it in the oven. This keeps the chicken crispy and tasty. Easy Chicken Parmesan goes well with many sides. Consider serving it with: - Spaghetti or any pasta - Garlic bread or breadsticks - A fresh green salad - Roasted vegetables like zucchini or broccoli - Creamy mashed potatoes These sides create a complete and satisfying meal. Making marinara sauce from scratch is simple and quick. You will need: - 1 can (28 oz) crushed tomatoes - 2 cloves garlic, minced - 1 tablespoon olive oil - 1 teaspoon sugar - Salt and pepper to taste - Fresh basil leaves, chopped In a saucepan, heat olive oil over medium heat. Add garlic and sauté until fragrant. Then add the crushed tomatoes, sugar, salt, and pepper. Let it simmer for about 20 minutes. Stir in fresh basil before serving. This sauce will elevate your Easy Chicken Parmesan. For more details, check the Full Recipe. You now know how to make Easy Chicken Parmesan with just a few simple steps. We covered the key ingredients, methods for cooking, and tips for the best flavors. Remember, you can easily adapt this dish to your taste with substitutions or added spices. Make sure to store leftovers properly for later enjoyment. This recipe is perfect for family dinners or gatherings. Enjoy your cooking and impress your loved ones with this delicious meal!](https://recipetorch.com/wp-content/uploads/2025/07/bc73e232-7211-4f16-80ae-8a797ef100fd.webp)
Ready for a mouthwatering meal the whole family will love? My Easy Chicken Parmesan recipe packs big flavor with simple
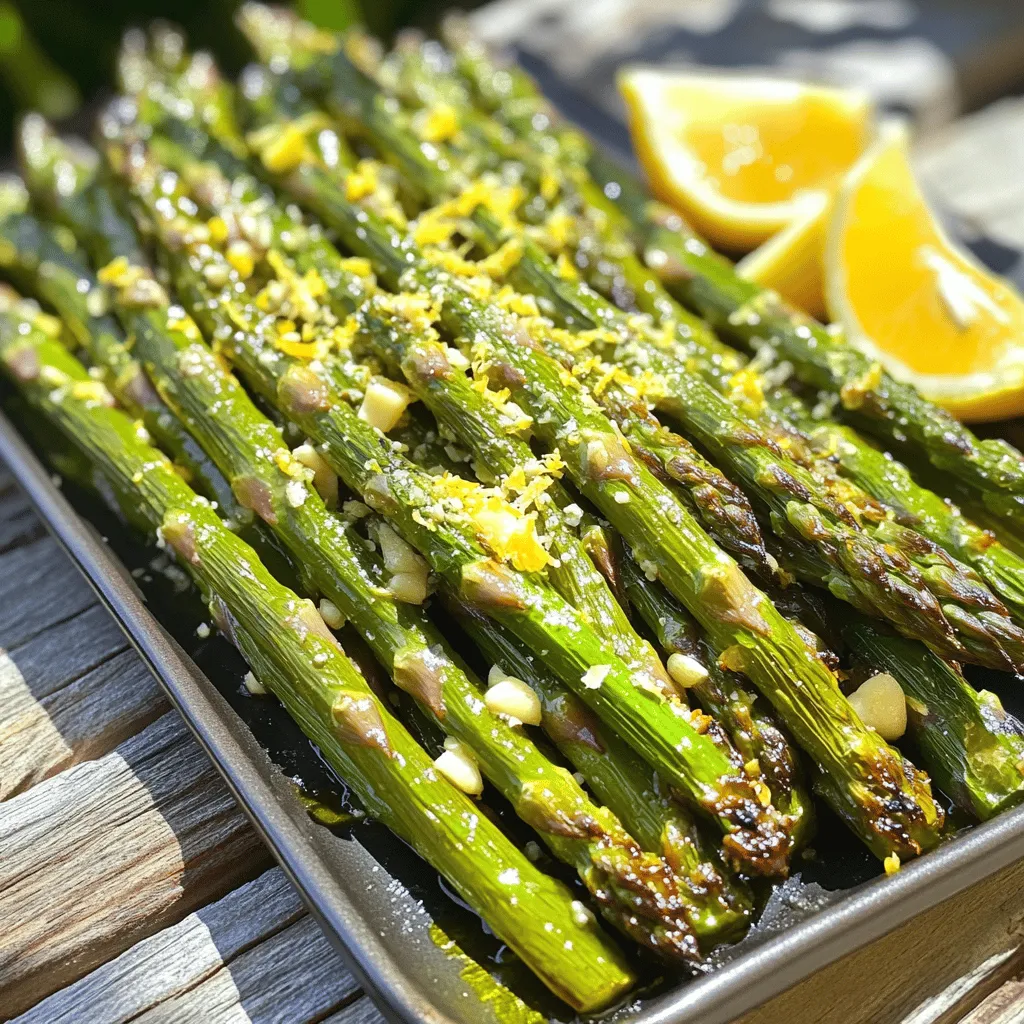
Looking to add a bright and tasty side dish to your meals? You can’t go wrong with Lemon Garlic Roasted

Get ready to spice up your dinner with my vibrant Spicy Shrimp Tacos with Slaw! This fresh and flavorful meal
![To create a delicious crispy tofu stir fry, you need a few key ingredients. Here’s what you will need: - 14 oz (400g) firm tofu, thoroughly pressed and cubed - 2 tablespoons cornstarch - 2 tablespoons vegetable oil, divided - 1 red bell pepper, sliced into thin strips - 1 cup broccoli florets, rinsed and pat dry - 1 large carrot, peeled and julienned - 3 green onions, chopped with the white and green parts kept separate - 2 cloves garlic, finely minced - 1 tablespoon fresh ginger, minced - 3 tablespoons soy sauce - 1 tablespoon hoisin sauce - 1 teaspoon sesame oil - Sesame seeds, for garnishing These ingredients give your stir fry a great mix of flavors and textures. The tofu becomes crispy, while the veggies add crunch and color. While the key ingredients shine on their own, you can add some optional ones for more flavor: - Bell pepper varieties like yellow or green for more color - Peas or snap peas for added sweetness - Mushrooms for an earthy taste - Chili flakes for spice - Fresh herbs like cilantro or basil for freshness Feel free to mix and match these options based on what you enjoy or have on hand. To make this crispy tofu stir fry, you’ll need some basic kitchen tools: - A large skillet or wok for cooking - A sharp knife for chopping - A cutting board to prepare your ingredients - Mixing bowls for coating the tofu - A spatula or wooden spoon for stirring Having the right tools makes cooking much easier and more fun. With these items ready, you will be set to whip up a tasty meal. For the complete cooking instructions, check out the Full Recipe. To start, I press the tofu. This step is key for crispy tofu. Place the tofu block on a cutting board. Use a clean towel or paper towels to cover it. Then, weigh it down with something heavy. A skillet works well. Let it press for at least 30 minutes. This removes excess moisture. After pressing, cut the tofu into bite-sized cubes. Make sure they are even for even cooking. Next, I coat the tofu cubes. Place them in a mixing bowl. Sprinkle the cornstarch over the tofu. Toss gently until each piece is covered. This coating helps the tofu become crispy when frying. The cornstarch forms a nice crust. It also keeps the tofu from becoming soggy. Now, it's time to cook everything. Heat a large skillet or wok over medium-high heat. Add 1 tablespoon of vegetable oil. Once the oil is hot, add the coated tofu. Stir-fry it for about 8 to 10 minutes. Turn the cubes occasionally. You want all sides to get golden brown and crispy. Once done, remove the tofu and set it aside. In the same skillet, add another tablespoon of oil. When it shimmers, add minced garlic and ginger. Also, add the white parts of the green onions. Sauté for about 30 seconds until fragrant. Be careful not to burn them. Now, add the sliced red bell pepper, broccoli florets, and julienned carrot. Stir-fry these for about 3 to 4 minutes. They should be bright and just tender. After that, return the crispy tofu to the skillet. Pour in soy sauce, hoisin sauce, and sesame oil. Toss everything gently. Make sure the tofu and veggies are well mixed. Heat for another 2 minutes. Finally, sprinkle sesame seeds and the green parts of the green onions on top before serving. Enjoy this crispy tofu stir fry from the Full Recipe! To get the best crispiness from your tofu, start with firm tofu. Press it well to remove water. I suggest using a weight, like a heavy pot, for about 30 minutes. After pressing, cut the tofu into cubes. Coat the cubes with cornstarch. This thin layer helps fry the tofu to a perfect golden brown. When frying, avoid crowding the pan. Cook in batches if needed. This way, each piece gets enough heat. Stir frying is quick and fun. Use a hot skillet or wok. Heat oil until shimmering before adding tofu. Constantly move the food around to avoid burning. This method cooks the tofu and veggies evenly. Use high heat to lock in flavors and colors. Always add the garlic and ginger first. This step brings out their rich aroma. Lastly, toss everything together at the end. This ensures all ingredients mix well. One big mistake is not pressing the tofu long enough. This leads to soggy tofu. Another mistake is not using enough oil. A dry pan will burn your food. Avoid adding too many veggies at once. This can lower the pan's heat and steam the food. Lastly, don’t skip the sauces! They add essential flavor. For the full recipe, check out the earlier section. {{image_4}} You can switch up the sauces to change the flavor. Try adding sweet chili sauce for a spicy kick. Mix in peanut sauce for a creamy, nutty taste. You can even use teriyaki sauce for a sweeter flavor. Each sauce gives a new twist to the crispy tofu stir fry. Feel free to change the veggies based on what you have. Snow peas or snap peas add crunch. You can use asparagus for a fresh taste. Even zucchini works well and cooks fast. Just keep your veggies colorful for a vibrant dish. Want more protein? You can swap tofu for tempeh or seitan. Both add great texture. If you like meat, chicken or shrimp are tasty options. Just remember to adjust your cooking times for these proteins. Each choice brings its own flavor to the dish. For the complete recipe, visit the [Full Recipe]. To store leftover stir fry, let it cool first. Transfer it to an airtight container. This keeps the tofu and veggies fresh. You can store it in the fridge for 3 to 4 days. If you want to keep it longer, freeze it. Place it in a freezer-safe container. It can last up to 3 months in the freezer. When reheating crispy tofu, aim to restore its crunch. The best way is to use a skillet. Heat the skillet over medium heat and add a bit of oil. Once hot, add the tofu and stir-fry for a few minutes. This helps regain its crispness. You can also use an oven. Preheat it to 375°F (190°C) and bake for about 10-15 minutes. This method keeps the tofu crispy. For meal prep, cook a large batch of the crispy tofu stir fry. Divide it into single servings. Store each serving in a container. Add rice or quinoa for a complete meal. You can mix and match veggies based on your taste. This way, you have quick and healthy meals ready to go. For the full recipe, check earlier in the article. I recommend using firm or extra-firm tofu for stir fry. This type holds its shape well. Soft or silken tofu can break apart easily during cooking. Firm tofu also absorbs flavors better than softer varieties. Yes, you can make this dish gluten-free. Use gluten-free soy sauce or tamari in place of regular soy sauce. This small change keeps the dish tasty and safe for those with gluten allergies. Always check labels to ensure all ingredients are gluten-free. Making crispy tofu stir fry takes about 45 minutes total. This includes prep and cooking time. You can reduce time by prepping ingredients ahead of time. Following the Full Recipe will guide you through the process easily. You’ve learned how to make crispy tofu stir fry. We covered key ingredients, cooking steps, and tips for the best results. I shared variations and storage methods to enhance your meal. Remember, there’s no single way to enjoy this dish. Experiment with sauces and veggies. Enjoy your tasty, crunchy stir fry, and share these tips with friends! Happy cooking!](https://recipetorch.com/wp-content/uploads/2025/07/7cf3b717-00b1-4fac-96f8-2d1523452e6d.webp)
Are you ready to create a dish that’s both crispy and healthy? This Crispy Tofu Stir Fry brings amazing flavors
