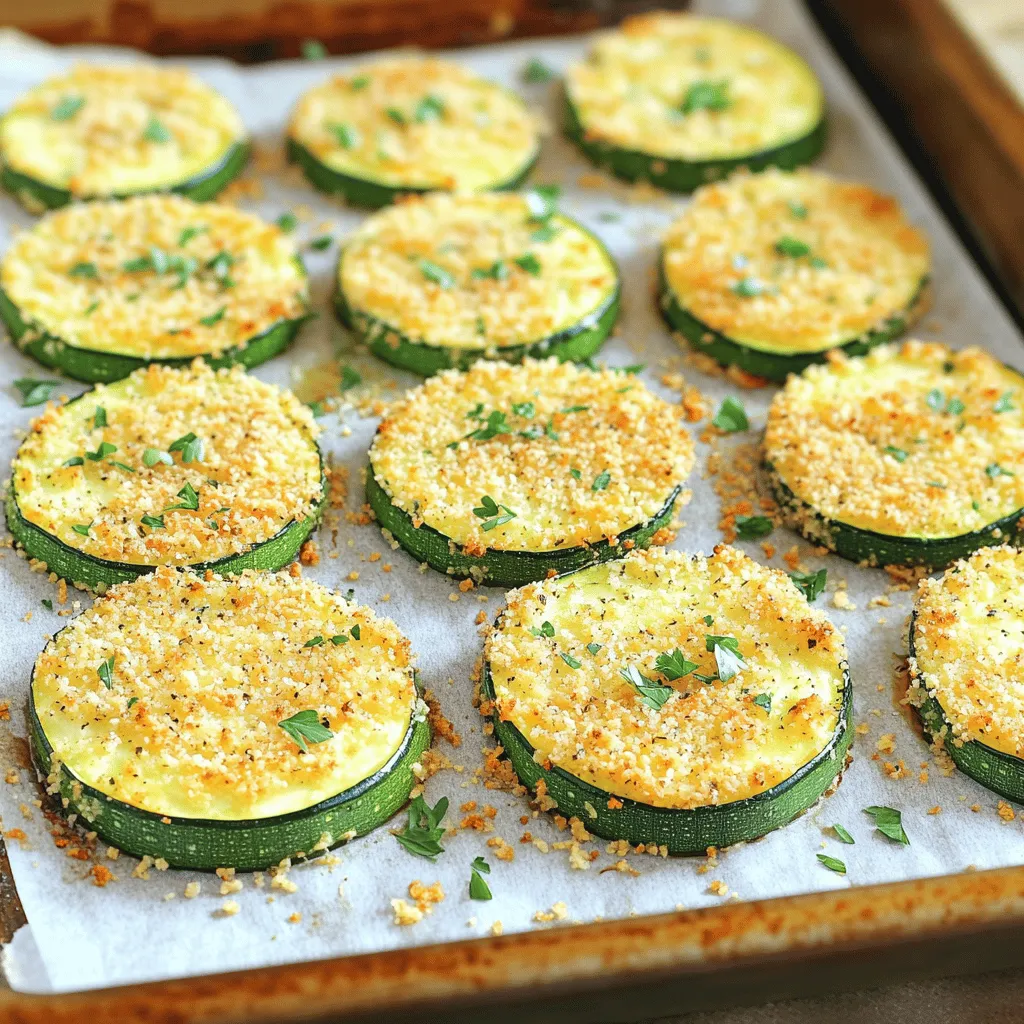
Baked Parmesan Crusted Zucchini Crispy and Delicious Dish
Are you ready to transform your zucchini into a crispy, tasty treat? My Baked Parmesan Crusted Zucchini is a simple
Are you ready to transform your zucchini into a crispy, tasty treat? My Baked Parmesan Crusted Zucchini is a simple
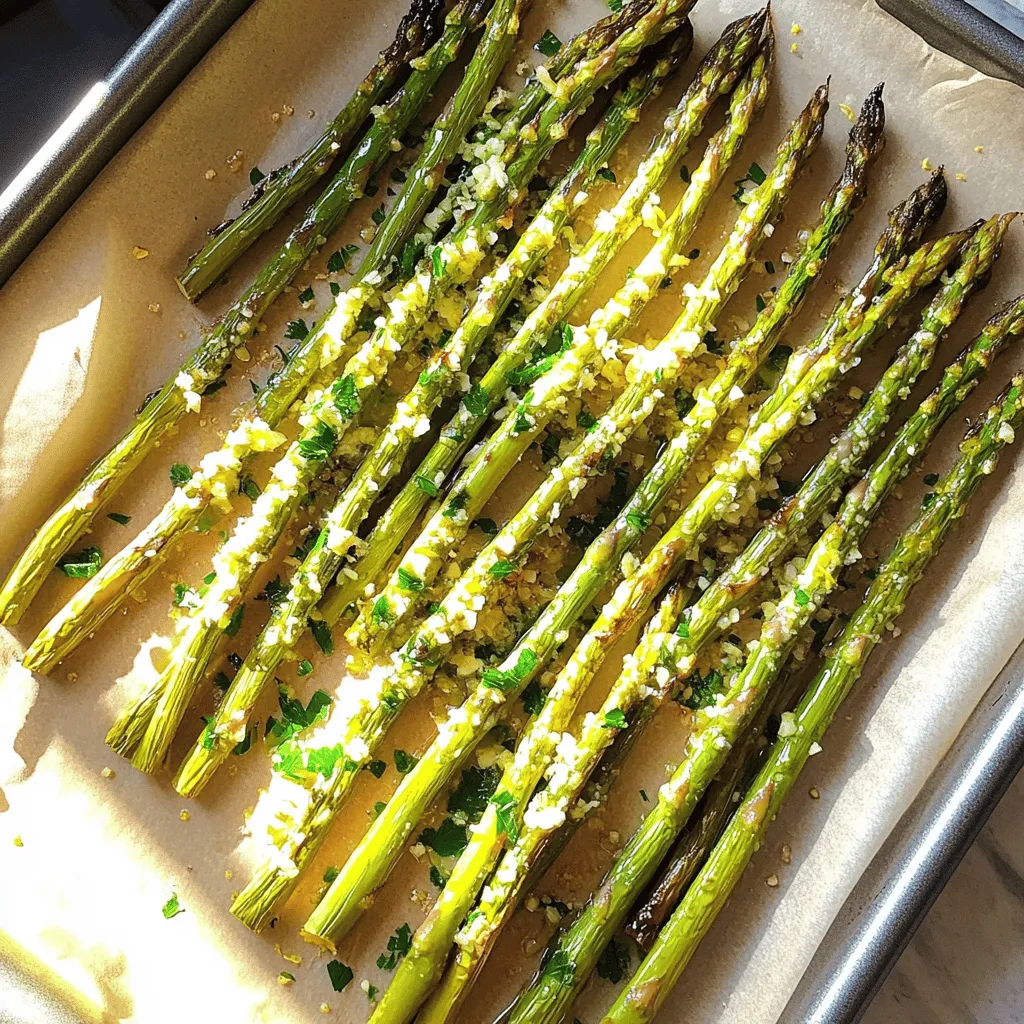
Looking to impress with a dish that’s both simple and packed with flavor? Lemon Garlic Roasted Asparagus is the answer!
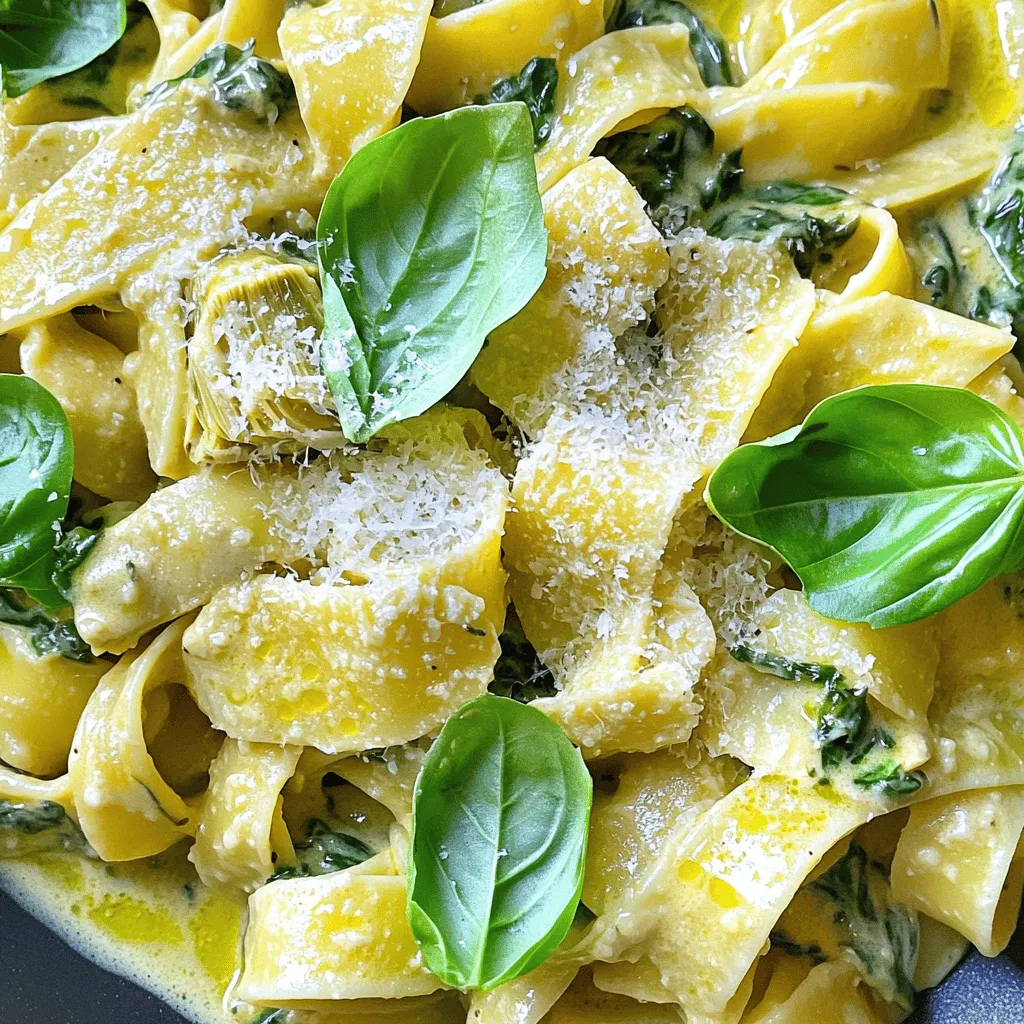
If you’re craving a rich and flavorful dish that’s easy to make, you’ve come to the right place. Creamy Spinach
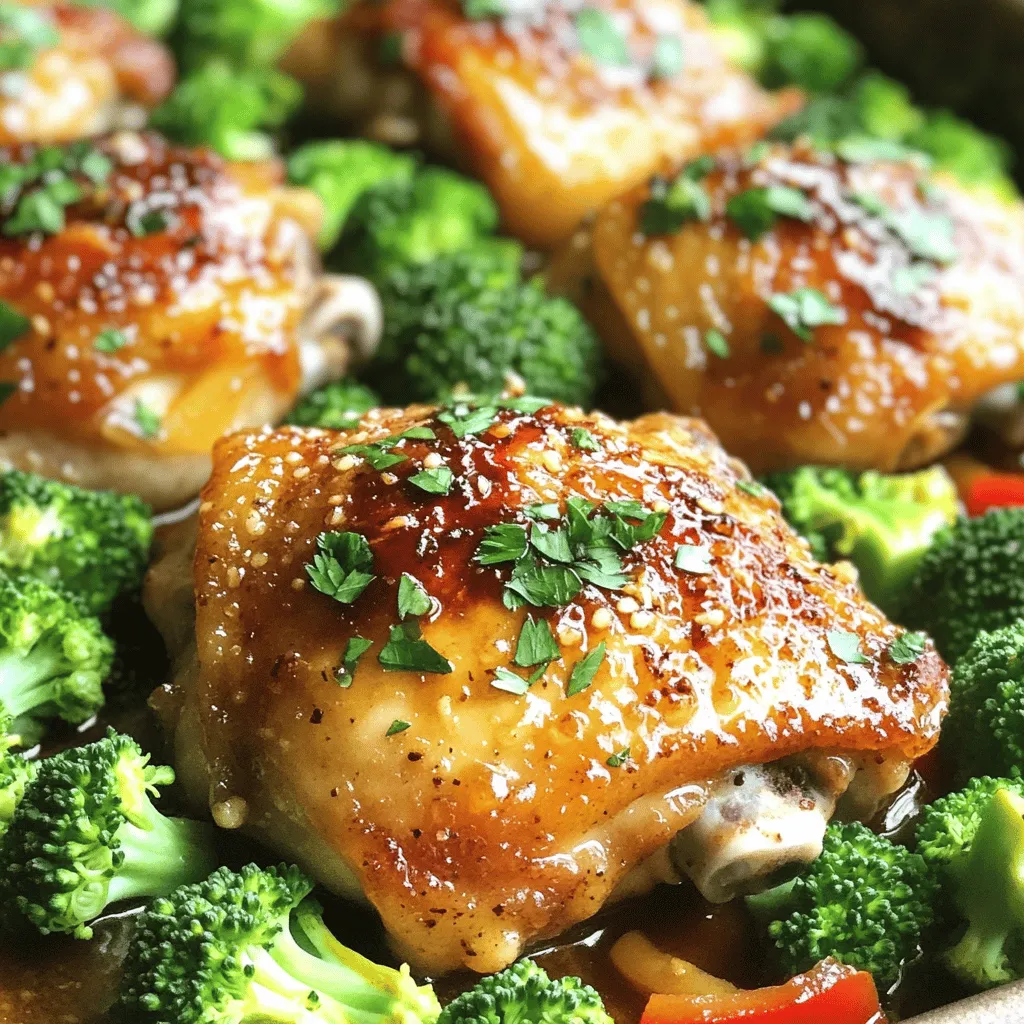
Are you ready for a delicious, hassle-free dinner? This One Pan Honey Garlic Chicken is the perfect meal for busy
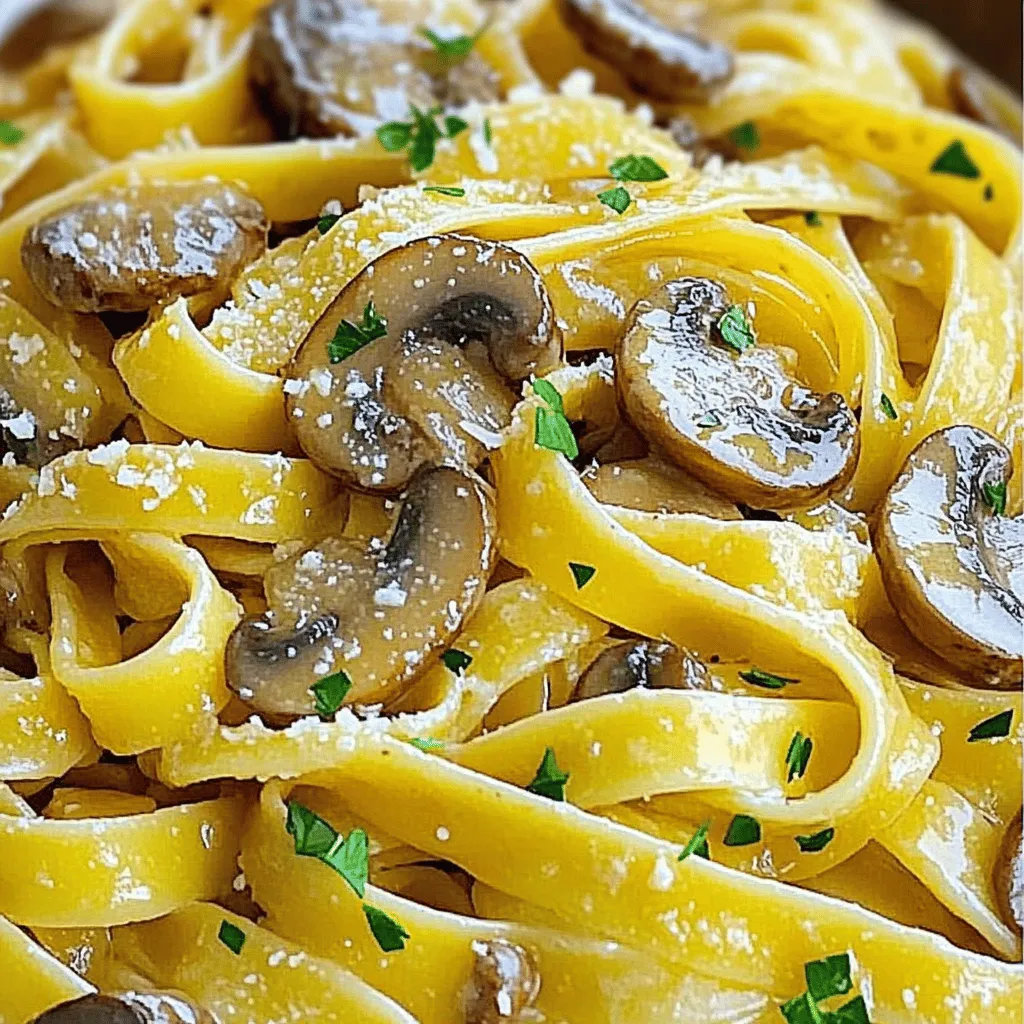
Garlic butter mushroom pasta is a comforting dish that warms both body and soul. It’s quick, tasty, and uses just
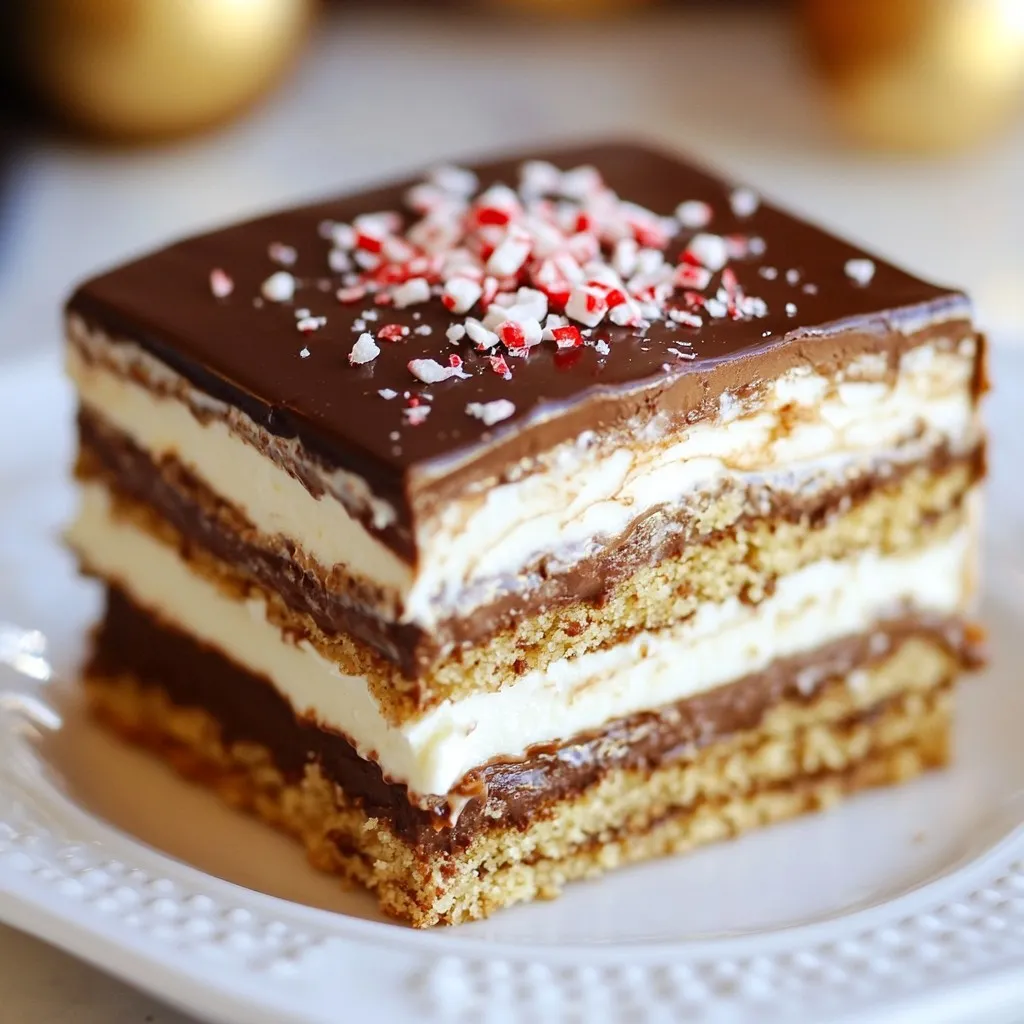
If you love dessert that’s both easy and tasty, you’ll adore my Peppermint Chocolate Eclair Cake! This no-bake treat combines

If you’re craving a sweet treat that feels indulgent yet healthy, look no further! These Chocolate Zucchini Muffins are rich,
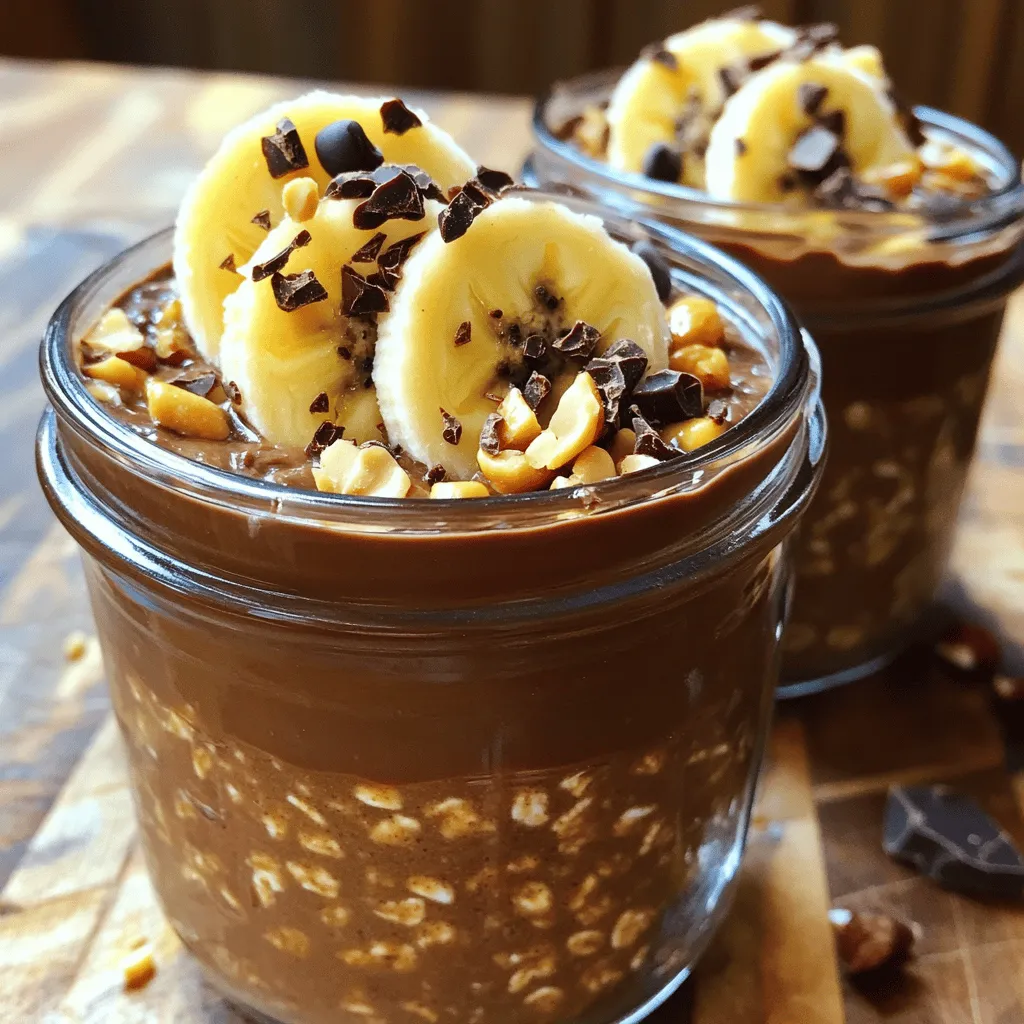
Looking for a quick, tasty start to your day? Let me introduce you to Peanut Butter Chocolate Overnight Oats! This

Ready to taste a classic that never goes out of style? The Classic Wedge Salad is a crisp, flavorful delight
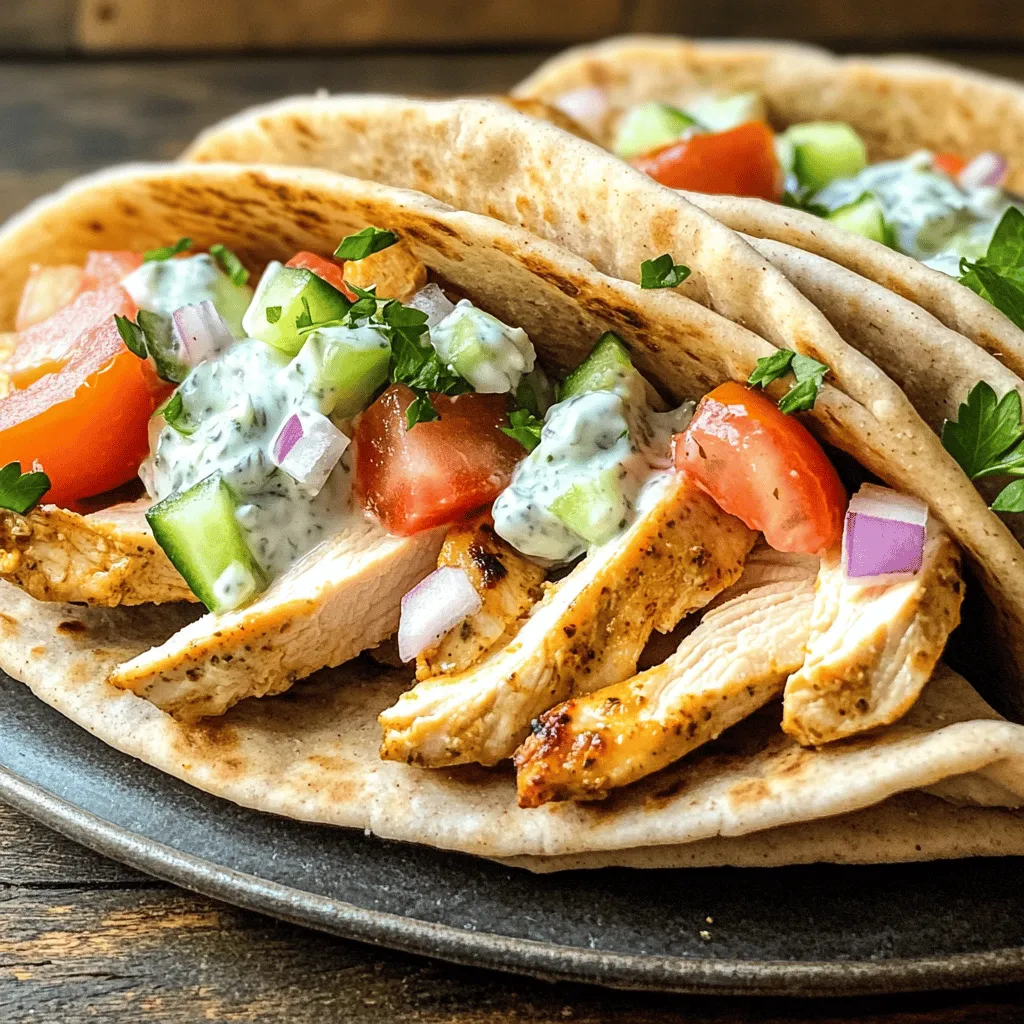
Craving a quick and tasty meal? My Easy Chicken Gyros are just what you need! With simple ingredients and easy
