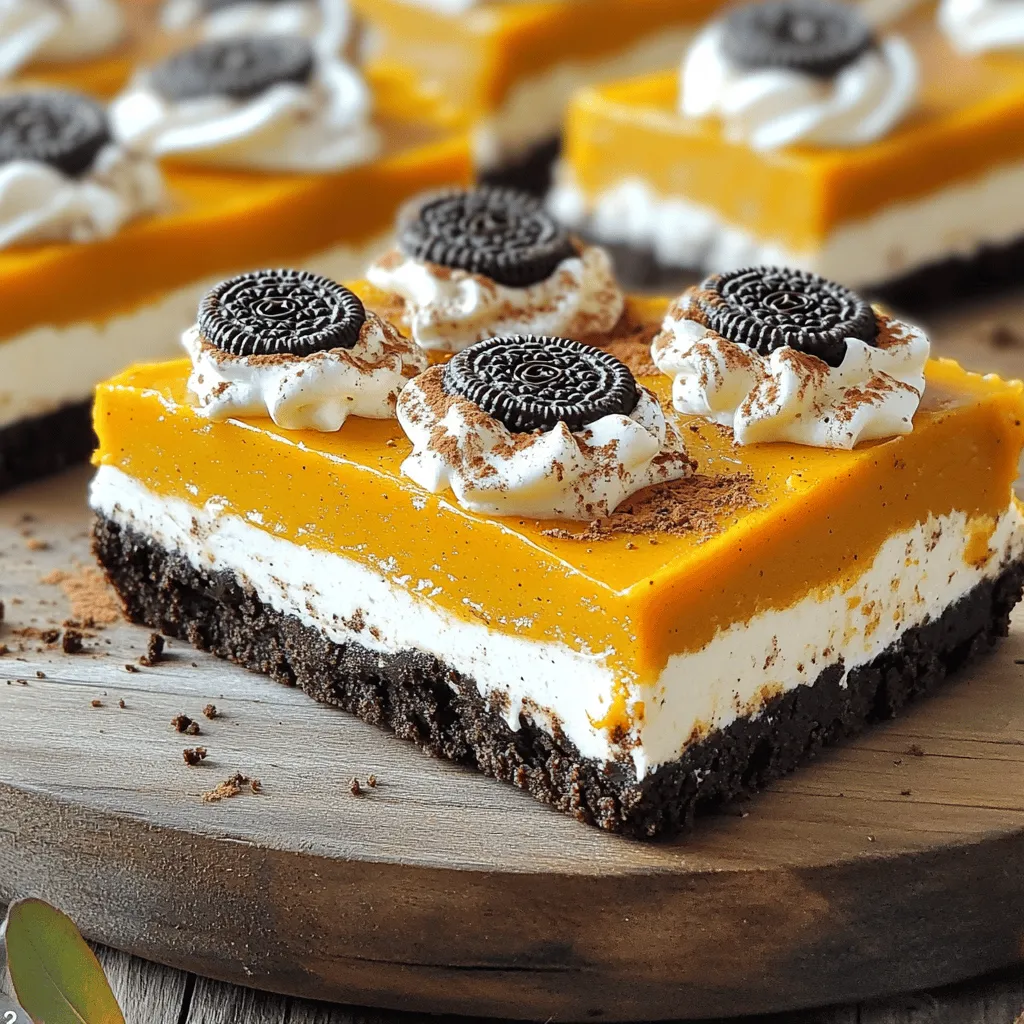
No-Bake Pumpkin Oreo Bars Creamy Dessert Delight
Get ready to dive into a tasty fall treat with my No-Bake Pumpkin Oreo Bars! This creamy dessert delight combines
Get ready to dive into a tasty fall treat with my No-Bake Pumpkin Oreo Bars! This creamy dessert delight combines

Looking for a tasty side dish that kicks up your meal? Look no further than brown sugar glazed carrots! This
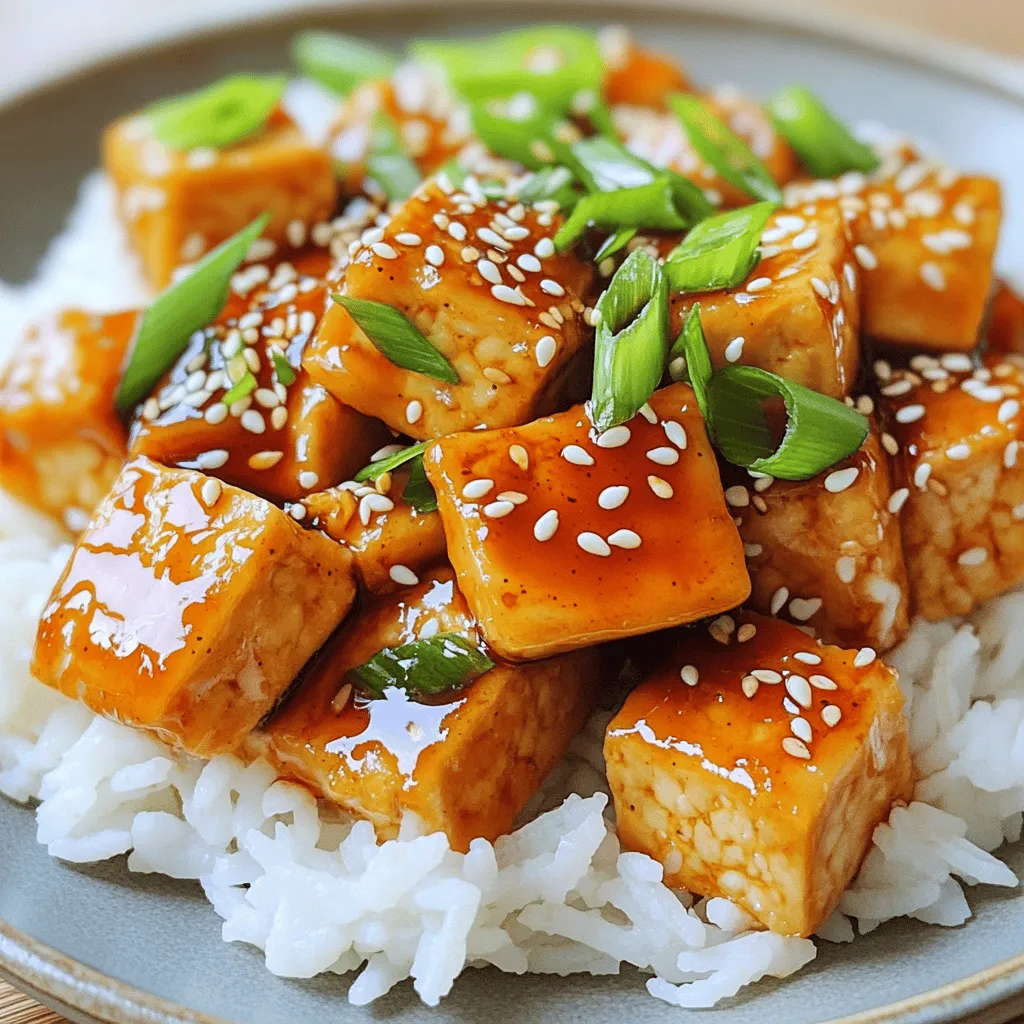
Get ready for a flavor adventure with my Sweet and Spicy Garlic Tofu! This dish packs a punch of sweet
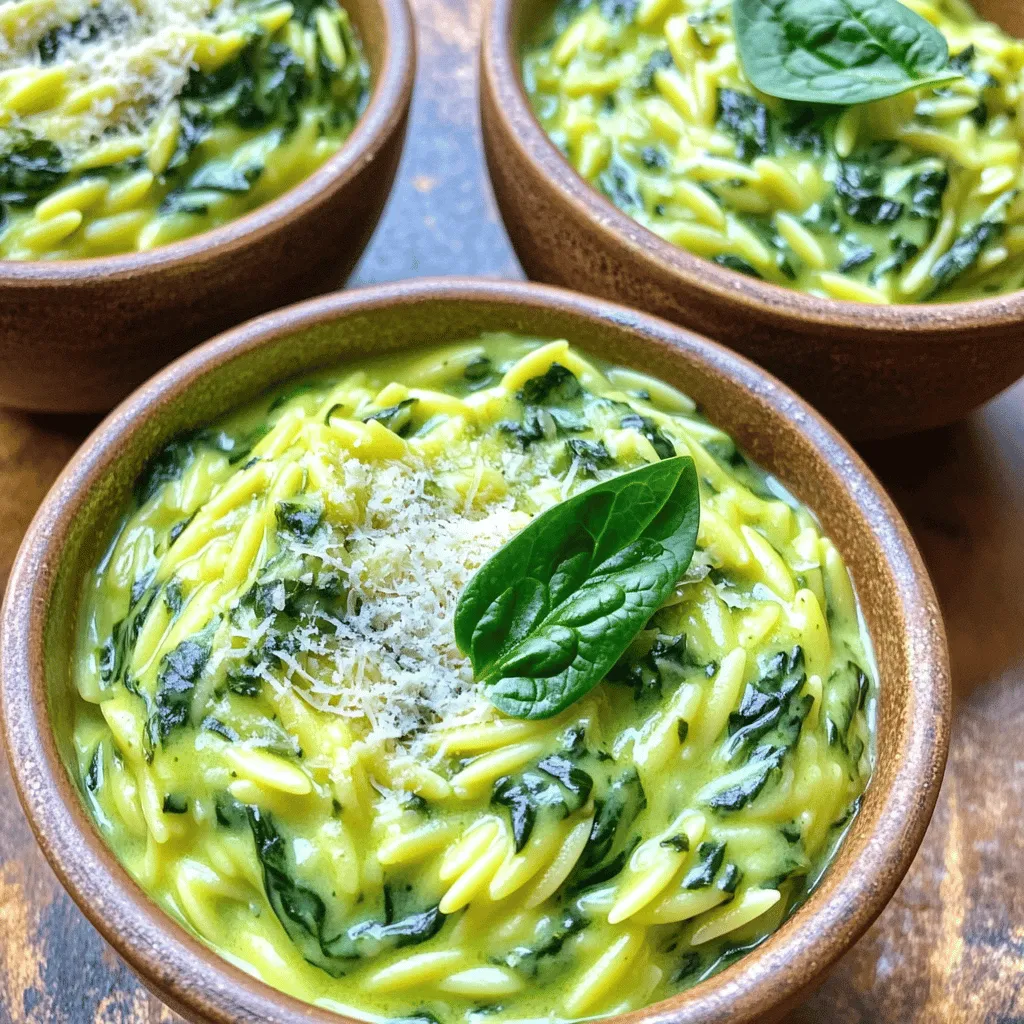
Welcome to the world of creamy spinach orzo, where flavor and comfort meet! This delightful dish combines tender orzo pasta
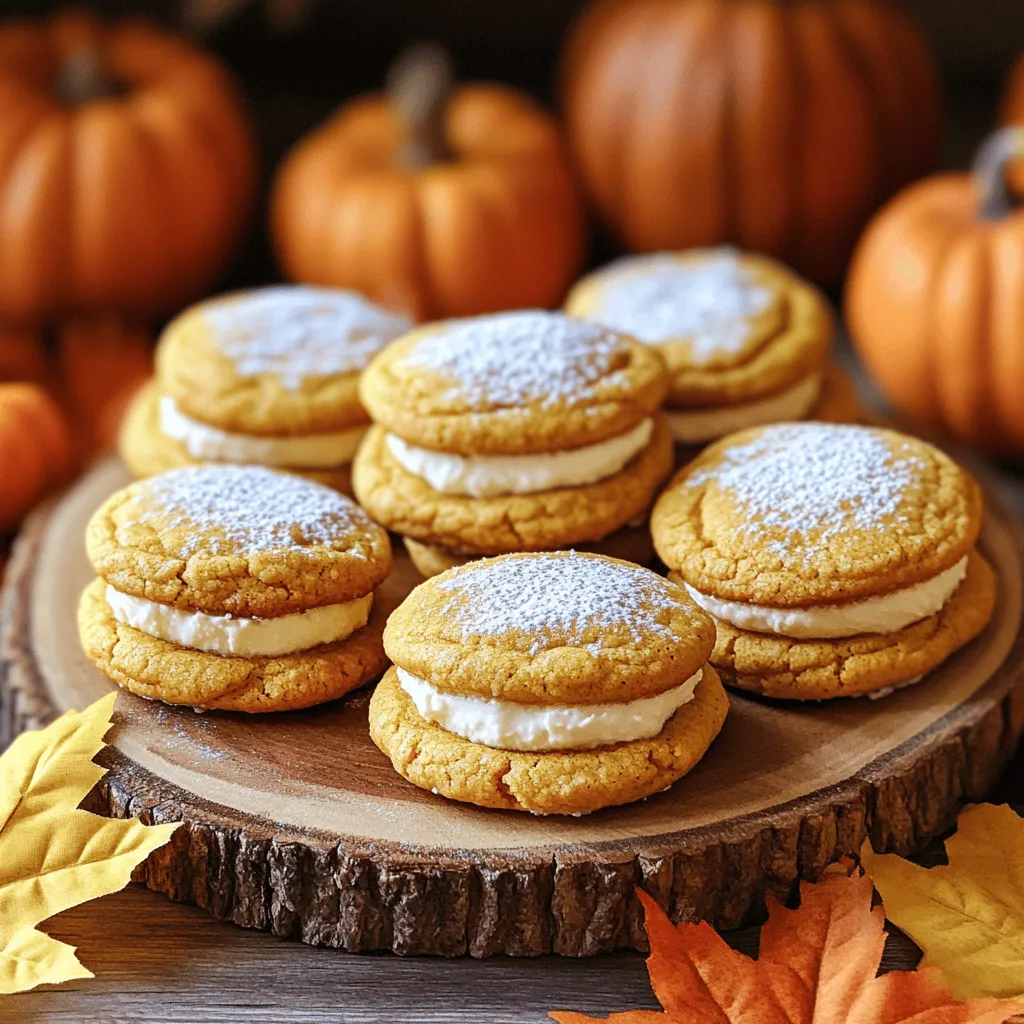
Get ready to indulge in a treat that brings fall flavors to your kitchen! My Delicious Pumpkin Cheesecake Stuffed Cookies
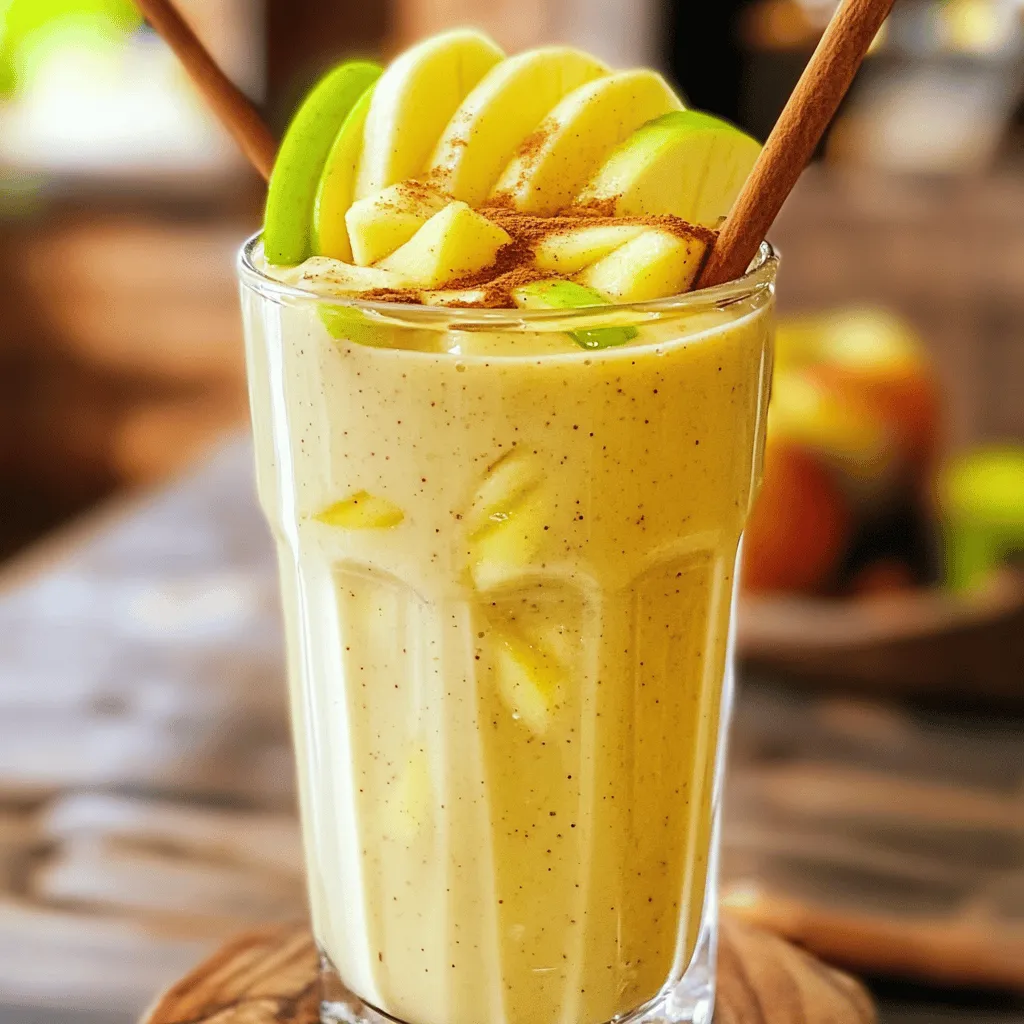
Craving a delicious treat that’s both refreshing and healthy? Let me introduce you to the Cinnamon Apple Pie Smoothie! This
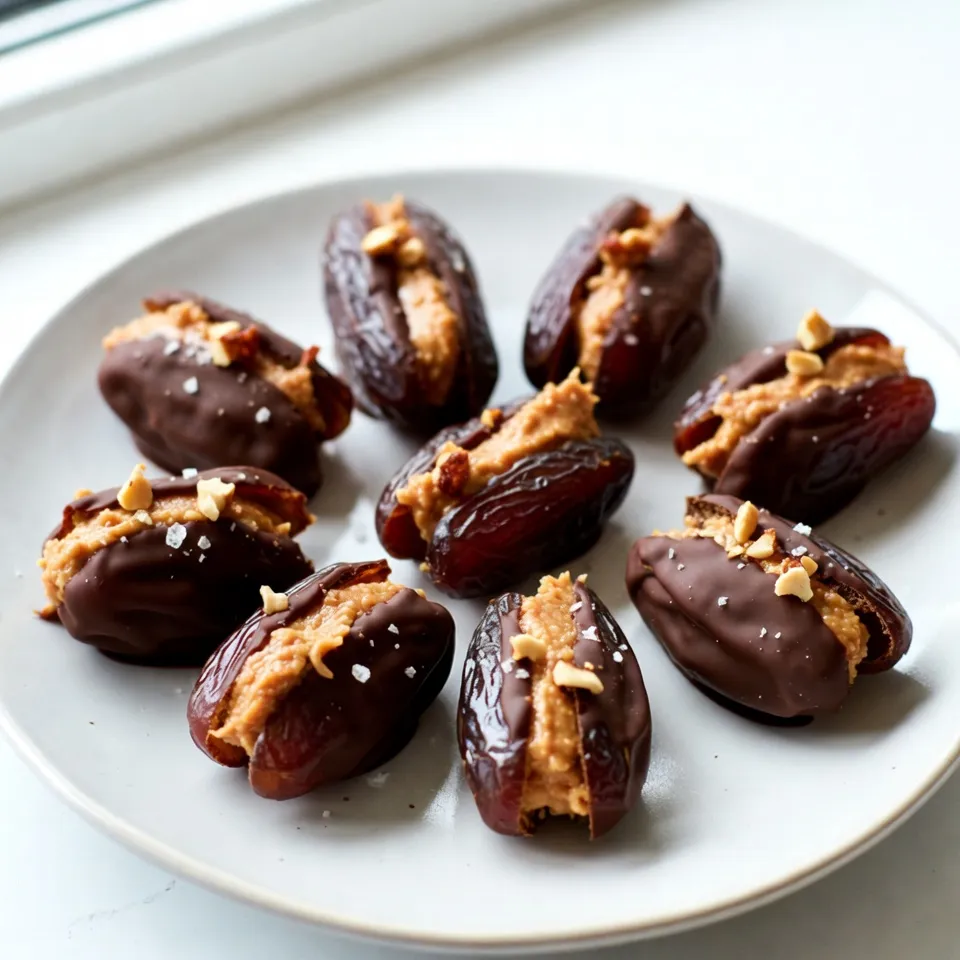
Looking for a quick, tasty snack that satisfies your sweet tooth? Peanut butter stuffed dates are the answer! This simple
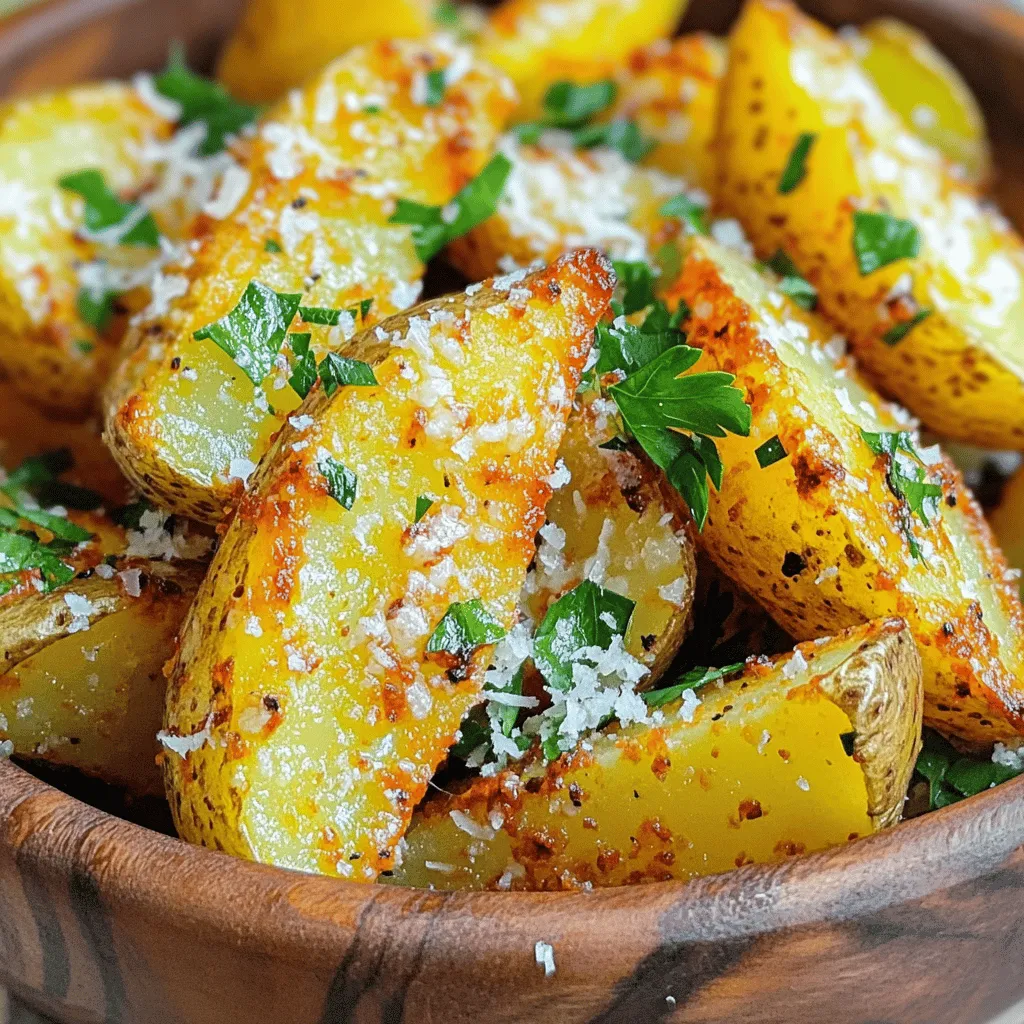
Craving a snack that hits all the right notes? Garlic Parmesan Potato Wedges bring crispy joy in every bite. With
![To make baked churro donuts, you will need the following key ingredients: - 1 cup all-purpose flour - 1/2 cup granulated sugar - 1 teaspoon baking powder - 1/2 teaspoon ground cinnamon - 1/4 teaspoon salt - 1/2 cup unsweetened applesauce - 1/4 cup milk (dairy or non-dairy) - 1/4 cup melted coconut oil or vegetable oil - 1 teaspoon vanilla extract - 1/4 cup granulated sugar (for coating) - 1 teaspoon ground cinnamon (for coating) These ingredients come together to create the sweet, cinnamon flavor you love in churros. You can easily swap some ingredients based on what you have at home. Here are some ideas: - Replace all-purpose flour with gluten-free flour for a gluten-free option. - Use maple syrup instead of granulated sugar for a natural sweetener. - Substitute applesauce with mashed bananas for a different flavor. - Choose almond milk or oat milk if you prefer non-dairy options. These substitutions allow more people to enjoy these delicious donuts, no matter their dietary needs. Selecting the right ingredients makes a big difference in taste. Here are some tips: - Choose fresh spices, like ground cinnamon, for a more vibrant flavor. - Use high-quality vanilla extract for the best aroma and taste. - Look for organic applesauce, as it often has a richer flavor without added sugars. - Select a light coconut oil or vegetable oil to keep the donuts moist but not heavy. Using quality ingredients elevates your baked churro donuts to a whole new level. For the full recipe, check out the link above! 1. Preheating the Oven and Preparing the Pan Start by preheating your oven to 350°F (175°C). Grab your donut pan and spray it lightly with non-stick spray. This helps the donuts come out easily after baking. 2. Mixing Dry Ingredients In a large mixing bowl, whisk together the following dry ingredients: - 1 cup all-purpose flour - 1/2 cup granulated sugar - 1 teaspoon baking powder - 1/2 teaspoon ground cinnamon - 1/4 teaspoon salt Mix these well until they are evenly blended. 3. Combining Wet Ingredients In a separate bowl, combine these wet ingredients: - 1/2 cup unsweetened applesauce - 1/4 cup milk (dairy or non-dairy) - 1/4 cup melted coconut oil or vegetable oil - 1 teaspoon vanilla extract Stir until smooth. This will create a nice base for your donuts. 4. Filling the Donut Pan Carefully add the wet mixture to the bowl with the dry ingredients. Gently stir until just combined. Avoid overmixing to keep your donuts light and fluffy. Transfer the batter into a piping bag or ziplock bag. Fill each donut cavity about 2/3 full. 5. Baking the Donuts Place the filled donut pan into your preheated oven. Bake for 10-12 minutes. The donuts will become lightly golden. Use a toothpick to check if they are ready; it should come out clean. 6. Making the Cinnamon Sugar Coating While the donuts bake, mix the cinnamon sugar coating. In a shallow bowl, blend: - 1/4 cup granulated sugar - 1 teaspoon ground cinnamon Mix them well. This coating gives the donuts that classic churro flavor. You can find the complete recipe in the [Full Recipe]. Enjoy your baking! Avoiding Overmixing To make perfect baked churro donuts, mix your batter gently. Overmixing causes tough donuts. Stir just until the dry and wet ingredients come together. This keeps your donuts light and fluffy. Ensuring Even Baking For even baking, fill each donut cavity the same amount. This helps them bake at the same rate. Rotate the pan halfway through baking. This promotes uniform heat and browning. Presentation Tips for Serving Make your churro donuts shine! Use a pretty platter to showcase them. A light dusting of cinnamon sugar adds a nice touch. You can even serve them in small paper bags for a fun look. Customizing with Dipping Sauces Dipping sauces can elevate your donuts. Try chocolate sauce for a rich pairing. A caramel or dulce de leche sauce adds sweetness. Serve sauces on the side for a delightful experience. For a twist, mix in a bit of spice, like cayenne, into the chocolate. This adds a surprising kick! For the complete recipe, check out the [Full Recipe]. {{image_4}} - Adding Chocolate Chips You can make your churro donuts even better by adding chocolate chips. Simply mix in about 1/2 cup of mini chocolate chips into the batter. This adds a nice touch of sweetness and richness. - Using Different Spices While cinnamon is classic, you can experiment with other spices. Try nutmeg for a warm kick or cardamom for a unique flavor. Just a pinch can change the whole taste, making it special. - Gluten-Free Options If you need gluten-free churro donuts, use a gluten-free flour blend. Look for blends that include xanthan gum to help with texture. This lets you enjoy the donuts without worry. - Vegan Alternatives To make these donuts vegan, swap the milk for a plant-based option and use flax eggs instead of regular eggs. Combine 1 tablespoon of ground flaxseed with 2.5 tablespoons of water. Let it sit for a few minutes to thicken. This keeps the donuts soft and moist while staying plant-based. Explore these variations to find your favorite twist on baked churro donuts! For a full recipe, check out the [Full Recipe]. - Best Containers for Storage Use an airtight container to store your baked churro donuts. This keeps them fresh longer. A plastic or glass container with a tight lid works well. You can also use a resealable plastic bag. Just make sure to remove as much air as possible before sealing. - Shelf Life of Baked Churro Donuts When stored properly, these donuts last about 2 to 3 days at room temperature. If you want to keep them longer, refrigerate them for up to a week. For even longer storage, you can freeze them. They stay good in the freezer for about 2 months. - Tips for Keeping Donuts Fresh When you’re ready to enjoy your donuts again, reheating is key. Preheat your oven to 350°F (175°C). Place the donuts on a baking sheet. Heat them for about 5 to 7 minutes. This method keeps them soft and tasty. If you want a quick option, you can use the microwave. Heat each donut for about 10 seconds. However, this may not keep them as crispy. By following these storage and reheating tips, you can enjoy your baked churro donuts even after the first day. For the full recipe, check out the [Full Recipe]. How do I know when the donuts are done baking? You can tell when the donuts are done by looking for a light golden color. Insert a toothpick into the center of a donut; it should come out clean. If it has batter on it, give them a few more minutes. Can I freeze baked churro donuts? Yes, you can freeze these donuts! Place them in a single layer on a baking sheet until frozen. Once solid, transfer them to an airtight container. They last up to three months in the freezer. What makes these donuts healthier than traditional churros? Baked churro donuts use less oil and no frying. They also have applesauce, which adds moisture. This swap cuts calories and fat while keeping great flavor. How to enhance the churro flavor further To boost the churro flavor, try adding a pinch of nutmeg to the batter. You can also mix in some finely chopped chocolate or caramel bits for a sweet surprise. Can I make these donuts in advance? You can prepare the batter ahead of time. Store it in the fridge for up to 24 hours. Just remember to give it a good stir before filling the donut pan. For best results, bake them fresh! For the full recipe, refer to the Baked Churro Donuts recipe above. We explored how to make tasty baked churro donuts from start to finish. You learned about key ingredients and useful substitutions. I shared tips for great baking and tasty serving ideas. Don’t forget, you can customize with flavors or dietary swaps. Store leftovers properly for the best taste later. Enjoy these donuts fresh or reheated. With this guide, you're ready to impress yourself and others with your baked churro donuts. Happy baking!](https://recipetorch.com/wp-content/uploads/2025/07/f9fcabc8-7ae5-473c-96e0-2dac28ca37a8.webp)
If you love sweet treats, you’re in for a treat today! Baked churro donuts are a fun twist on classic
![- Sushi rice - Fresh sushi-grade tuna - Kewpie mayonnaise and sriracha - Avocado and cucumber - Seasoning ingredients The main ingredients for your spicy tuna sushi bowls make a big difference. First, you need sushi rice. It is sticky and holds together well. Fresh sushi-grade tuna is a must. This tuna should be bright and firm. Next, Kewpie mayonnaise adds creaminess. Sriracha provides the heat. You can adjust this based on your spice level. Don't forget the avocado and cucumber. Avocado brings creaminess, and cucumber gives a nice crunch. For seasoning, use rice vinegar, sugar, and salt. This mix makes the rice tasty and bright. - Toasted sesame seeds - Nori sheets for serving - Additional garnishes These optional ingredients can take your bowls to the next level. Toasted sesame seeds add a nutty flavor and a bit of crunch. Nori sheets can be cut into strips for serving. They give a fun texture and taste. Additional garnishes, like green onions or radishes, can brighten your dish. They add color and flavor too. For the complete recipe, check the Full Recipe section. - Rinsing and cooking the rice: First, rinse 1 cup of sushi rice under cold water. Use a fine mesh strainer until the water runs clear. This step removes excess starch. Next, place the rinsed rice in a pot with 1 1/4 cups of water. Bring it to a boil over medium-high heat. Once it boils, lower the heat, cover, and let it simmer for 15 minutes. After 15 minutes, remove the pot from heat but keep it covered for another 10 minutes. This steaming step is key for perfect rice. - Seasoning the rice: In a small bowl, whisk together 1 tablespoon of rice vinegar, 1 teaspoon of sugar, and 1/2 teaspoon of fine sea salt. After letting the rice rest, transfer it to a large bowl. Gently fold in the vinegar mixture. This adds flavor to the rice. Let it cool to room temperature before proceeding. - Mixing tuna with mayo and sriracha: In a medium bowl, combine 8 ounces of fresh sushi-grade tuna, 2 tablespoons of Kewpie mayonnaise, and 1 tablespoon of sriracha. Mix until the tuna pieces are well coated. You can adjust the sriracha based on how spicy you like it. This mixture brings a creamy and zesty flavor to the dish. - Setting aside for flavor melding: Once mixed, set the spicy tuna aside. Let it sit for a few minutes. This allows the flavors to come together and enhance the taste. - Distributing rice and tuna: Take the cooled sushi rice and divide it evenly among four serving bowls. On top of the rice, spoon the spicy tuna mixture generously. This forms the heart of your sushi bowl. - Adding toppings and drizzling flavors: Next, arrange sliced avocado, julienned cucumber, and chopped green onions over the tuna. This adds freshness and vibrant colors. Drizzle 1 tablespoon of sesame oil and 1 tablespoon of soy sauce over each bowl. These dressings will bring additional depth to the dish. With these steps, you create a delightful and colorful spicy tuna sushi bowl. For a full recipe, check out the [Full Recipe]. Rinsing sushi rice is very important. It removes excess starch, helping the rice stay fluffy. You should rinse the rice until the water runs clear. This step makes a big difference. For the water-to-rice ratio, use 1 1/4 cups of water for each cup of rice. This ratio ensures the rice cooks just right, giving you a perfect base for your spicy tuna sushi bowls. To control the heat, adjust the amount of sriracha in your dish. If you want less spice, use less sriracha. You can also swap it for a milder sauce, like sweet chili sauce. This way, you can still enjoy the creamy mayo taste without the heat. Arranging your ingredients nicely makes a big impact. Start with a base of rice, then add spicy tuna on top. Next, artfully place avocado and cucumber around the tuna. This makes your bowl look colorful and fresh. Use garnishes like chopped green onions and toasted sesame seeds to add flair. A little sprinkle can turn a simple dish into a stunning meal. For the full recipe, check out the details above. {{image_4}} You can change up the protein in your spicy tuna sushi bowls. If you want a twist, try using salmon instead of tuna. Salmon is rich in flavor and pairs well with the spicy mayo. Shrimp is another great option. Cooked shrimp adds a sweet taste and a nice texture. For a vegetarian option, use marinated tofu or chickpeas. Both are protein-rich and will soak up the flavors well. If you need a gluten-free meal, you have options. Look for gluten-free soy sauce, which tastes great in your bowls. You can also try tamari, a fantastic wheat-free substitute. For the rice, use cauliflower rice for a low-carb option. This adds a fresh crunch and keeps the dish light. To spice things up, consider adding more heat. You can mix in extra sriracha or try chili flakes for an added kick. If you want a sweeter touch, drizzle some honey or agave over your bowl. You can also change the veggies for a new taste. Try adding shredded carrots, radishes, or even mango for a sweet and savory blend. These variations keep your spicy tuna sushi bowls exciting and cater to different tastes and diets. Explore these options and make your meal unique! For the full recipe, check out the details on how to prepare your bowls. When storing leftovers, keep each ingredient separate. This method helps maintain freshness. Use airtight containers for the sushi rice, tuna, and toppings. The rice stays good for up to 3 days. The spicy tuna mixture can last for about 1-2 days. Keep avocado and cucumber fresh by using them right away. To reheat sushi rice, add a splash of water and cover it. Heat in the microwave for 30 seconds. Stir and check if it's warm. Avoid overheating to keep the texture nice. For toppings, like spicy tuna, eat them cold or let them sit at room temperature. This keeps the flavors fresh and enjoyable. You can freeze spicy tuna sushi bowls, but with some care. Freeze the sushi rice and spicy tuna separately to maintain quality. Place them in airtight bags, squeezing out as much air as possible. For best results, use within a month. To thaw, place in the fridge overnight. Reheat the rice gently as needed. Enjoy the taste of your sushi bowl even after freezing! For more details, check the Full Recipe. For sushi bowls, always choose sushi-grade tuna. This means the fish is safe to eat raw. Look for bright color with a firm texture. It should smell fresh, not fishy. You can find sushi-grade tuna at trusted fish markets or specialty stores. Ask your fishmonger for their best selection. Yes, you can prepare some parts in advance. Cook the sushi rice a day ahead. Store it in the fridge to keep it fresh. You can mix the spicy tuna and veggies early too. Just wait to assemble the bowls until you're ready to serve. This way, everything stays fresh and tasty. Some great sides include edamame, seaweed salad, or pickled ginger. These add a nice crunch or tang. For drinks, green tea or a light sake works well. They complement the flavors of the sushi bowls perfectly. Enjoy these delicious additions to enhance your meal. In this post, we explored the essential ingredients, step-by-step instructions, tips, variations, and storage information for spicy tuna sushi bowls. You learned how to prepare the rice, mix flavors, and assemble each bowl. Remember, the key to success lies in fresh ingredients and proper technique. Feel free to experiment with proteins and spices for your liking. With practice, you can create delicious meals that impress. Enjoy your sushi-making adventure!](https://recipetorch.com/wp-content/uploads/2025/07/92ed9e05-5505-43d8-8a11-f41184eff4de.webp)
Looking for a fresh and tasty meal idea? Spicy Tuna Sushi Bowls are perfect for you! This dish combines sushi-grade
