![To make a tasty cranberry almond chicken salad, gather these ingredients: - 2 cups cooked chicken, shredded or diced - 1/2 cup dried cranberries - 1/2 cup sliced almonds, plus extra for garnish - 1/2 cup plain Greek yogurt, full-fat for creaminess - 2 tablespoons honey, or to taste - 1 tablespoon Dijon mustard, for tanginess - 1/4 cup celery, finely chopped for crunch - 1/4 cup red onion, finely chopped for flavor - Salt and pepper to taste, for seasoning - Fresh greens (like spinach, arugula, or mixed salad greens) for serving You can adjust these ingredients based on what you like. For a sweeter touch, add more honey. If you want a crunchier salad, toss in some chopped apples or walnuts. Each serving of this salad has around 350 calories. Here’s the breakdown of macronutrients: - Protein: 30 grams - Fats: 18 grams - Carbohydrates: 25 grams This salad is a good source of protein from the chicken and healthy fats from the almonds. The Greek yogurt adds creaminess while keeping it light. You also get fiber from the cranberries and veggies, which is great for digestion. Enjoy a meal that’s not only tasty but also nourishing! Making cranberry almond chicken salad is easy and fun. First, gather all your ingredients. Use 2 cups of cooked chicken, shredded or diced. If you have leftover chicken, that works great! If not, you can poach or roast chicken breasts. For shredding, use two forks or your hands to pull apart the meat. This gives you nice, bite-sized pieces. Next, in a large bowl, mix the chicken with 1/2 cup of dried cranberries and 1/2 cup of sliced almonds. Stir gently to mix them well. This adds sweetness and a nice crunch to your salad. In a separate bowl, whisk together 1/2 cup of plain Greek yogurt, 2 tablespoons of honey, and 1 tablespoon of Dijon mustard. This is your creamy dressing. Mix until it’s smooth. The yogurt adds creaminess, while the honey and mustard give it a delightful tang. Now, chop 1/4 cup of celery and 1/4 cup of red onion finely. Add these to your chicken mixture. The celery gives a nice crunch, and the onion adds flavor. Pour the yogurt dressing over the chicken mix. Fold everything together gently. Make sure all the ingredients are well coated. Season with salt and pepper to taste. Mix lightly one more time. Cover the bowl with plastic wrap and chill in the refrigerator for at least 30 minutes. This helps all the flavors mix well. To serve, take fresh greens like spinach or arugula. Create a bed of greens on each plate. This makes your dish colorful and fresh. Add a generous scoop of your chicken salad on top. For a beautiful presentation, serve in small bowls or on a decorative platter. Garnish with extra sliced almonds and a few dried cranberries. This adds a lovely touch and makes the salad pop with color. Enjoy your refreshing salad! For complete details, check the full recipe. To make your cranberry almond chicken salad shine, focus on a few key tips: - Use Fresh Ingredients: Fresh greens and crunchy vegetables bring life to the dish. They enhance both taste and texture. - Taste as You Go: Adjust the salt and pepper as you prepare. This way, you achieve the perfect balance of flavors. - Chill Before Serving: Let it sit in the fridge for at least 30 minutes. This allows the flavors to blend beautifully. If you want to switch things up, consider these substitutions: - Greek Yogurt Alternatives: You can use sour cream or a dairy-free yogurt. Both options keep the salad creamy. - Add Some Spice: Try a pinch of cayenne or chili powder for a kick. It adds a nice contrast to the sweet cranberries. Proper storage keeps your salad fresh and tasty. Here are some best practices: - Use Airtight Containers: Store leftovers in airtight containers. This helps prevent drying out. - Keep Dressing Separate: If possible, store the dressing separately. This keeps the salad crisp. To maintain freshness: - Consume Within Three Days: The salad is best enjoyed within three days of making it. After that, it may lose its texture and flavor. Follow these tips to enjoy your cranberry almond chicken salad at its best! If you want to see the full recipe, check out the detailed steps above. {{image_4}} You can easily change the flavor of your cranberry almond chicken salad. Try adding fresh apples or pears for a sweet crunch. Walnuts or pecans also add a nice texture. If you enjoy spices, a pinch of cinnamon or nutmeg can enhance the salad's warmth. You can also swap out almonds for cashews or pistachios. Each nut brings its own flavor and crunch. Seasonal ingredients can keep your salad fresh and exciting. In fall, consider adding roasted squash. In summer, fresh berries make a great addition. Making this salad gluten-free is simple. Just ensure all ingredients, like the yogurt and mustard, are labeled gluten-free. If you're looking to make it dairy-free, use a plant-based yogurt. This keeps the creaminess while meeting dietary needs. For those on a low-carb diet, skip the honey or use a sugar substitute. You can also reduce the amount of fruit to lower the carb count. This way, you can enjoy a delicious meal that fits your lifestyle. For the full recipe, please refer to the main section. How long does it last in the fridge? Cranberry almond chicken salad stays fresh for about three to four days in the fridge. Store it in an airtight container to keep it tasty. I always recommend checking for any signs of spoilage before eating. Can I use pre-cooked chicken? Yes, you can definitely use pre-cooked chicken. It saves time and works well in this recipe. Just make sure to shred or dice it to match the texture of the salad. What to pair with the chicken salad? This chicken salad pairs great with crunchy crackers or toasted bread. You can also serve it on a bed of fresh greens for a light meal. Ideal occasions to serve this dish You can enjoy this salad at picnics, lunch gatherings, or even casual dinners. It’s perfect for warm weather or when you want something light and refreshing. For the full recipe, check out the detailed instructions above. To make this cranberry almond chicken salad, follow these easy steps: 1. Mix Chicken and Dry Ingredients In a large bowl, combine chicken, dried cranberries, and sliced almonds. Stir gently to mix. 2. Make the Dressing In a small bowl, whisk plain Greek yogurt, honey, and Dijon mustard until smooth. 3. Add Crunchy Ingredients Add finely chopped celery and red onion to the chicken mix for texture and flavor. 4. Combine Everything Pour the dressing over the chicken mix. Fold gently until all ingredients are coated. 5. Season and Chill Season with salt and pepper. Mix lightly. Cover the bowl and chill for at least 30 minutes. 6. Serve Create a bed of fresh greens on plates. Add a generous scoop of the salad on top. For a detailed guide, check out [Full Recipe]. This salad is perfect for a light lunch or a party. Enjoy the crispness and sweetness in every bite! In summary, you learned how to make a tasty cranberry almond chicken salad. We covered the ingredients and their nutritional info, plus easy steps for prep and serving. Remember the tips to enhance flavor and store leftovers well. You can also try fun variations to fit your diet. With the right mix of flavors, this dish shines at any meal. Enjoy crafting your own version!](https://recipetorch.com/wp-content/uploads/2025/07/066de451-b1c1-4999-bbfc-e80295b9a67f.webp)
Cranberry Almond Chicken Salad Delightful and Fresh
Are you ready to elevate your lunch game? This Cranberry Almond Chicken Salad is a blend of flavors that’s both
Are you ready to elevate your lunch game? This Cranberry Almond Chicken Salad is a blend of flavors that’s both
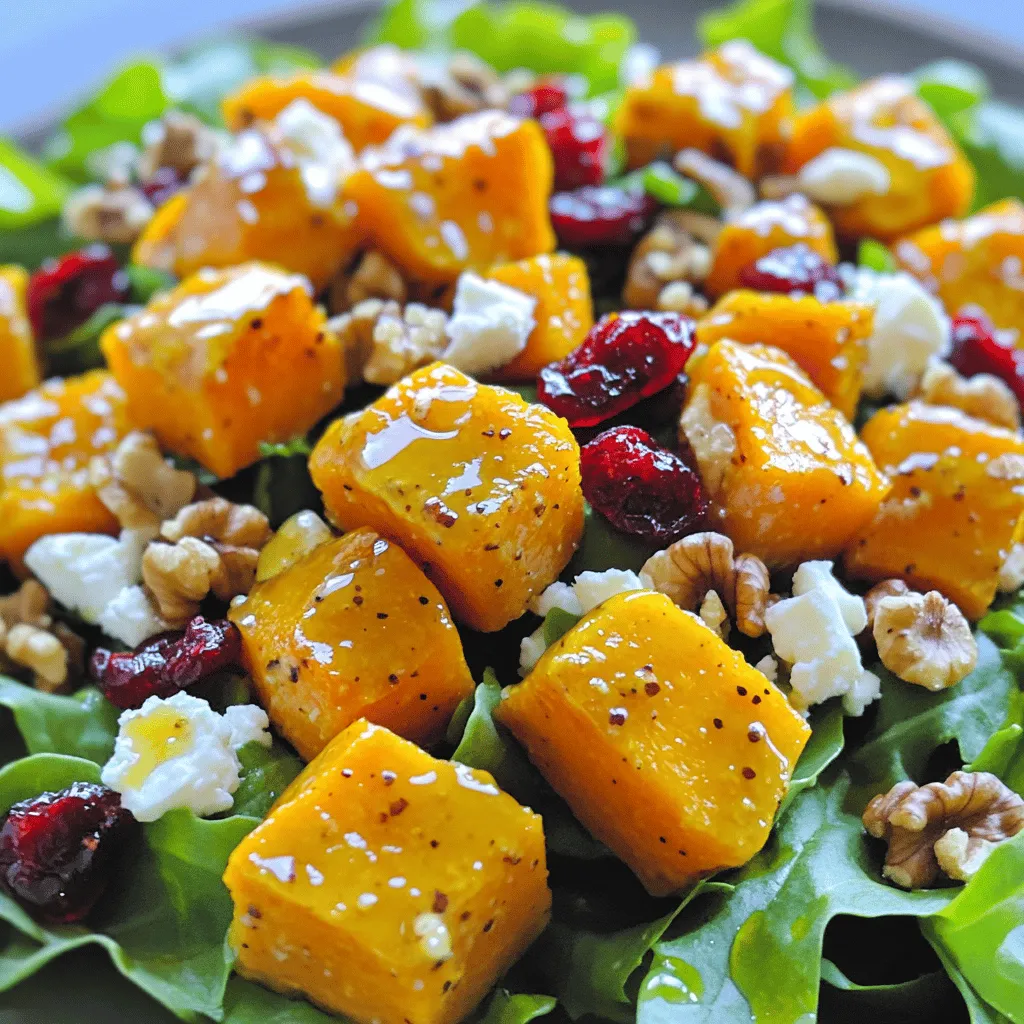
Looking for a fresh and simple dish that dazzles? Let me introduce you to my Maple Roasted Butternut Squash Salad.
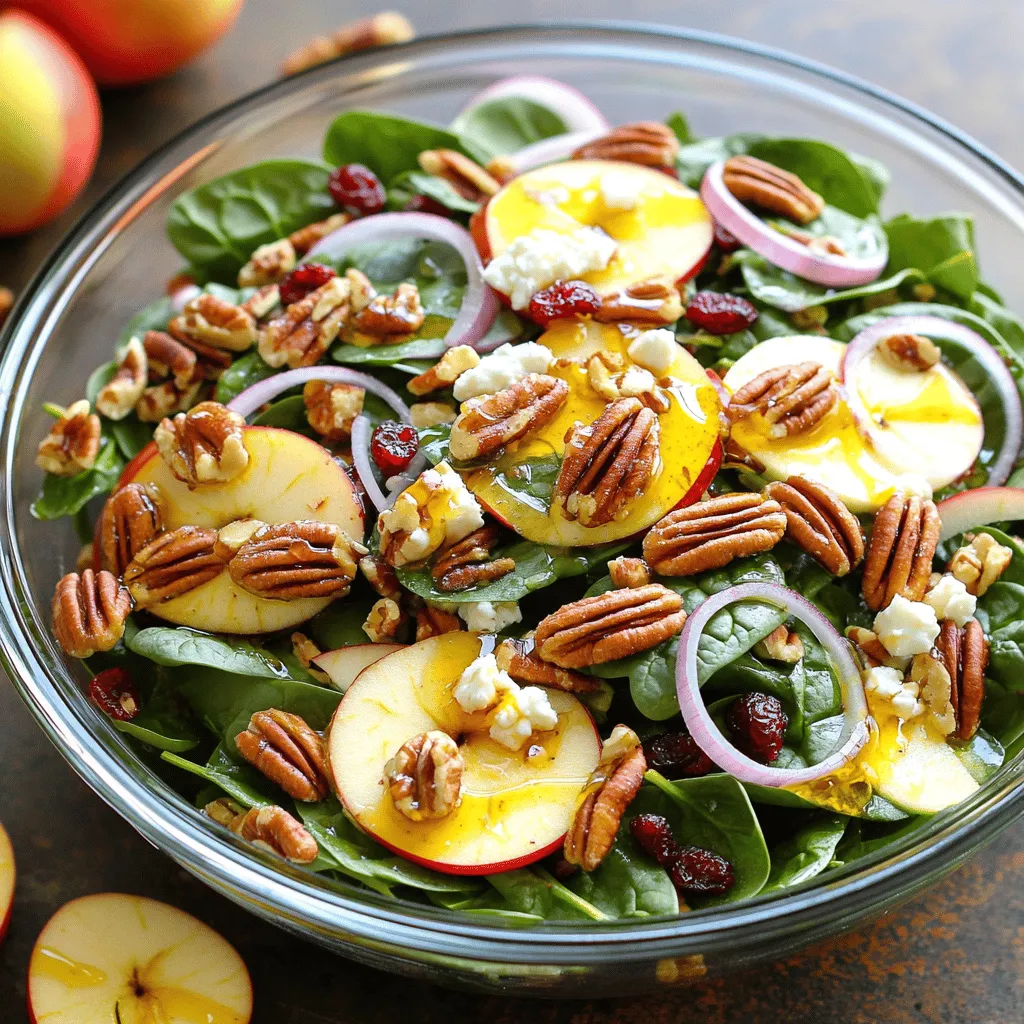
Are you ready to enjoy a salad that’s both fresh and packed with nutrition? The Apple Pecan Spinach Salad is
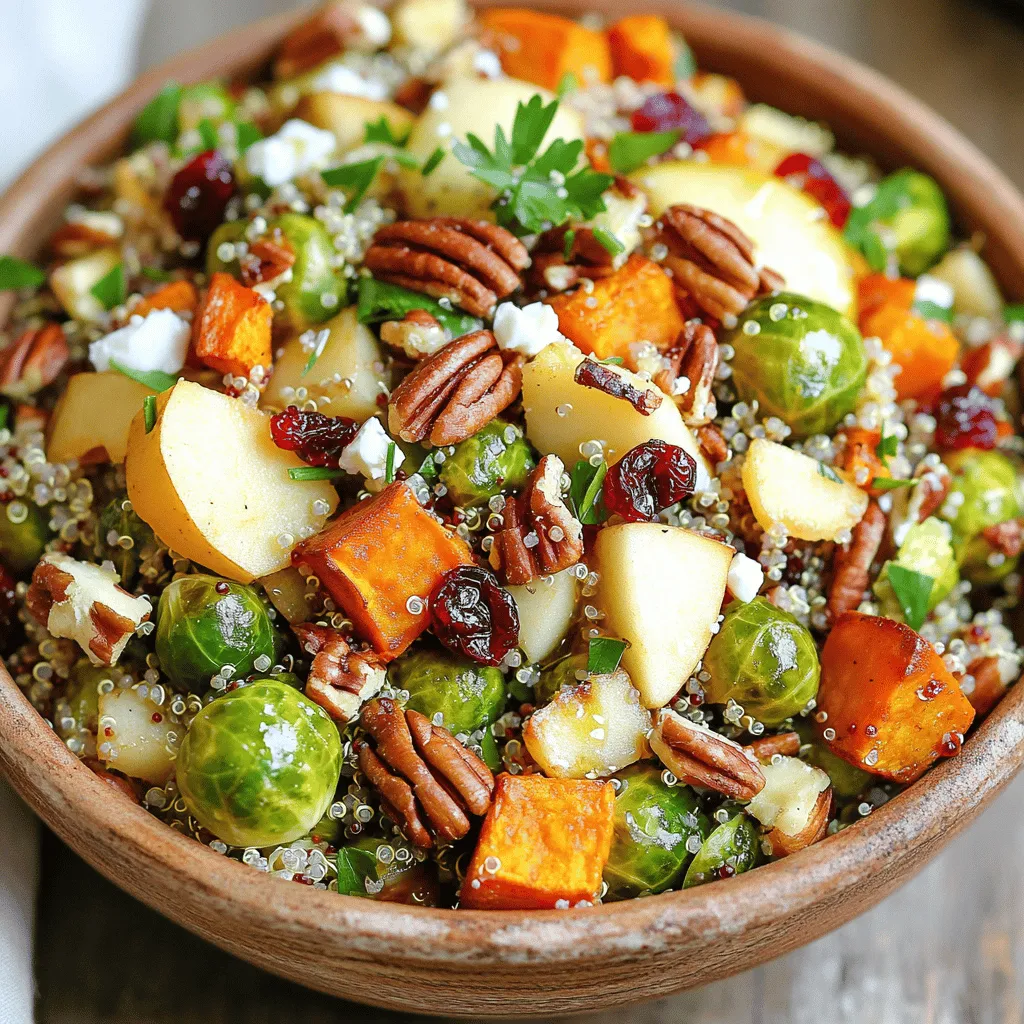
Looking for a meal that’s both tasty and healthy this fall? My Fall Harvest Quinoa Salad is packed with seasonal
. - Combine chickpeas, tomatoes, cucumber, bell pepper, red onion, olives, and parsley in a mixing bowl. - Whisk together olive oil, lemon juice, oregano, salt, and pepper for the dressing. - Drizzle dressing over the salad mixture, gently toss to combine. Let’s break it down. First, you want a large mixing bowl. Add the drained chickpeas. They are the star of this dish. Toss in the halved cherry tomatoes next. Their sweetness adds a lovely touch. Next, chop your cucumber and bell pepper into small pieces. The crunch is delightful. Don’t forget the red onion for a zesty kick. Add the sliced olives and fresh parsley for color and flavor. Once you prepare the salad base, it’s time for the dressing. In a small bowl, whisk together olive oil and fresh lemon juice. This combo brightens your salad. Add dried oregano for a hint of earthiness. Sprinkle in sea salt and freshly cracked black pepper to taste. Now, drizzle your dressing over the salad mix. Gently toss everything together. Be careful not to mash the ingredients. You want them to stay whole for texture. If you like, sprinkle crumbled feta cheese on top for a creamy finish. - Allow salad to rest for 15 minutes or refrigerate for up to 2 hours. - Serve in a large, shallow bowl and garnish with parsley and lemon wedges. Let the salad sit for a bit. This helps the flavors mix well. You can also chill it in the fridge for up to two hours. When ready to serve, use a big, shallow bowl. This way, the colors pop! Garnish it with a few parsley leaves and lemon wedges for that fresh look. For the full recipe, check out Mediterranean Chickpea Delight! To make your Mediterranean chickpea salad shine, let it rest. This allows the flavors to blend beautifully. After mixing, consider waiting for about 15 minutes. For more variety, try adding fresh herbs. Basil and mint add a nice twist. You can mix and match to find your favorite taste. Using fresh, high-quality ingredients is key. Fresh veggies bring out the best flavor. If you want ease, use canned chickpeas. They save time and are ready to eat. For a deeper taste, try dried chickpeas. Just soak them overnight and cook before using. This extra step adds a rich flavor to your salad. {{image_4}} You can easily swap chickpeas for other beans. Black beans or cannellini beans work great. They add a different flavor and texture. Adding roasted vegetables is another fun option. It makes a warm salad that is hearty and comforting. Want to make it vegan? Just leave out the feta cheese. This makes the dish lighter while still keeping it tasty. The salad is also gluten-free and fits well in a Mediterranean diet. You can enjoy it without worrying about dietary restrictions. To keep your Mediterranean Chickpea Salad fresh, place it in an airtight container. Store it in the fridge. It tastes best within 2-3 days. After that, the ingredients may lose their crunch and flavor. Freezing this salad is not a good idea. The texture of fresh ingredients will change when thawed. This change can make the salad watery and less enjoyable. Enjoy it fresh for the best taste! Typically, this salad lasts 2-3 days when refrigerated. Store it in an airtight container. The flavors will blend well over time. However, it tastes best when fresh. Yes, making it a few hours in advance enhances the flavors. Allowing the salad to sit lets the dressing soak in. This makes each bite more flavorful. Just remember to keep it cold before serving. This salad pairs well with grilled meats, pita bread, or as a side dish for larger meals. It adds a fresh touch to any plate. You can also enjoy it with a light soup for a complete meal. Check the [Full Recipe] to see how to prepare the salad perfectly! This blog post shared a delightful Mediterranean Chickpea Salad recipe. We explored essential ingredients, prep steps, and plenty of serving tips. Keeping it fresh and tasty requires quality ingredients, resting time for flavors, and some fun variations. In the end, this salad is versatile and easy to make. You can mix and match to suit your taste. Enjoy making this vibrant dish and savor the healthy flavors!](https://recipetorch.com/wp-content/uploads/2025/07/695909d2-e06d-4166-9da8-ccdfb83bca4f.webp)
Are you ready to add a burst of flavor to your meals? This Mediterranean Chickpea Salad combines fresh, colorful ingredients
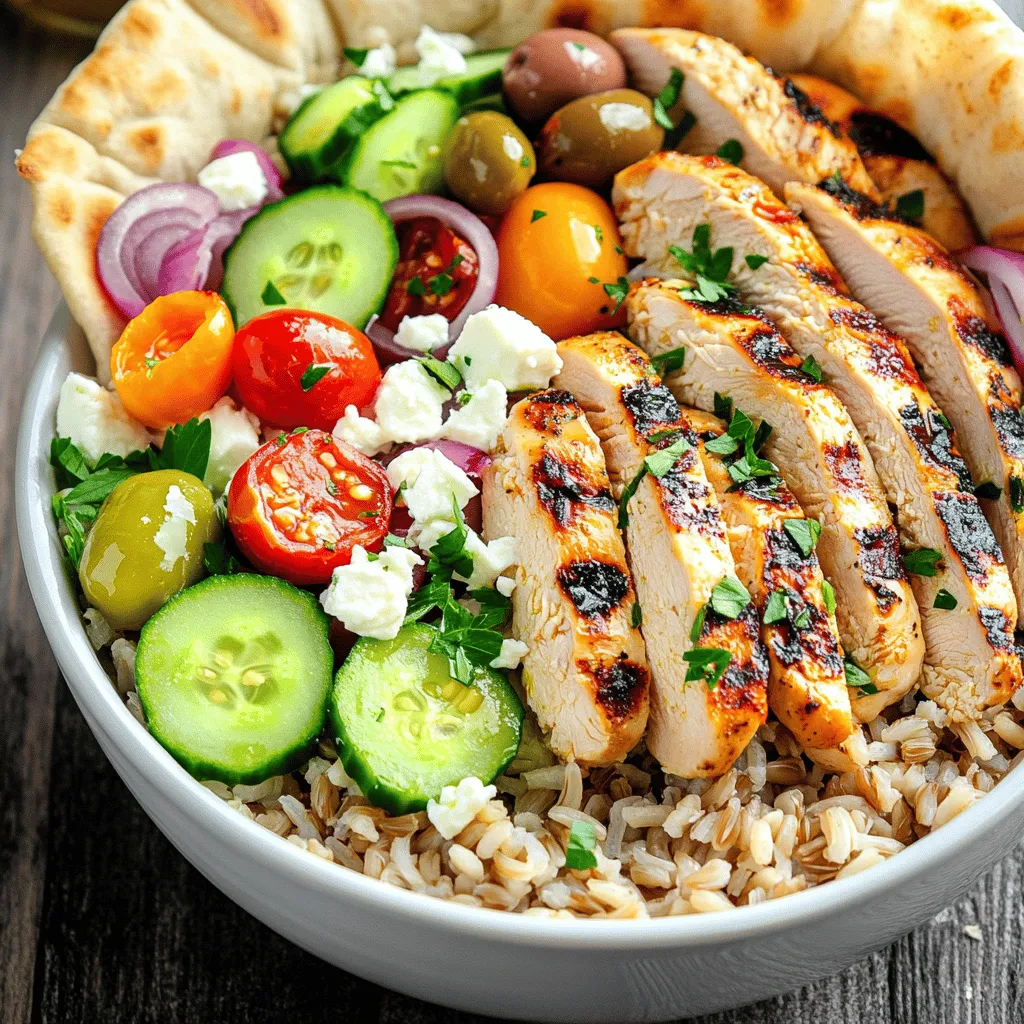
Get ready for a burst of flavor with Greek Chicken Gyro Bowls! This dish combines juicy grilled chicken, fresh veggies,

Are you ready to elevate your dinner game? With my Sun-Dried Tomato Chicken Gnocchi, you’ll enjoy a creamy dish that’s

If you’re craving a dish that’s crunchy, flavorful, and easy to make, you’re in the right place! Pecan Crusted Chicken

Craving a mouthwatering twist on a classic dish? Loaded Philly Cheesesteak Fries combine crispy fries, seasoned beef, and gooey cheese
Are you ready to savor a dish that impresses with flavor yet is easy to make? My Garlic Butter Herb
