
Cranberry Sauce Meatballs Tasty Dinner Delight
Looking for a fun and tasty dinner idea? Try my Cranberry Sauce Meatballs! This dish combines juicy meatballs with a
Looking for a fun and tasty dinner idea? Try my Cranberry Sauce Meatballs! This dish combines juicy meatballs with a

Craving a creamy, cheesy dish that fills you up and warms your heart? This Chicken Alfredo Stuffed Shells recipe delivers
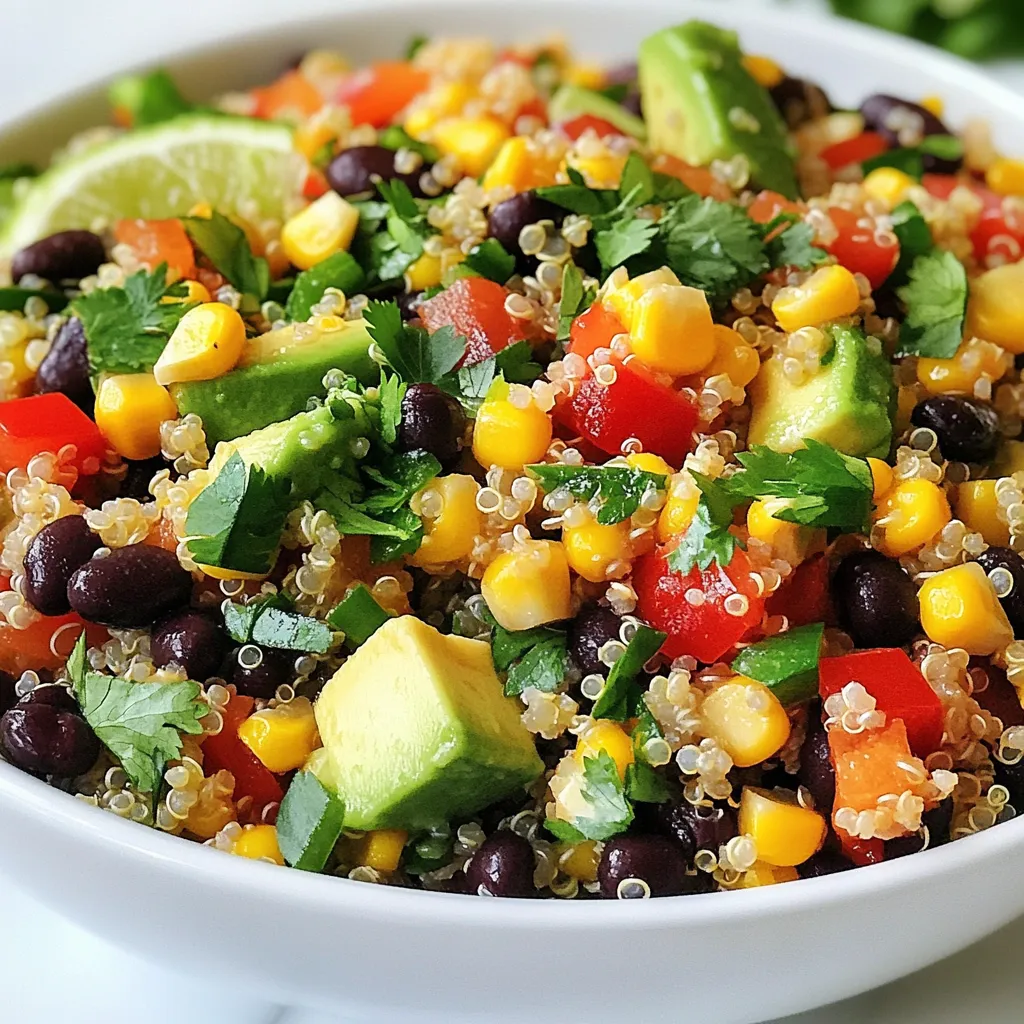
Are you ready to brighten your meal with a dish that’s both tasty and healthy? My Black Bean Quinoa Salad
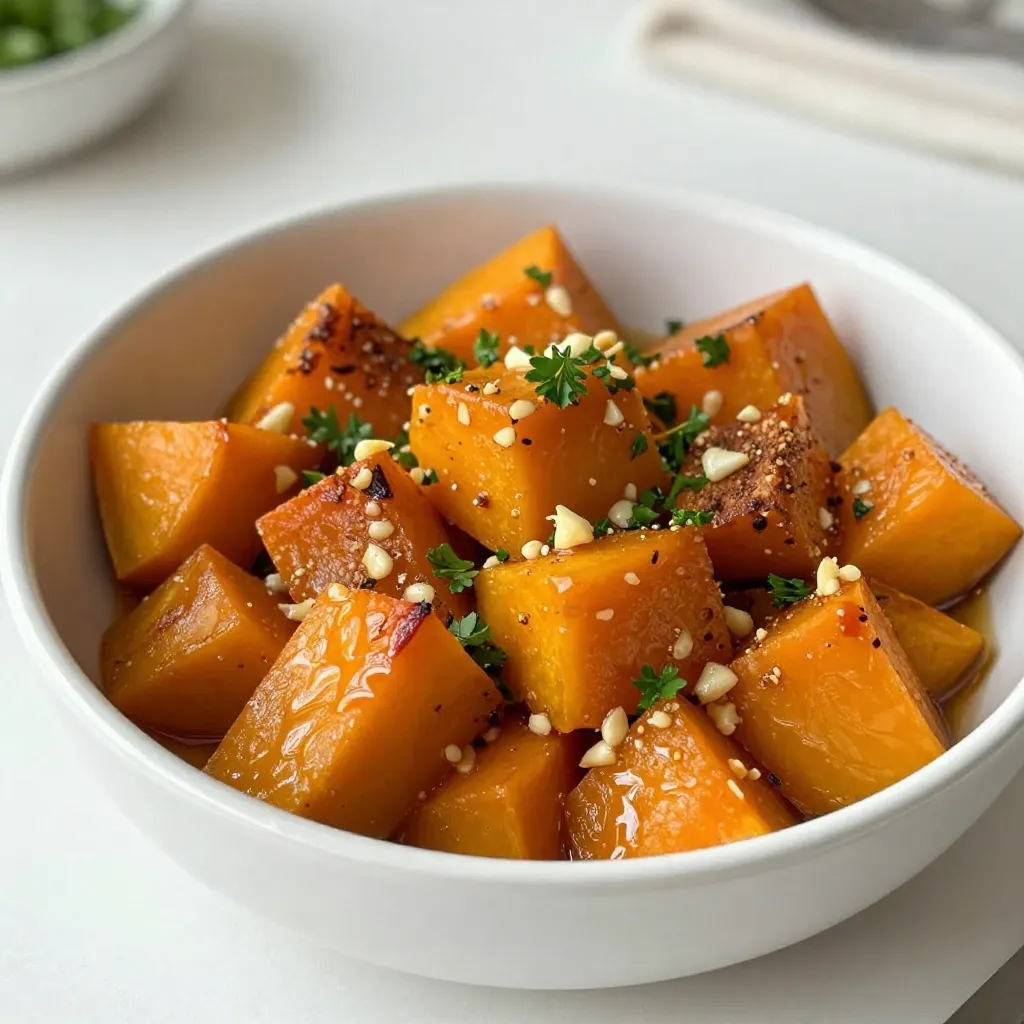
If you’re looking for a dish that warms your heart and delights your taste buds, look no further! Honey Garlic

Are you craving a hearty breakfast but short on time? This Breakfast Burrito Casserole is your answer! It’s quick, easy,

Are you ready to indulge in a sweet and tasty treat? My Dark Chocolate Raspberry Bark is both simple to
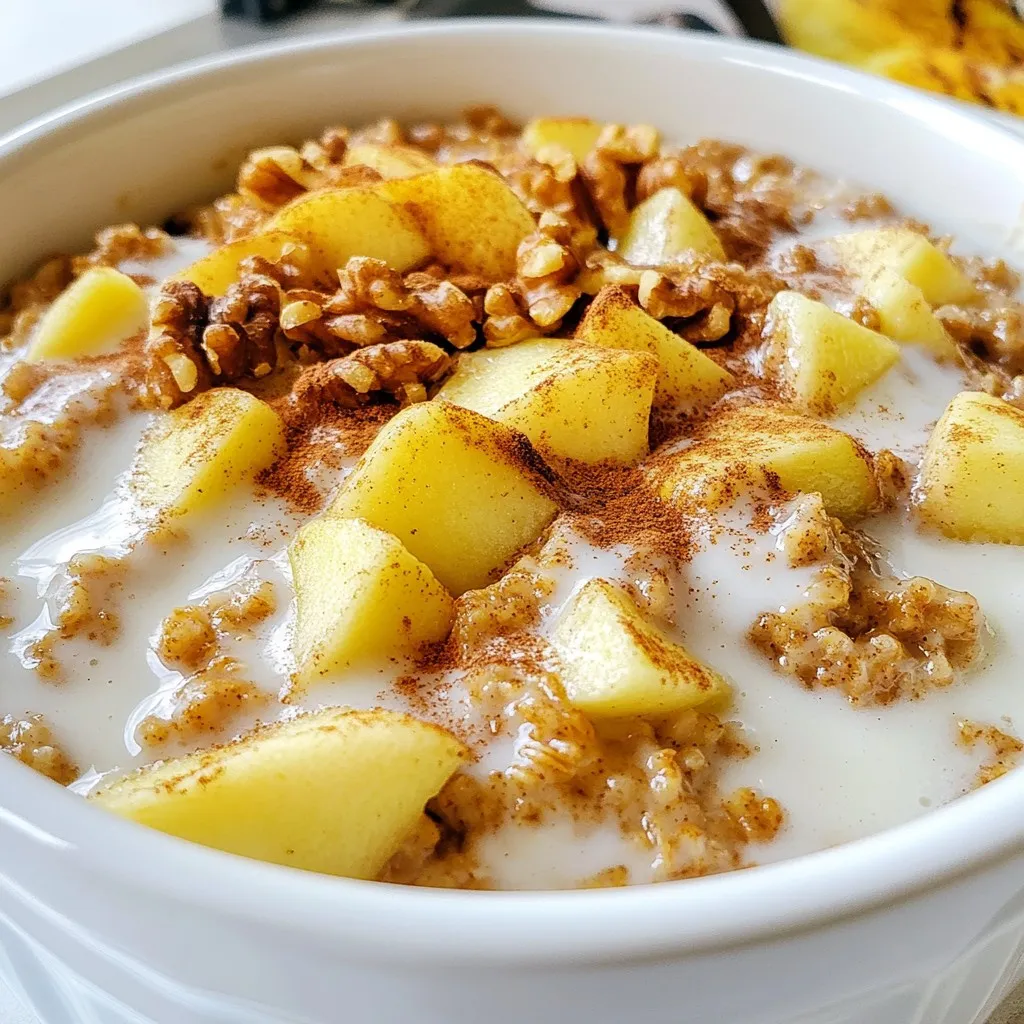
Are you ready to start your day with a warm and cozy breakfast? My Apple Cinnamon Baked Oatmeal is a

If you love chocolate and peanut butter, get ready for a treat! This Chocolate Peanut Butter Lava Cake is a

Start your day with a warm, hearty Breakfast Burrito Casserole that the whole family will love! This easy recipe combines

Are you ready to treat yourself to something delicious? Dark Chocolate Raspberry Bark is both simple and scrumptious. This easy
