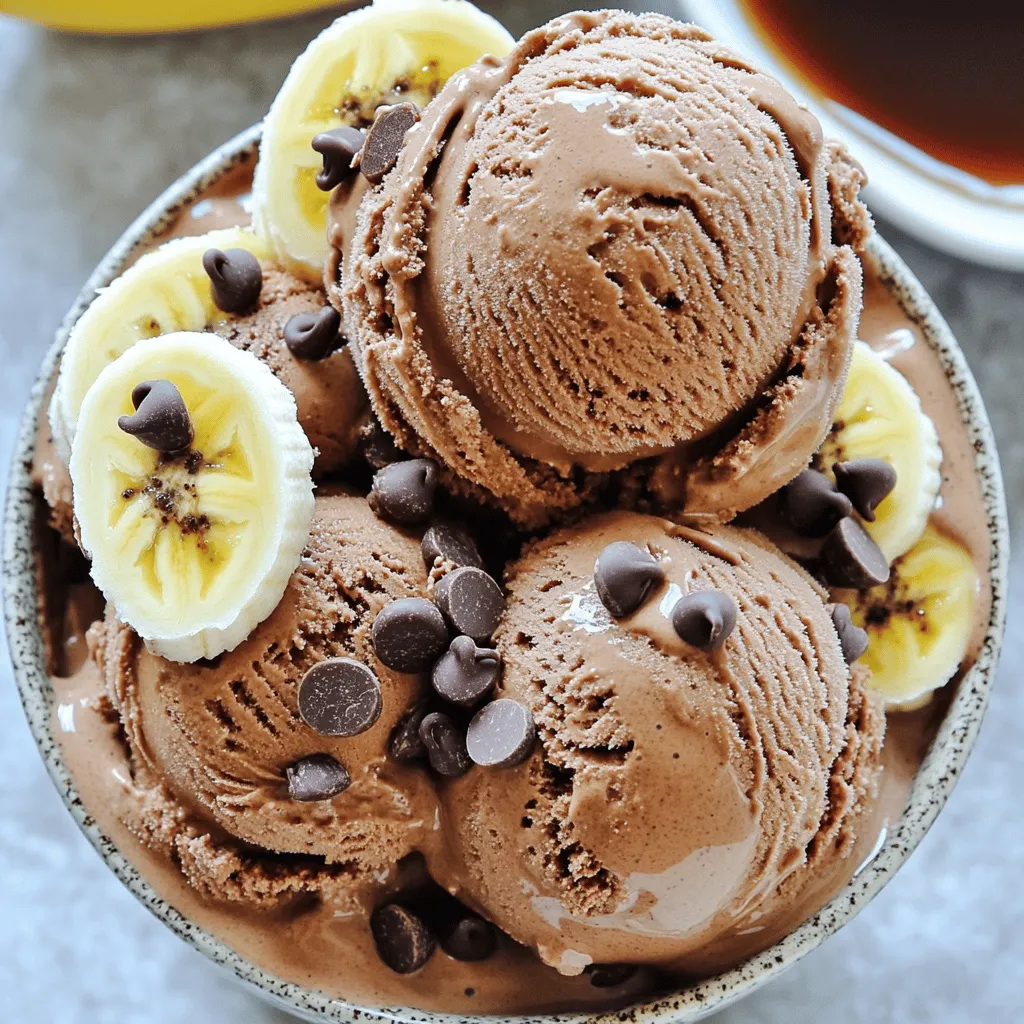
Vegan Banana Chocolate Ice Cream Simple and Creamy Treat
Craving a creamy, delicious treat that’s also vegan? You’ll love this Vegan Banana Chocolate Ice Cream recipe! With just a
Craving a creamy, delicious treat that’s also vegan? You’ll love this Vegan Banana Chocolate Ice Cream recipe! With just a
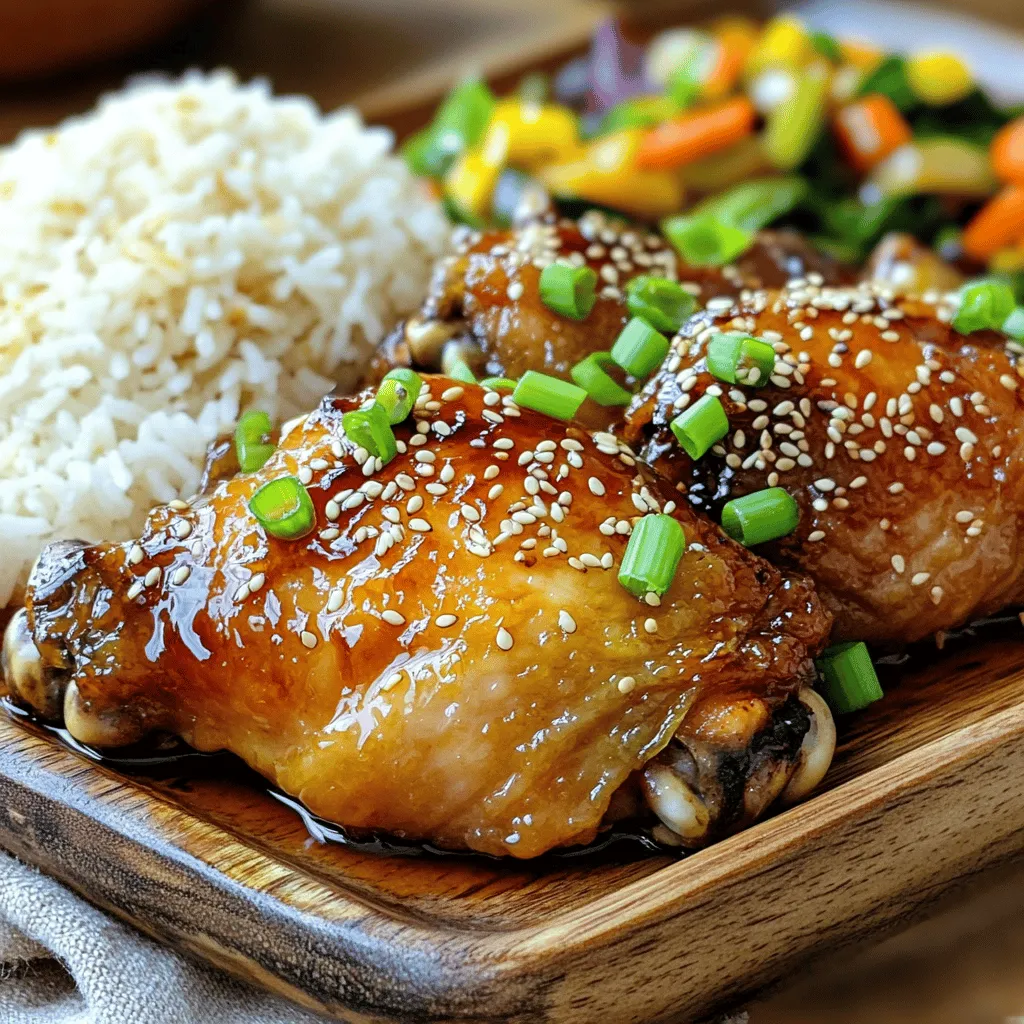
Looking for a quick and tasty meal? Sticky Honey Soy Chicken checks all the boxes! With just a few simple
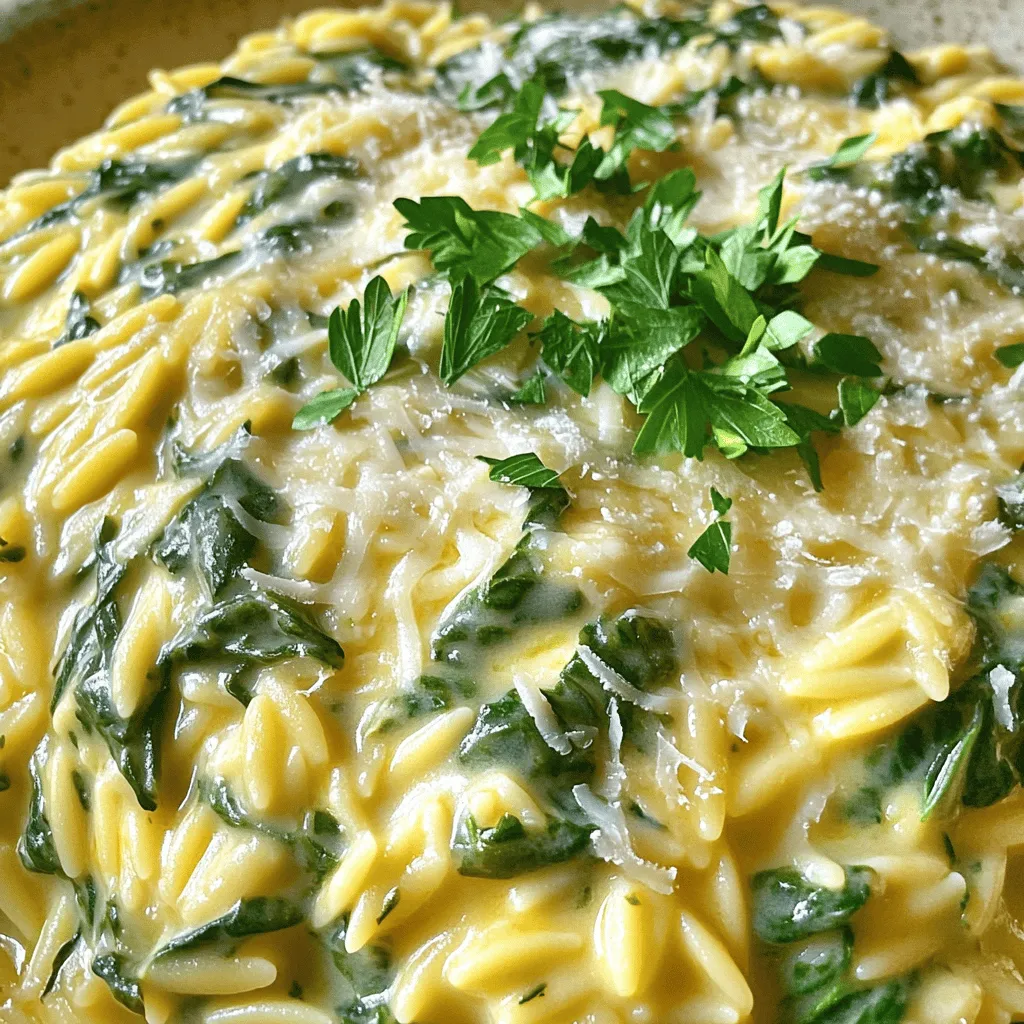
Are you ready to transform a simple dinner into something special? In this blog, I’ll guide you through making Creamy
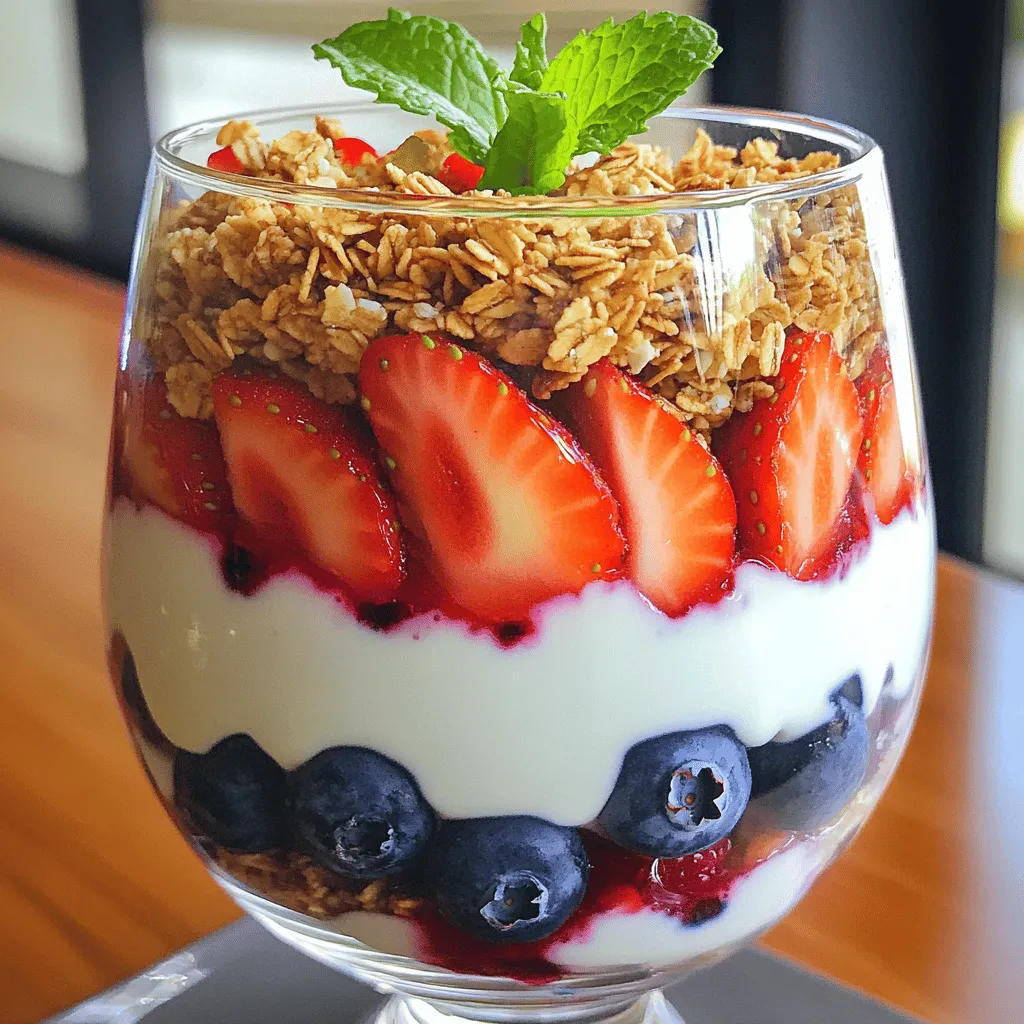
Looking for a tasty snack that’s simple to make? Try my Double Berry Greek Yogurt Parfait! This fresh treat combines
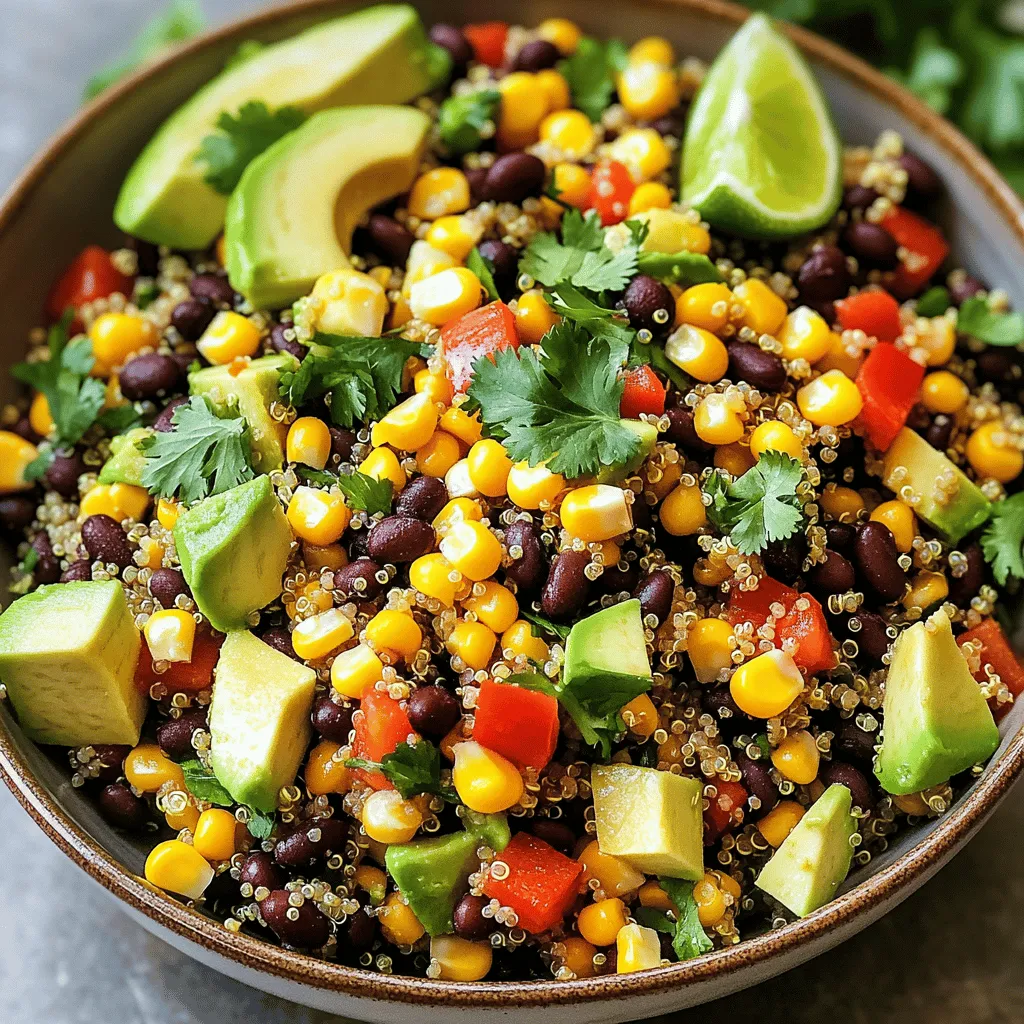
Looking for a fresh and tasty dish that packs a punch? The Southwest Quinoa Salad is your answer! With vibrant
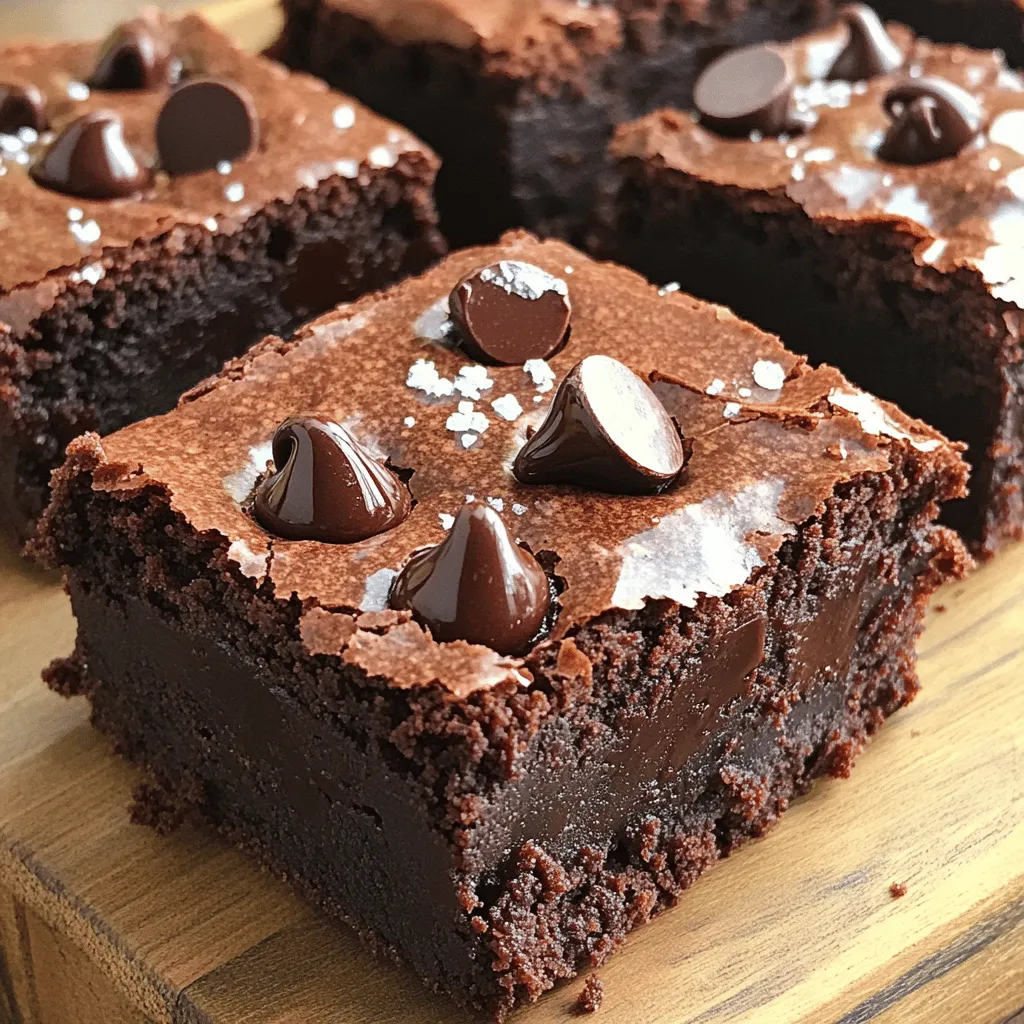
Are you ready for the ultimate chocolate treat? These fudgy triple chocolate brownies will satisfy every chocolate lover’s dream. Rich,
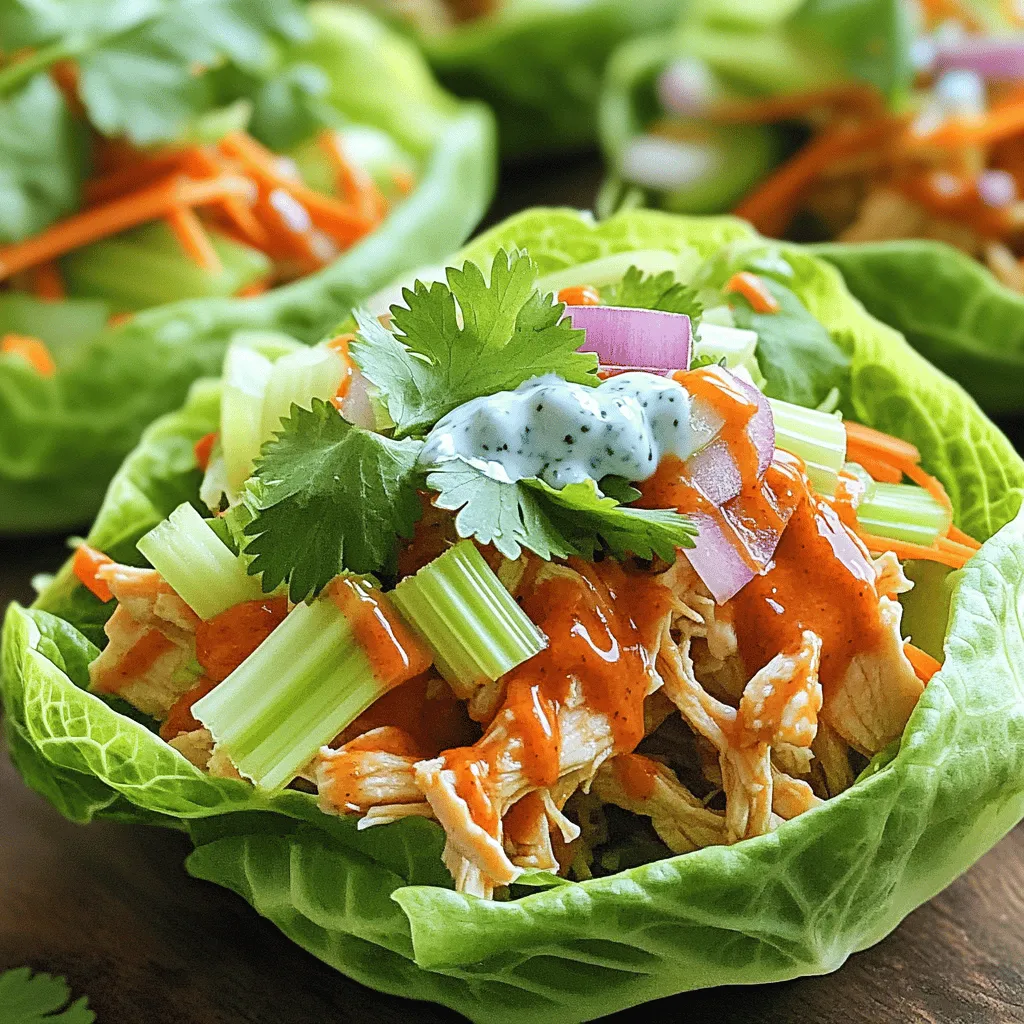
Are you ready for a fresh take on a classic dish? Buffalo Chicken Lettuce Wraps offer bold flavors while keeping

If you’re looking for a tasty, healthy meal, you’ve come to the right place! Sweet Potato Black Bean Enchiladas are

Are you ready for a sweet treat that combines crunch and flavor? Chocolate Pretzel Peanut Clusters are your answer! This
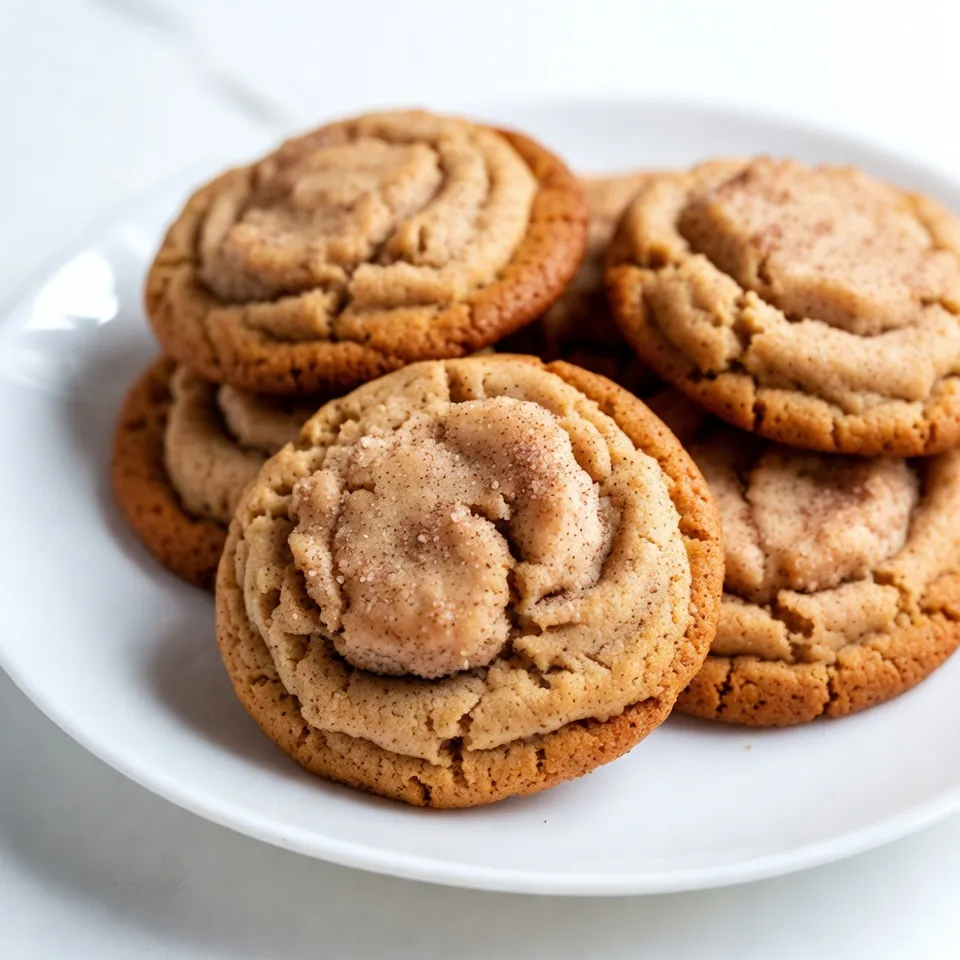
Craving something warm and sweet? Let me introduce you to Spiced Chai Snickerdoodles. These cookies burst with cozy flavors like
