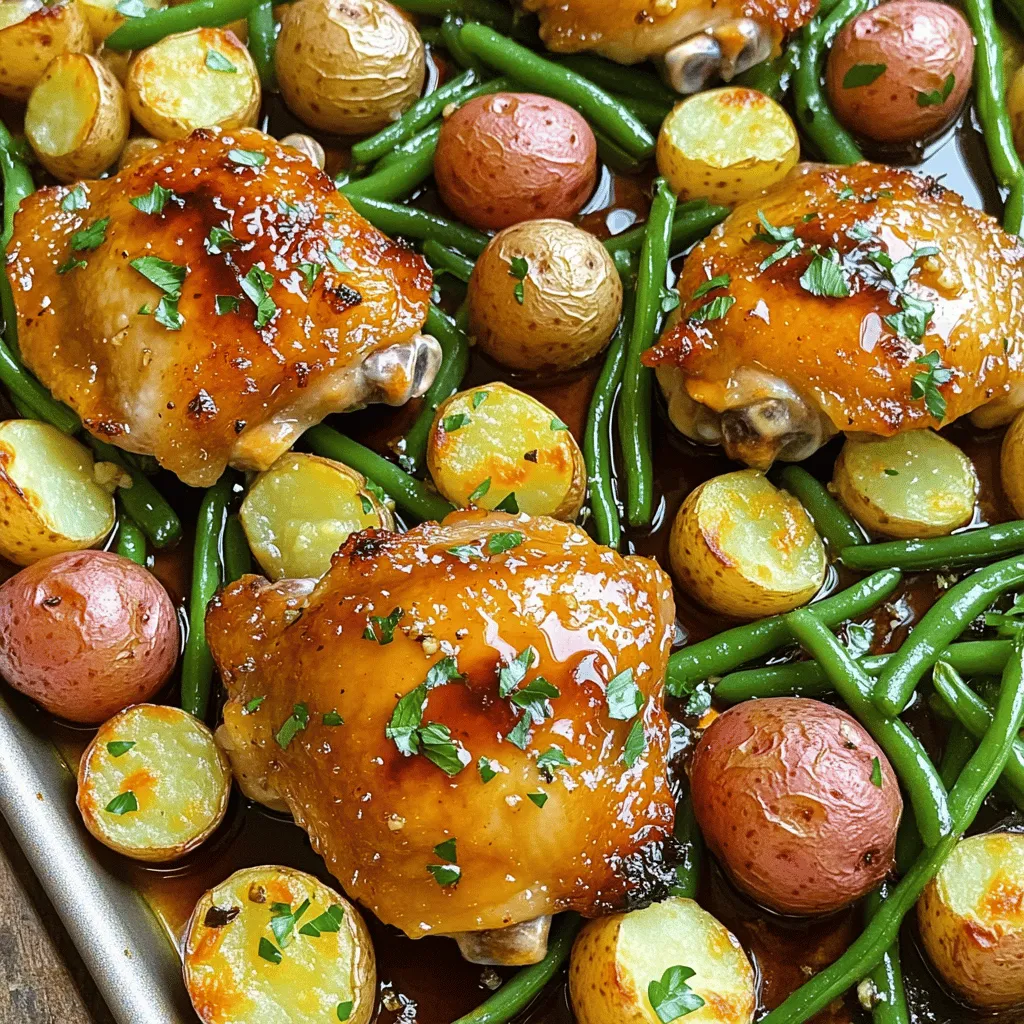
Sheet-Pan Maple Garlic Roasted Chicken Thighs Delight
Craving a delicious, easy meal? Look no further than my Sheet-Pan Maple Garlic Roasted Chicken Thighs Delight! This dish combines
Craving a delicious, easy meal? Look no further than my Sheet-Pan Maple Garlic Roasted Chicken Thighs Delight! This dish combines
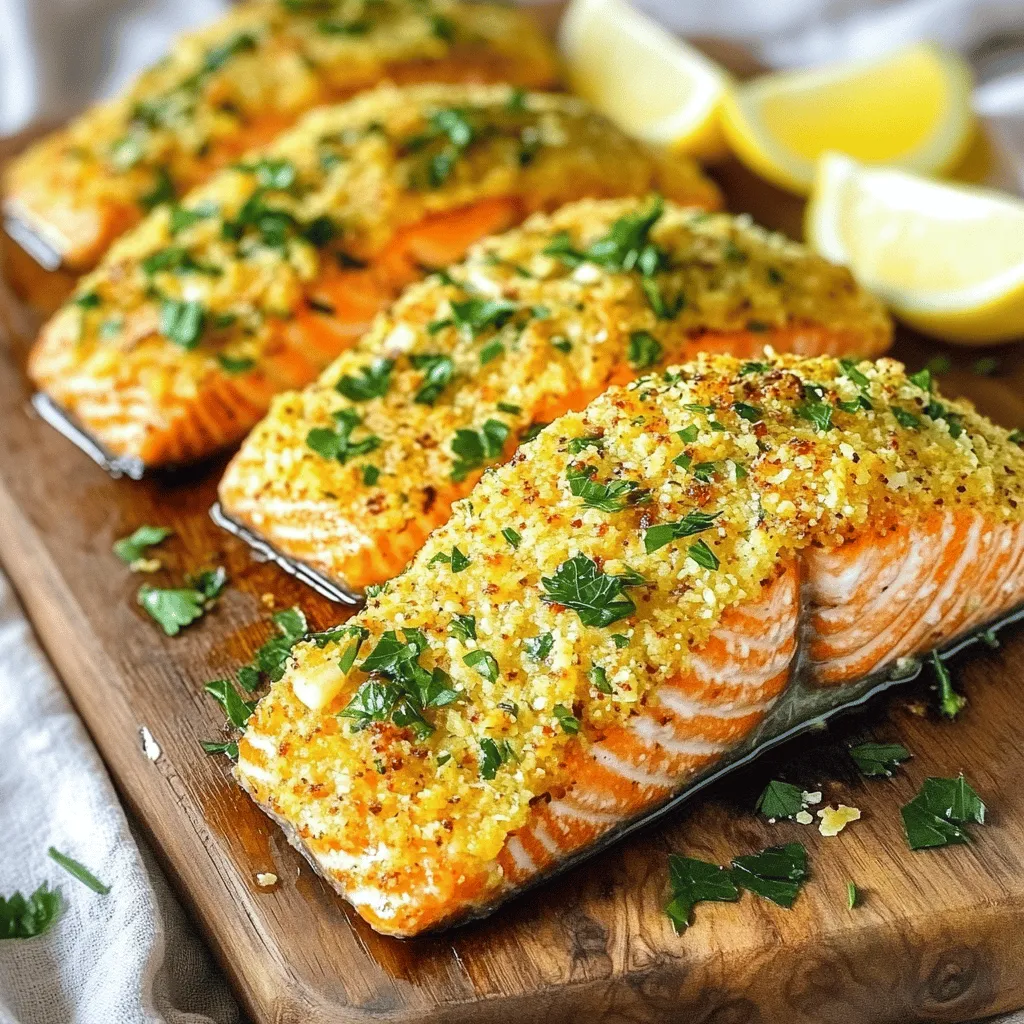
Are you ready to impress your taste buds? In this article, I’m sharing my favorite way to make Air Fryer
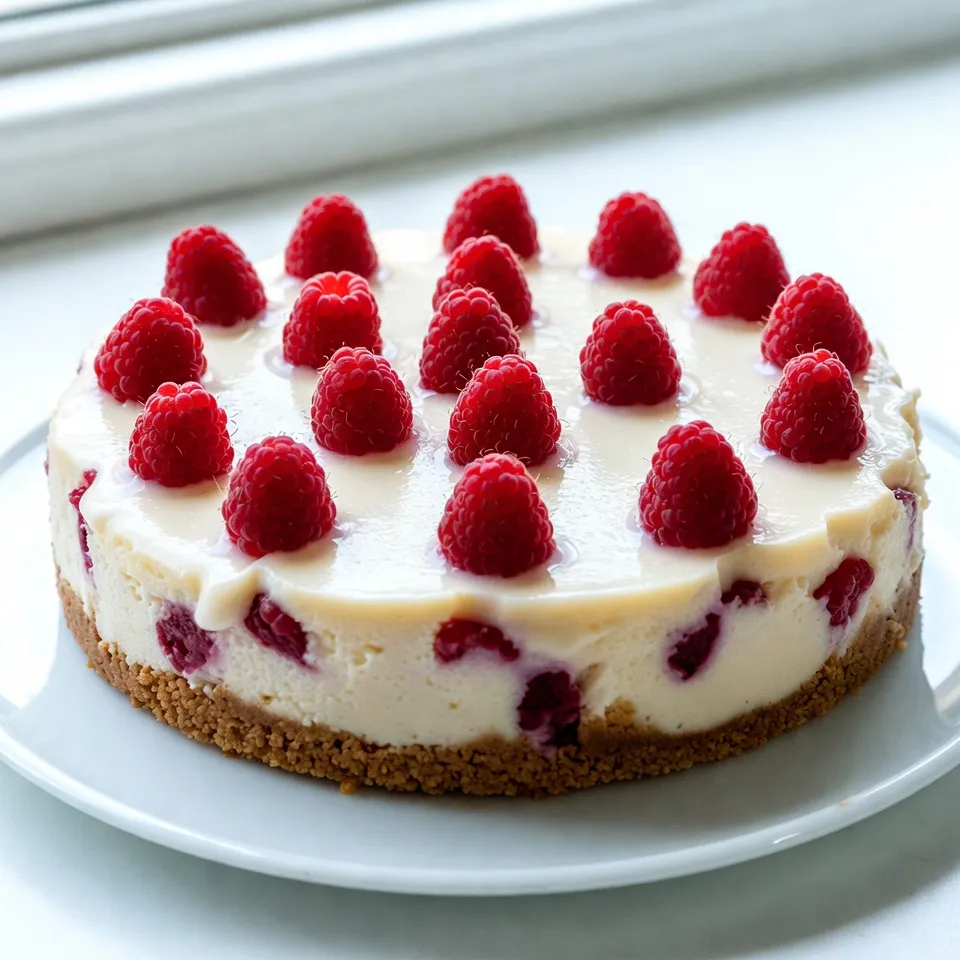
If you dream of a dessert that blends creamy cheesecake, juicy raspberries, and rich white chocolate, you’re in for a
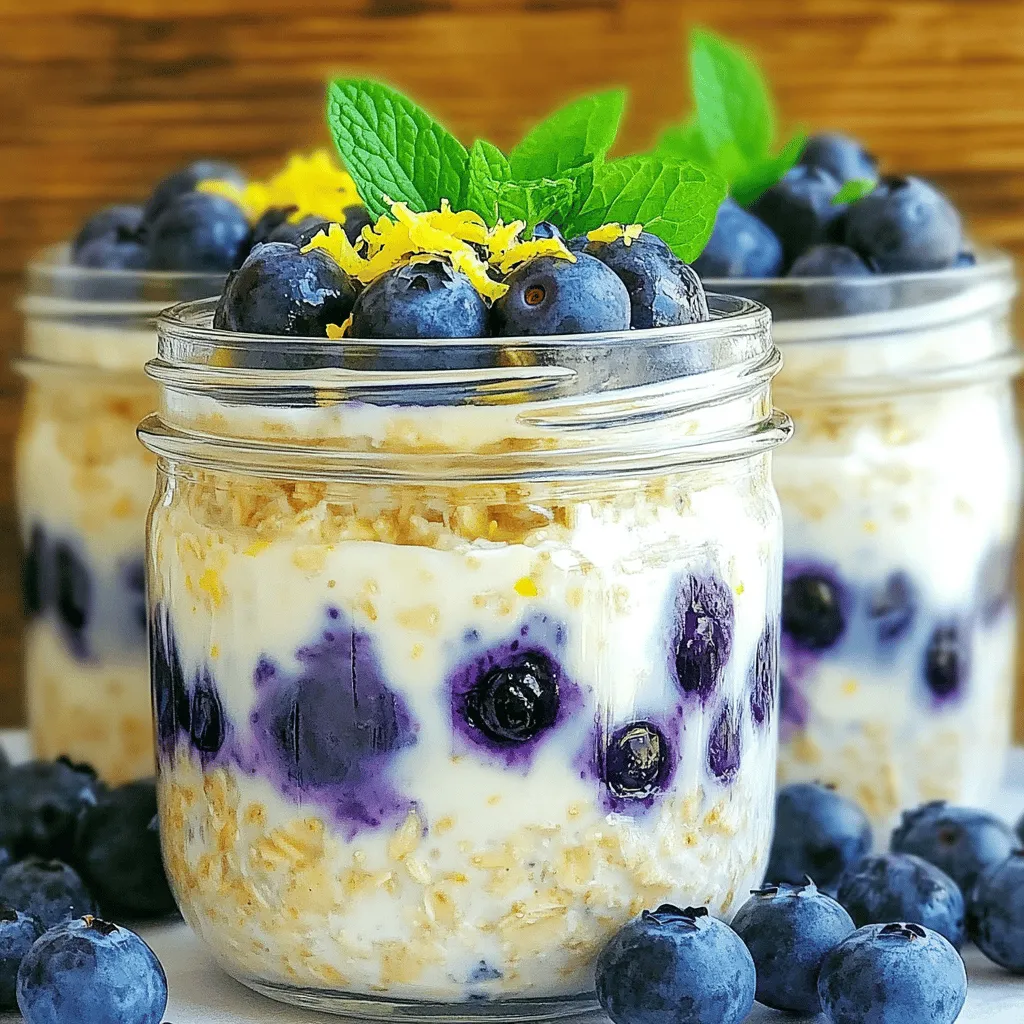
Are you ready to start your day with a tasty twist? Lemon Blueberry Cheesecake Overnight Oats Delight brings sweet and
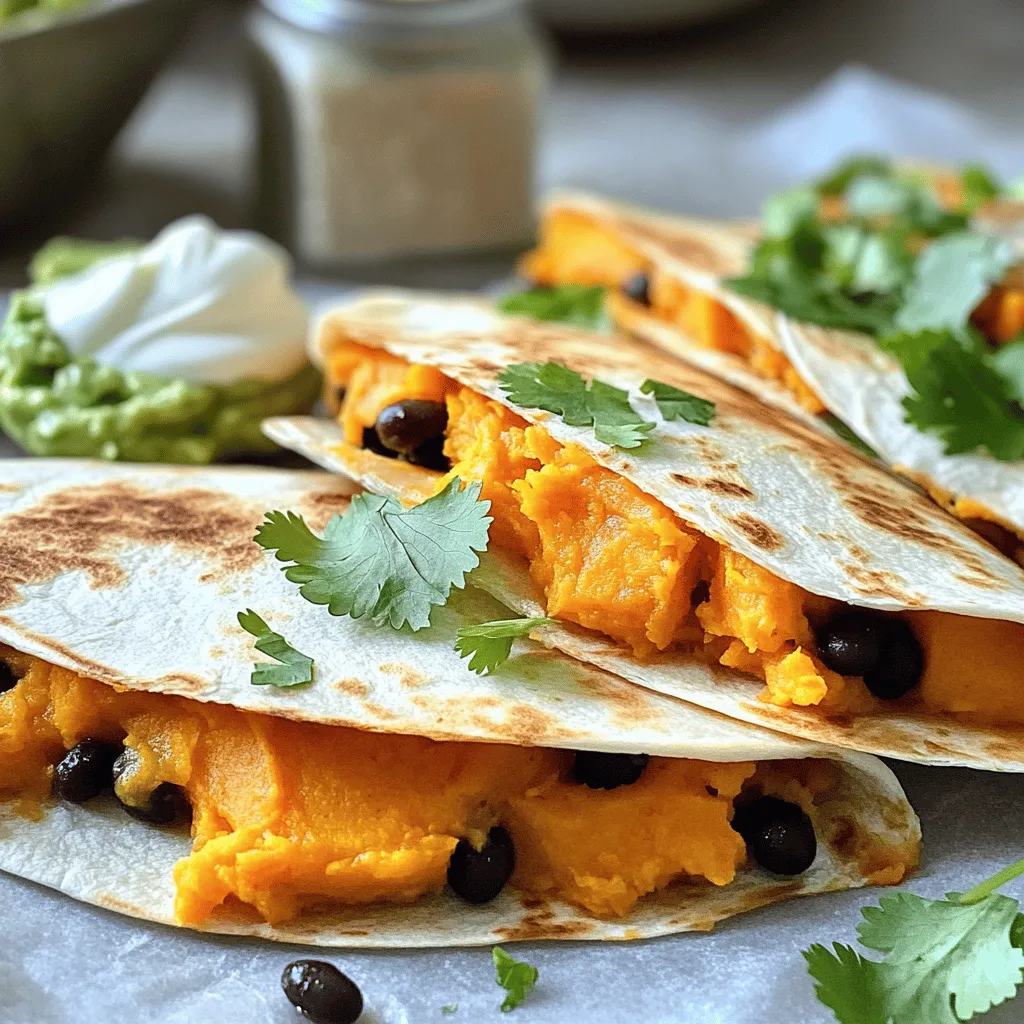
Craving something delicious and healthy? You’re in for a treat with my Savory Sweet Potato Black Bean Quesadillas! This recipe
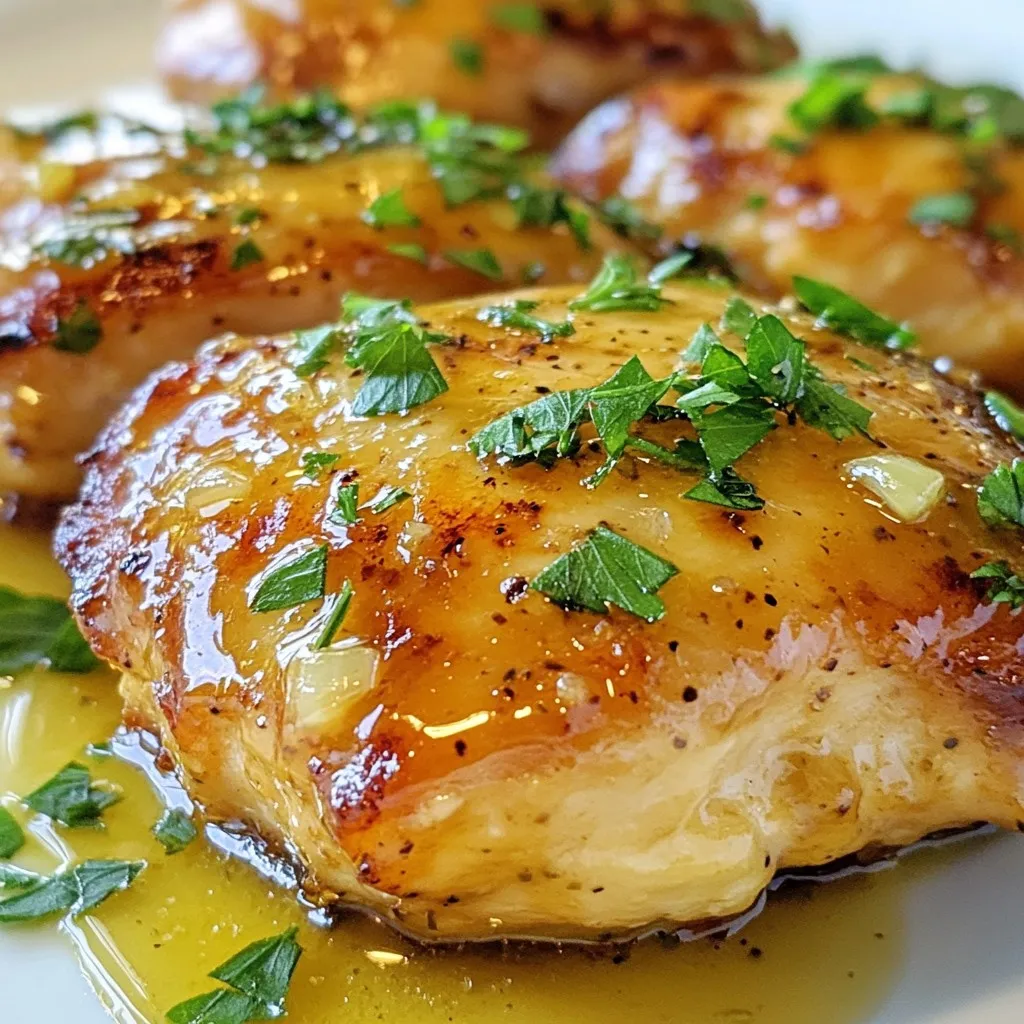
Are you ready to take your dinner game to the next level? This Honey Mustard Glazed Chicken recipe is simple
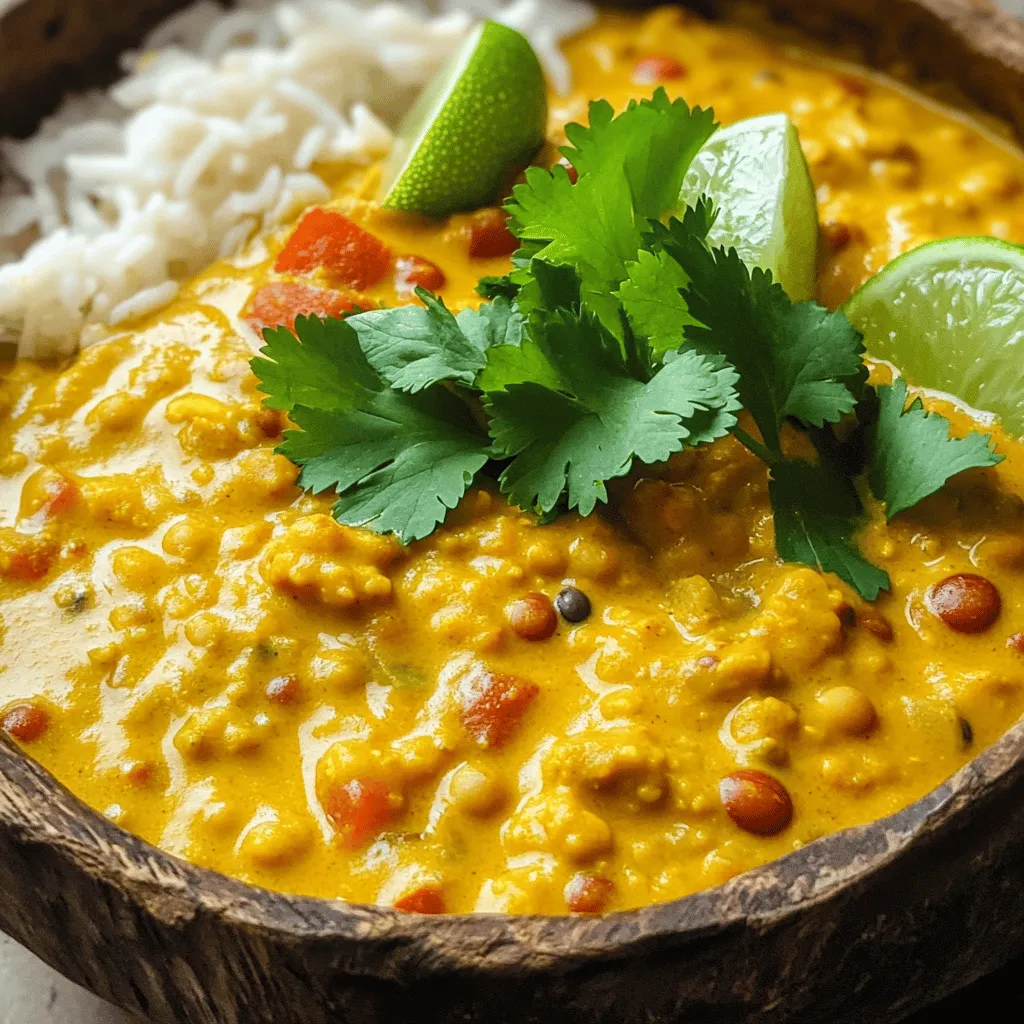
Are you ready to dive into a bowl of warmth and comfort? This Creamy Coconut Lentil Curry is not only

Looking for a bold flavor dish that transforms Brussels sprouts into a crowd-pleaser? I’ve got just the recipe for you:
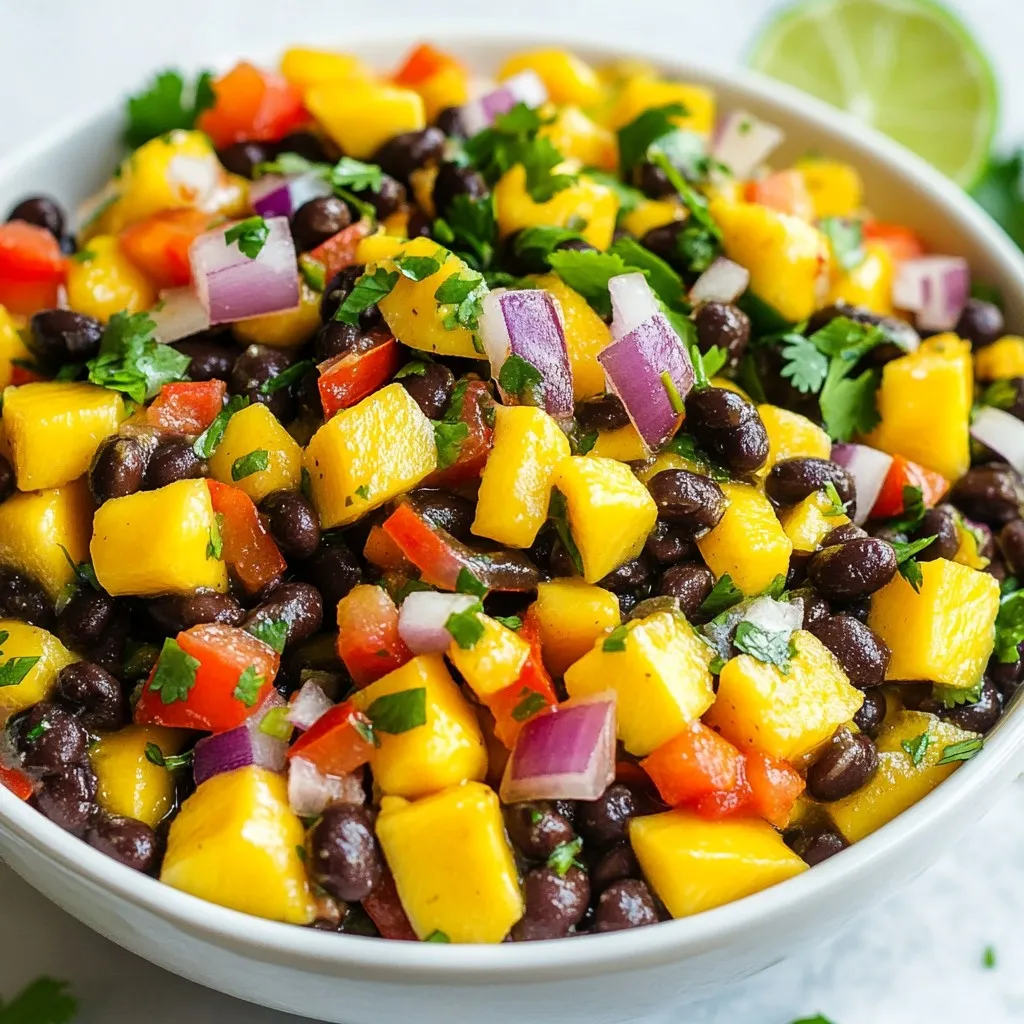
Looking for a vibrant and tasty dish? Look no further! Mango Black Bean Salsa is a perfect blend of sweet
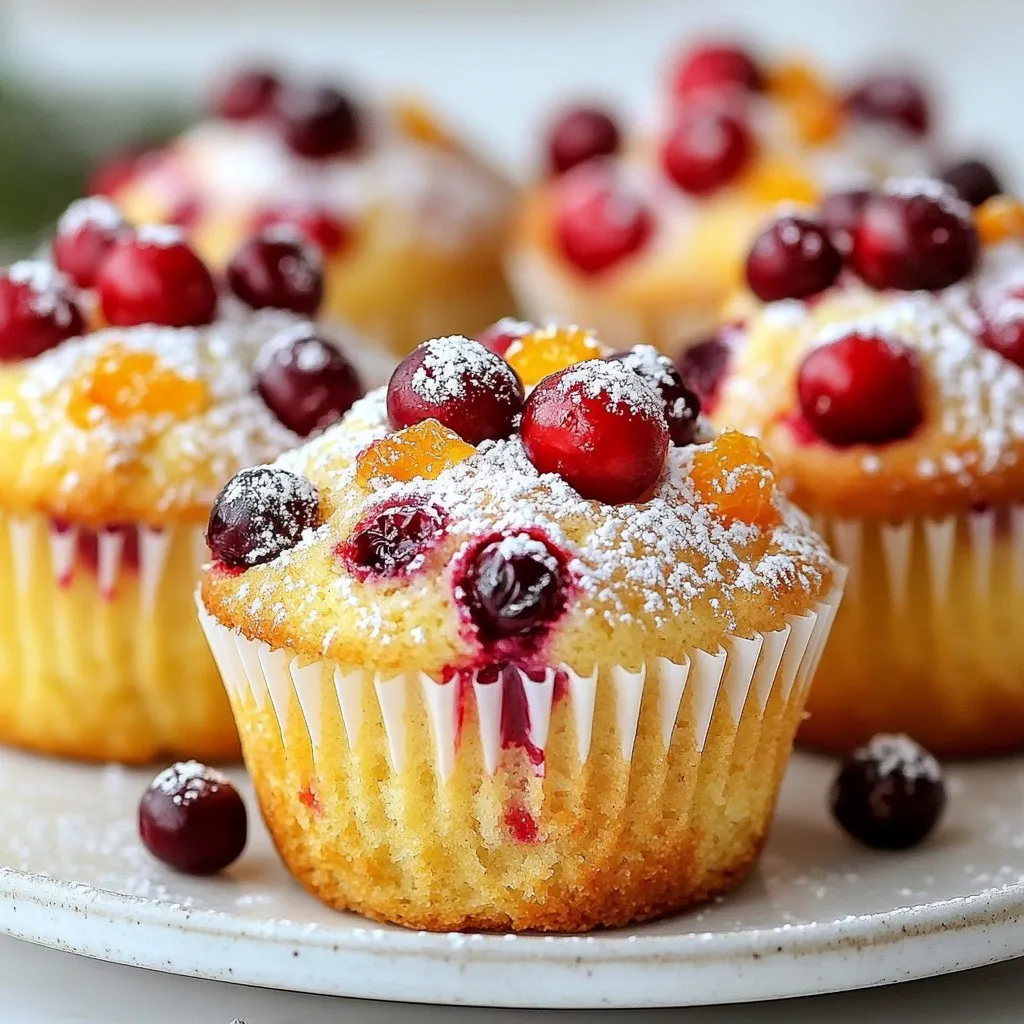
Looking for a bright and tasty treat? These Cranberry Orange Muffins are easy to make and full of flavor. With
