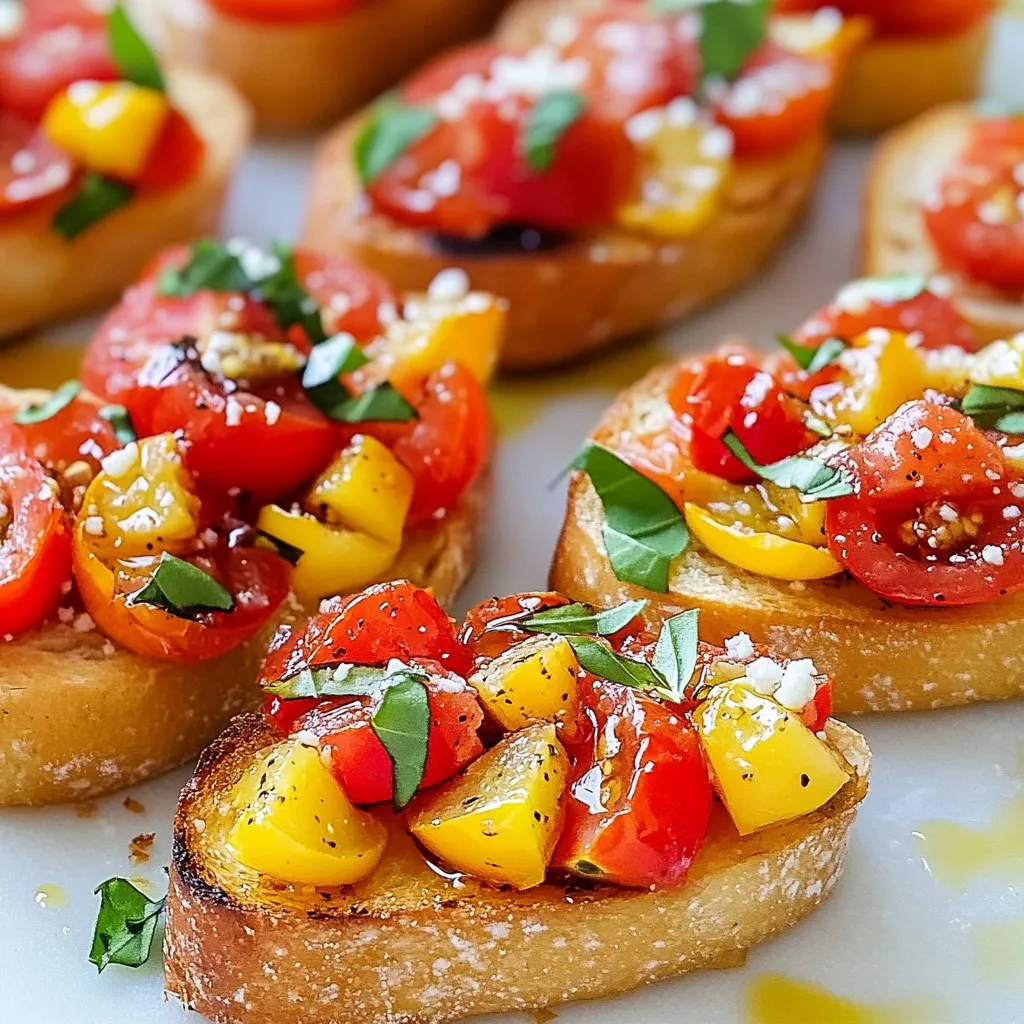
Roasted Garlic Tomato Bruschetta Simple and Delicious
Ready to elevate your appetizer game? Roasted Garlic Tomato Bruschetta is simple, fresh, and packed with flavor. This tasty treat
Ready to elevate your appetizer game? Roasted Garlic Tomato Bruschetta is simple, fresh, and packed with flavor. This tasty treat
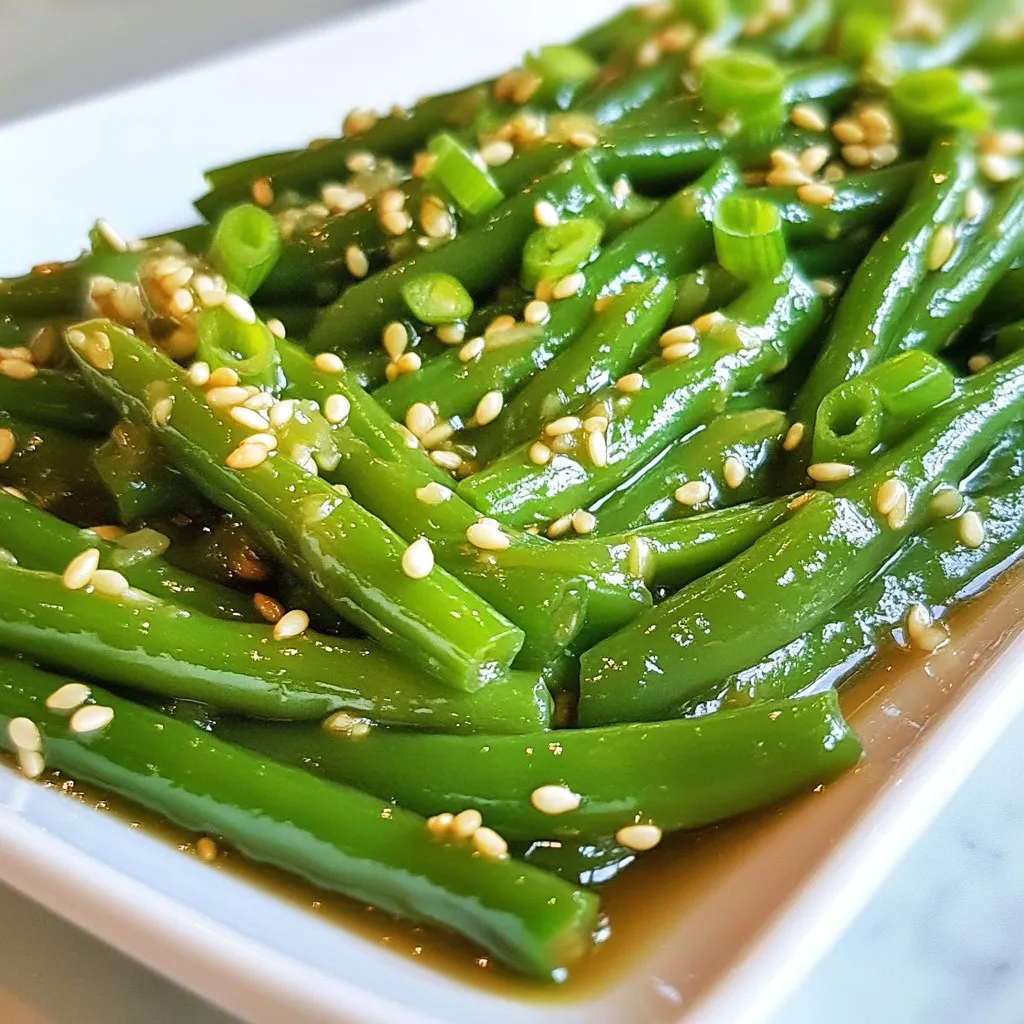
Looking for a side dish that bursts with flavor and is easy to make? You’re in the right spot! My
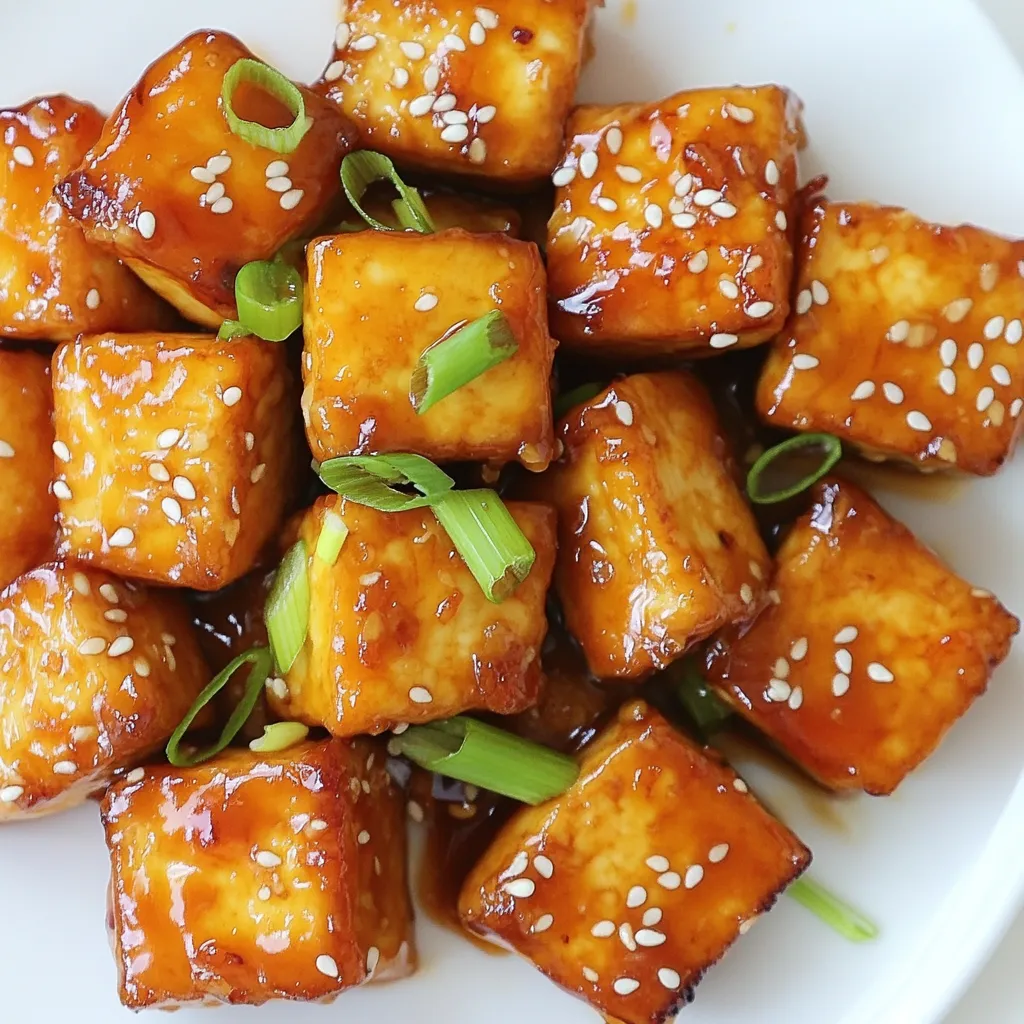
Are you ready to dive into a delicious dish? Crispy Orange Tofu is simple, flavorful, and sure to impress. This
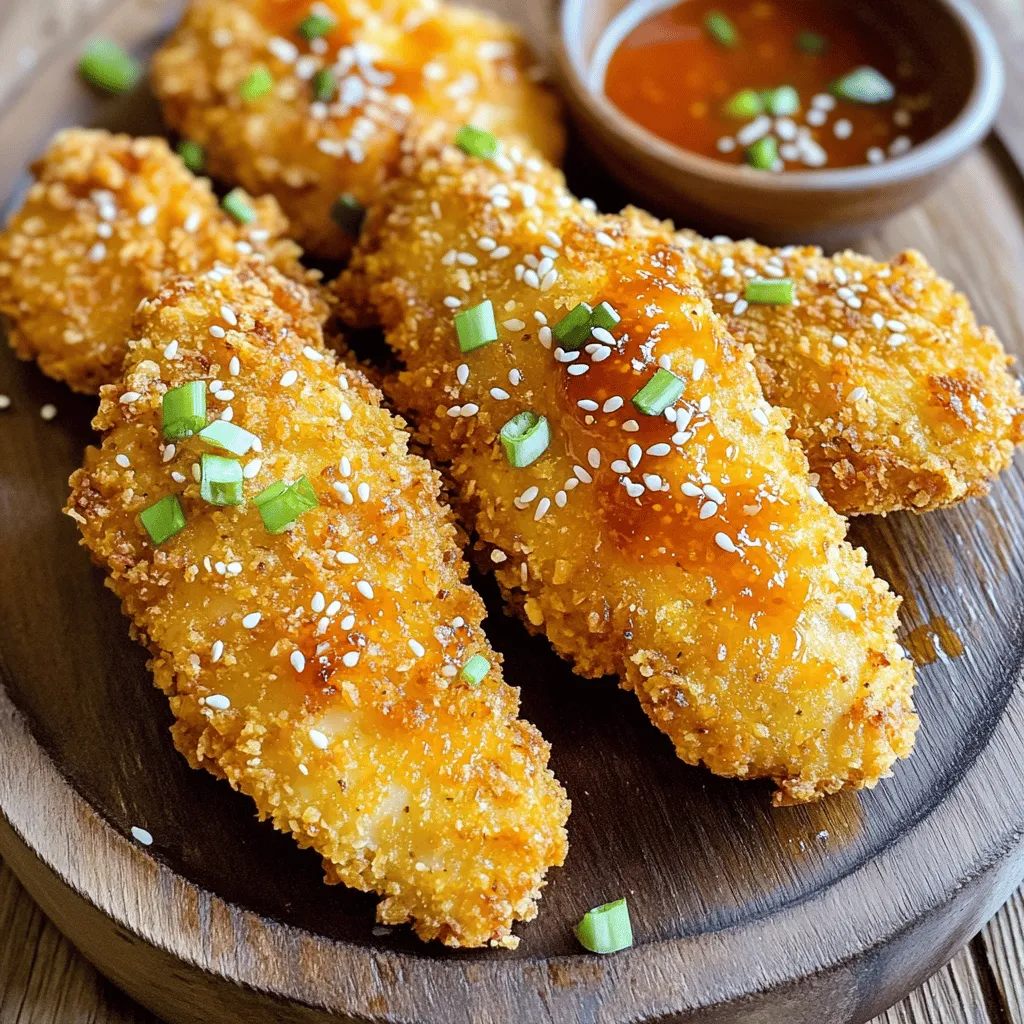
Get ready for a quick treat that brings fun and flavor to your kitchen! In this blog post, I’ll show
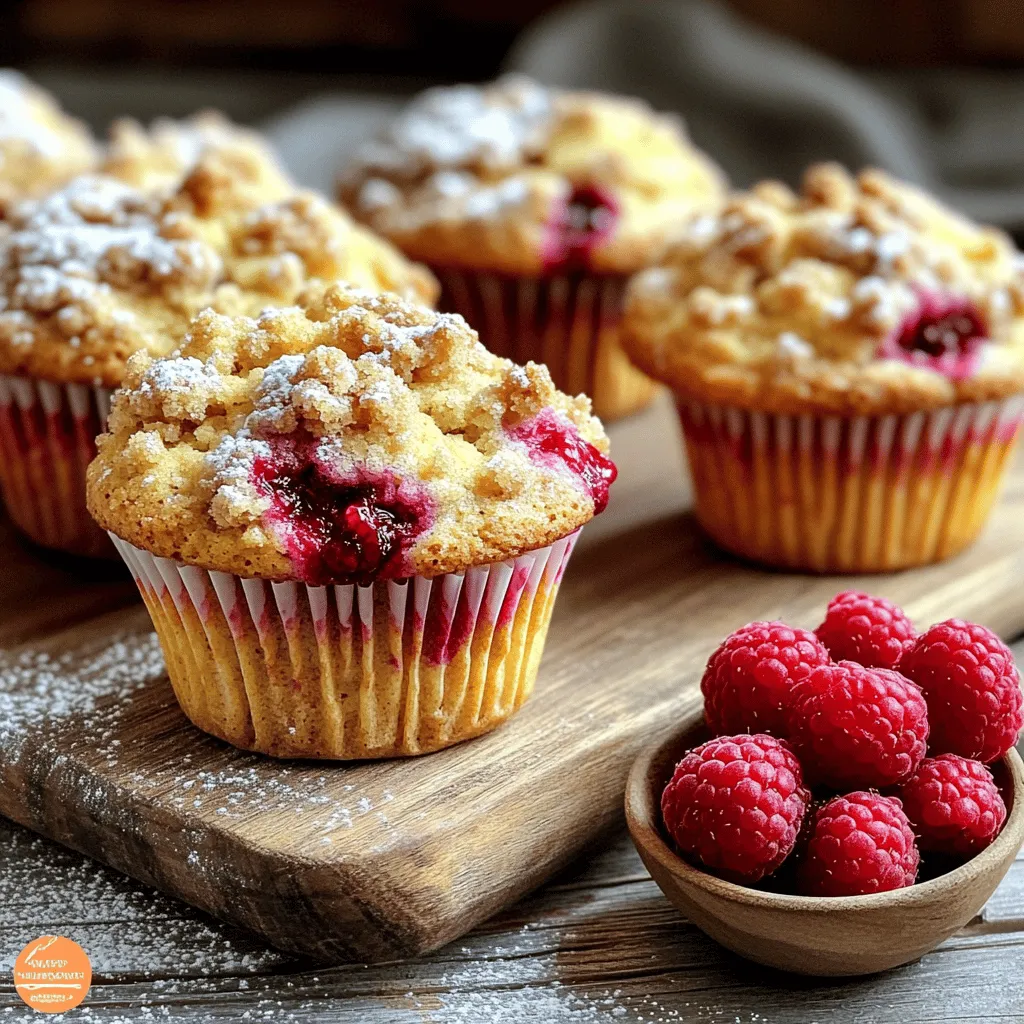
Are you ready to bake the perfect Raspberry Streusel Muffins? This delightful recipe brings together the tang of fresh raspberries
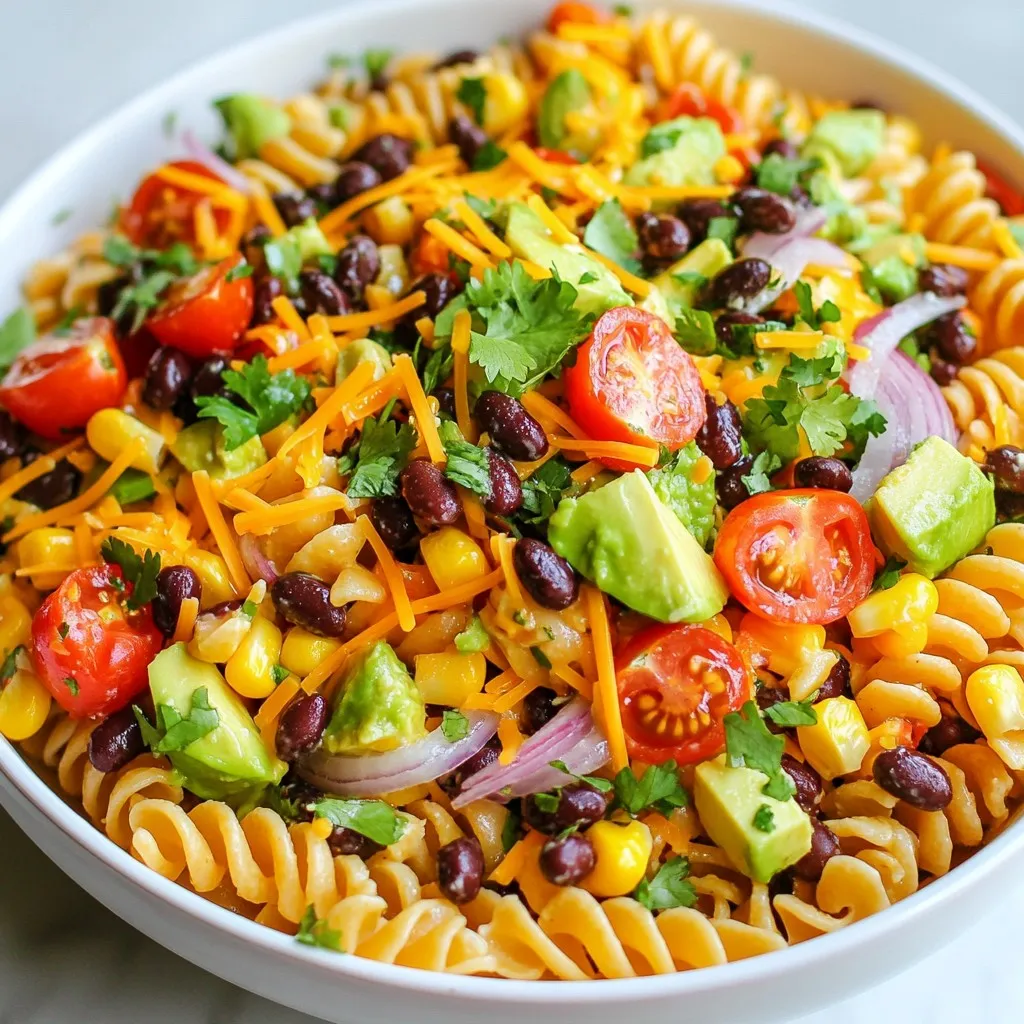
Are you ready to spice up your meal with a bold and flavorful Fiesta Taco Pasta Salad? This recipe is

If you’re craving a sweet and salty treat, you’re in the right place! My Chocolate Pretzel Peanut Clusters are easy
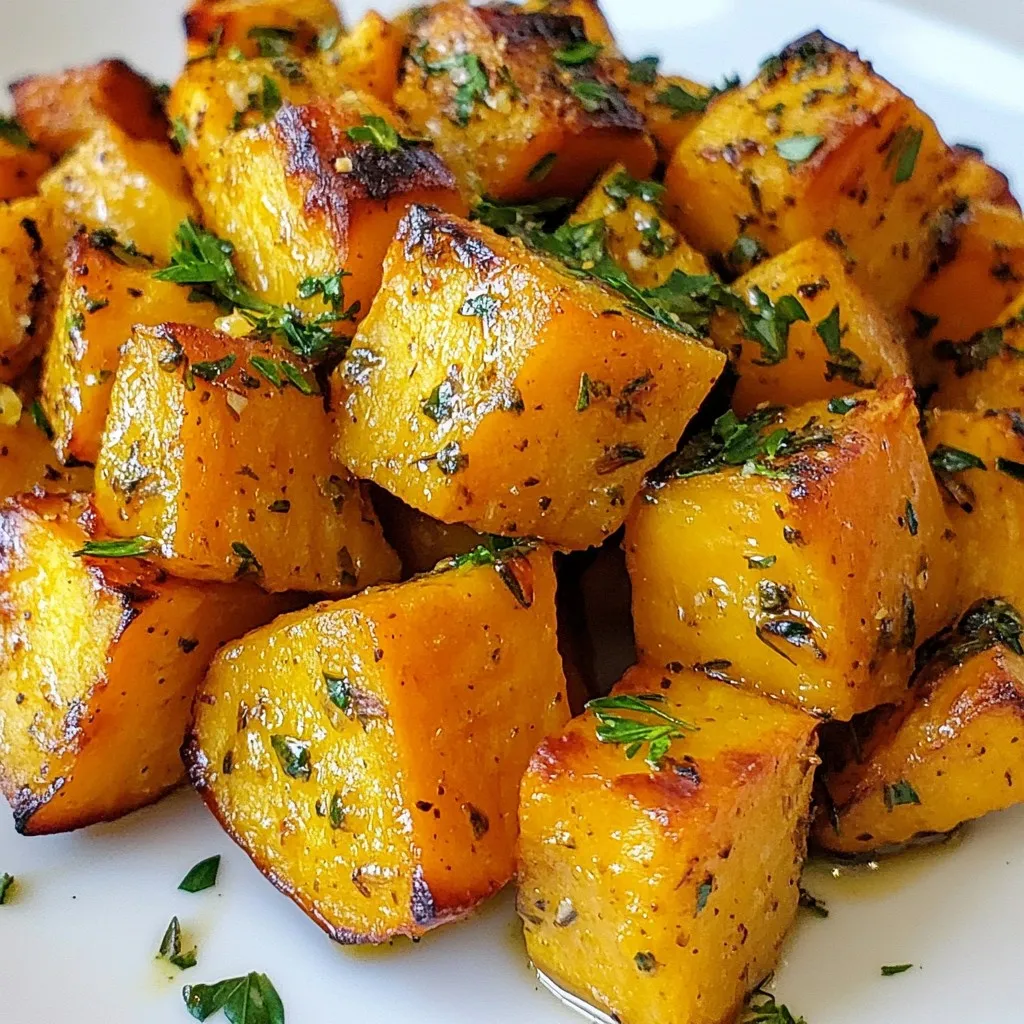
Are you ready to elevate your sweet potato game? In this post, I’ll show you how to make Garlic Herb
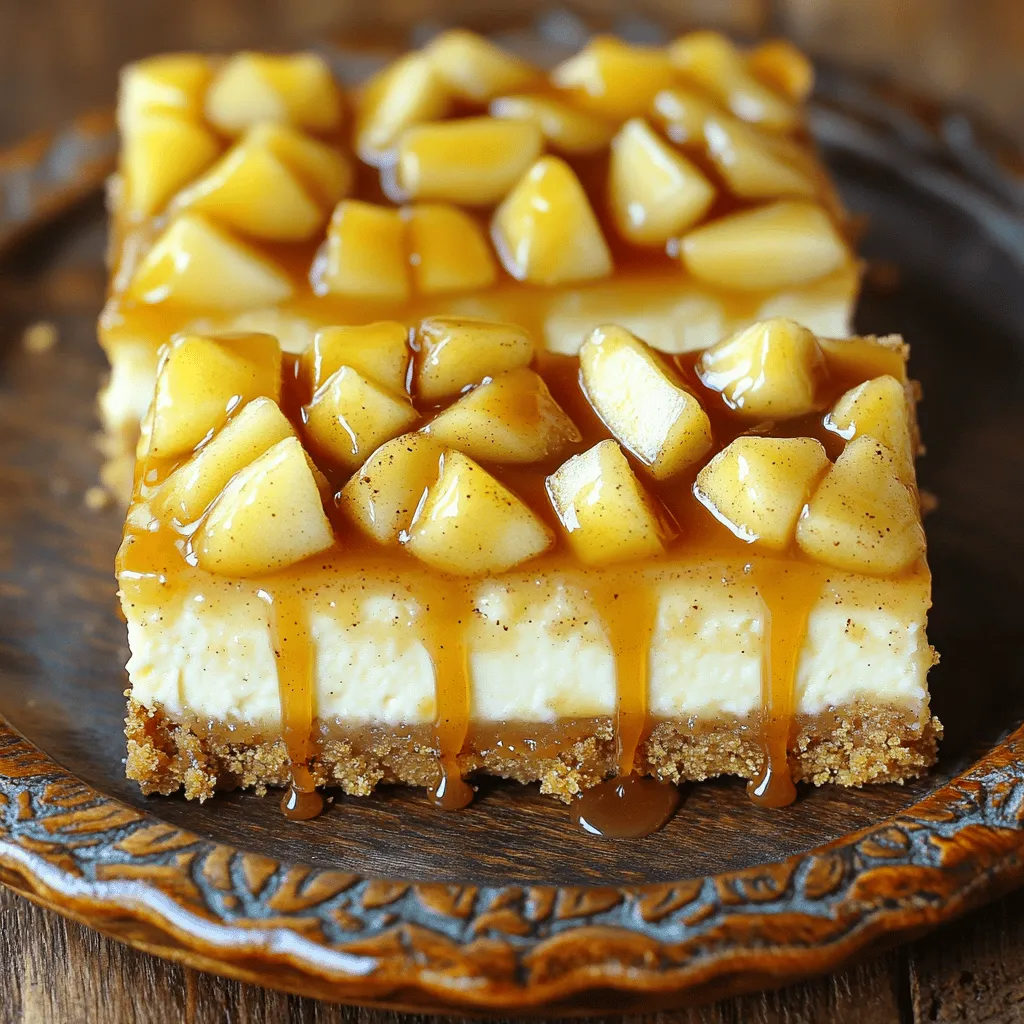
Get ready for a sweet treat that warms the heart! My Warm Caramel Apple Cinnamon Cheesecake Bars are the perfect

If you’re craving a sweet treat that packs a protein punch, you’re in the right place! These High-Protein Chocolate Chip
