Honey Lime Fruit Salad Refreshing and Flavorful Mix
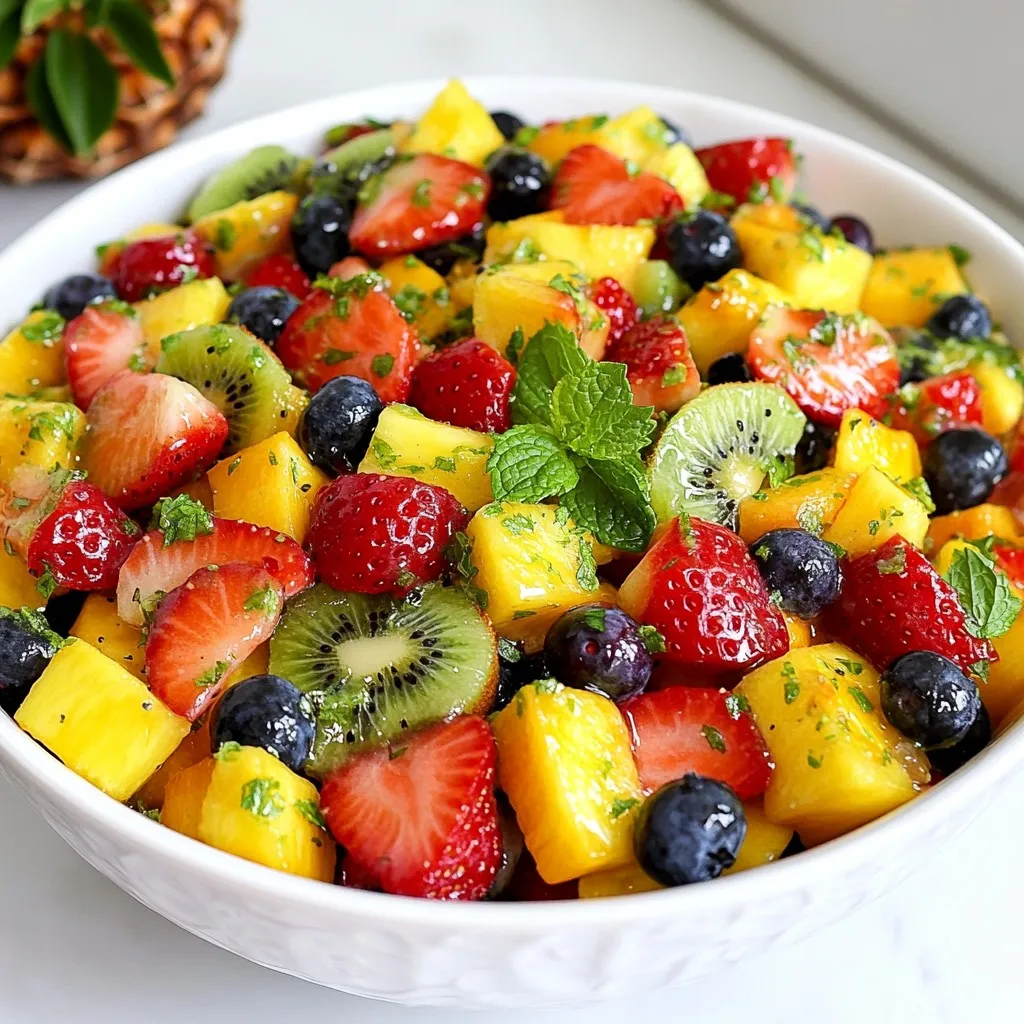
Looking for a quick and tasty treat? This Honey Lime Fruit Salad is the answer! With a colorful mix of
Looking for a quick and tasty treat? This Honey Lime Fruit Salad is the answer! With a colorful mix of

If you’re craving a quick and spicy meal, look no further! My Spicy Garlic Ramen Bowls are packed with flavor
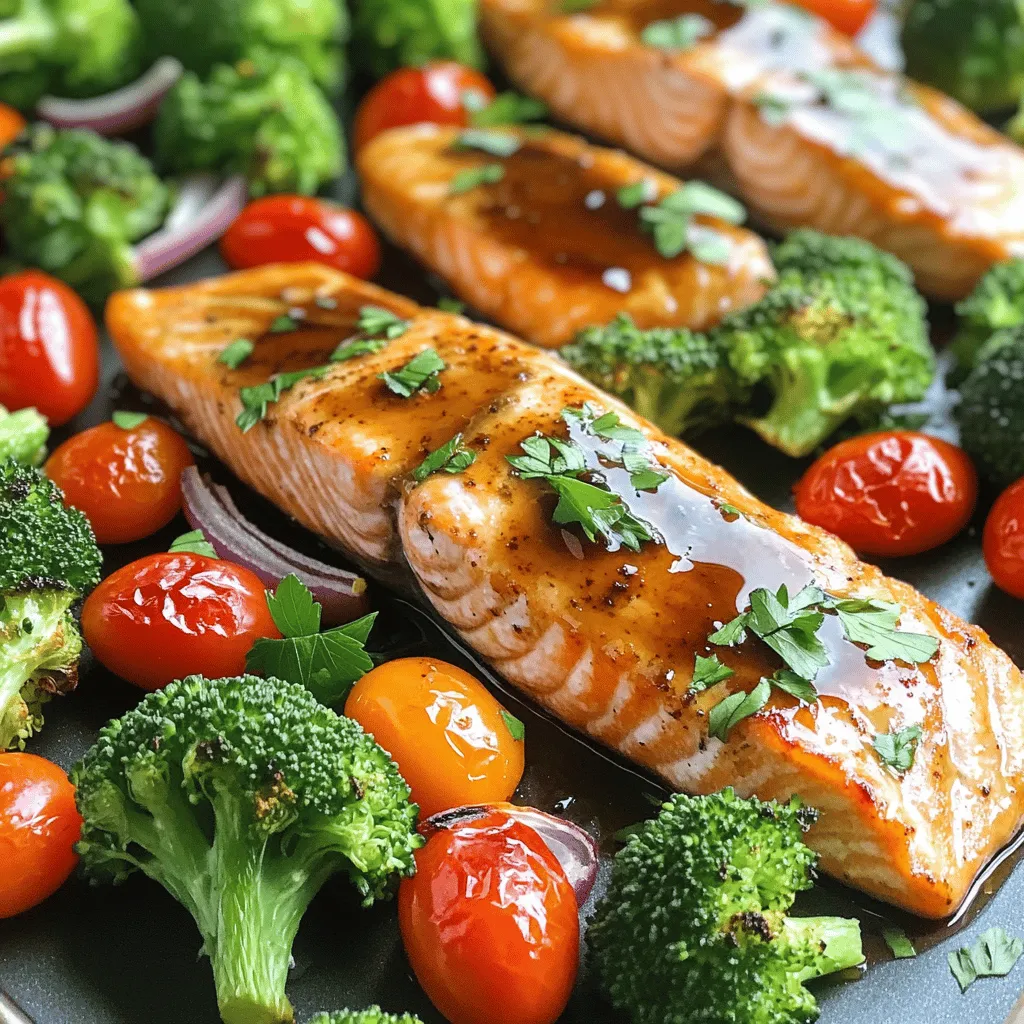
Want a meal that’s tasty and easy? “Sheet Pan Maple Balsamic Salmon Veggies Delight” is here to help! This one-pan
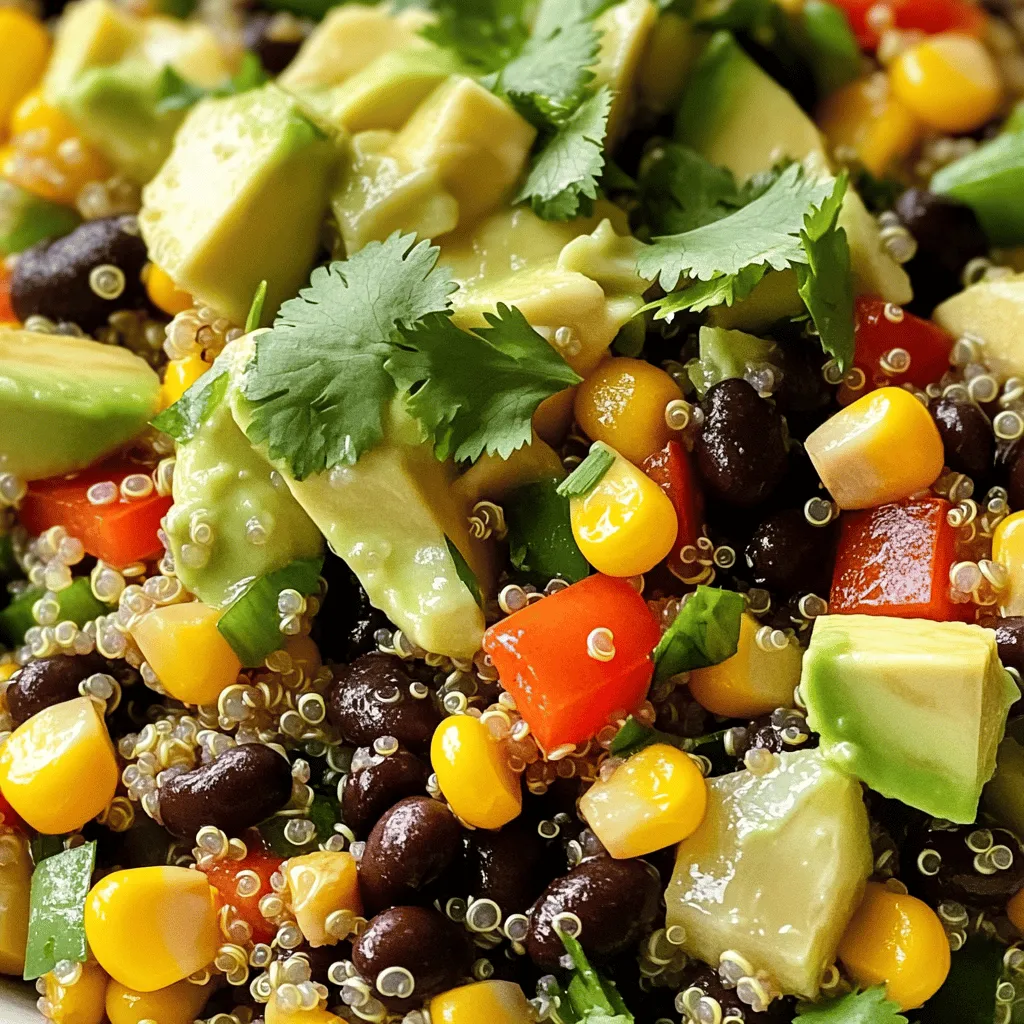
Are you looking for a fresh, quick dish that bursts with flavor? My Southwest Black Bean Quinoa Salad is perfect

Are you ready to make soft and savory Air Fryer Garlic Breadsticks? These easy-to-make treats are perfect for any meal
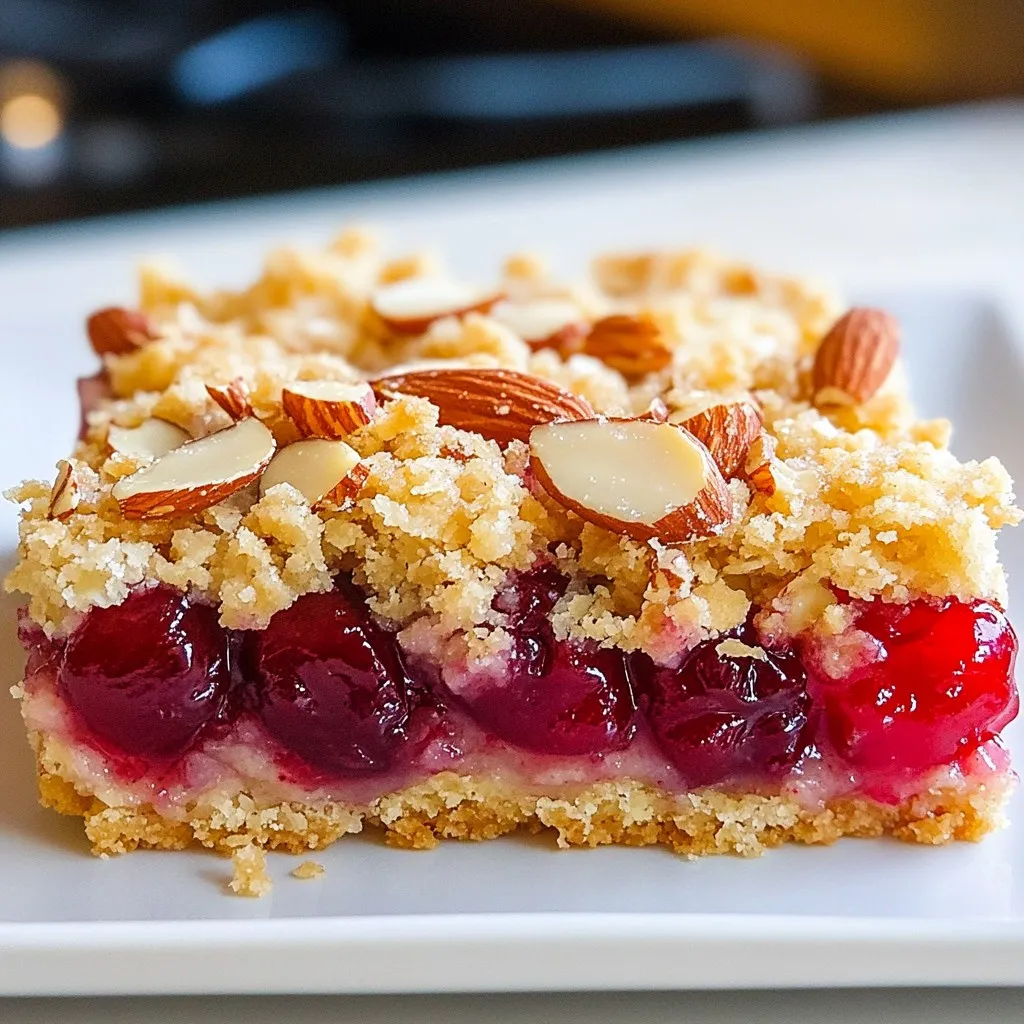
Get ready to treat your taste buds with my Cherry Almond Crumble Bars! This recipe combines sweet cherries and nutty

Looking for a dish that bursts with flavor? Try my Spicy Orange Beef! This easy recipe combines tender beef with
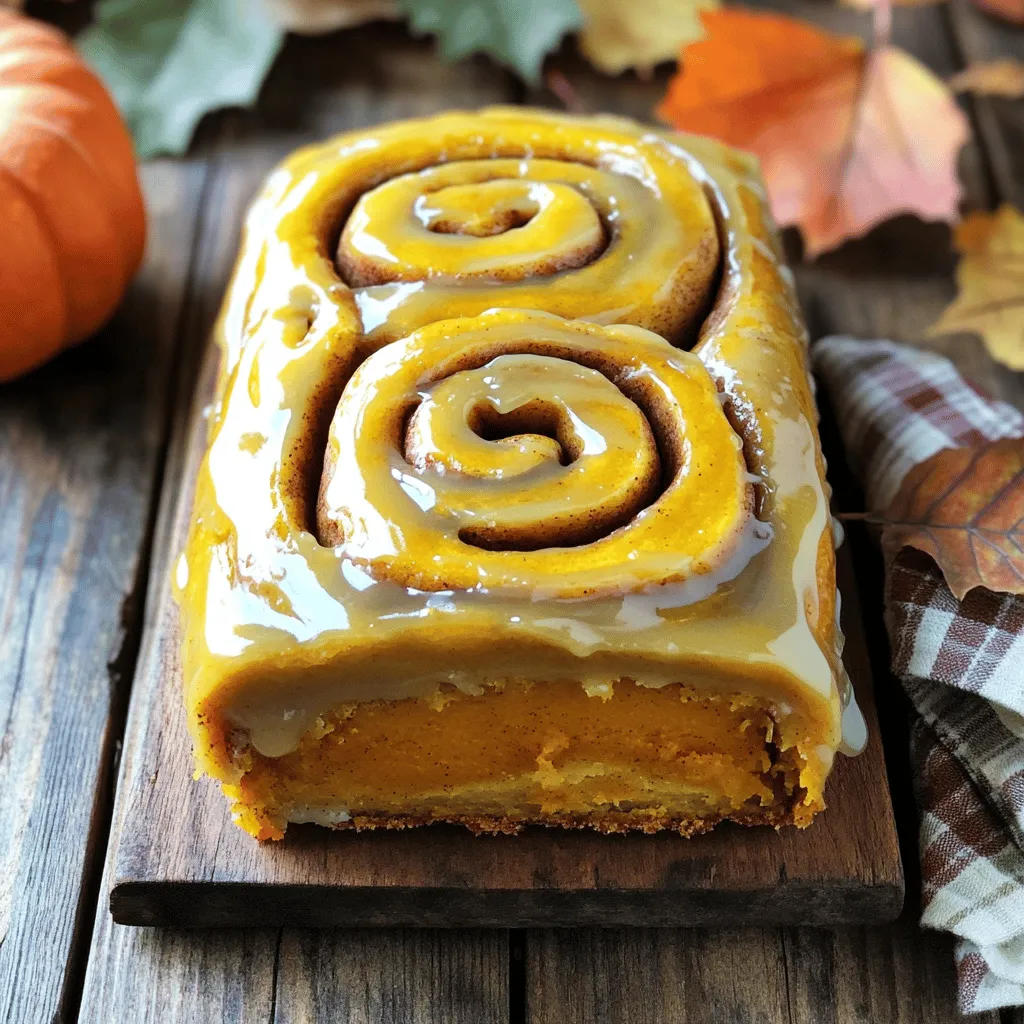
Get ready to indulge in the warm, cozy flavors of fall! This Pumpkin Spice Cinnamon Roll Loaf is a simple

Get ready to indulge in a sweet twist on a classic! S’mores Rice Krispie Treats combine gooey marshmallows, crunchy Rice
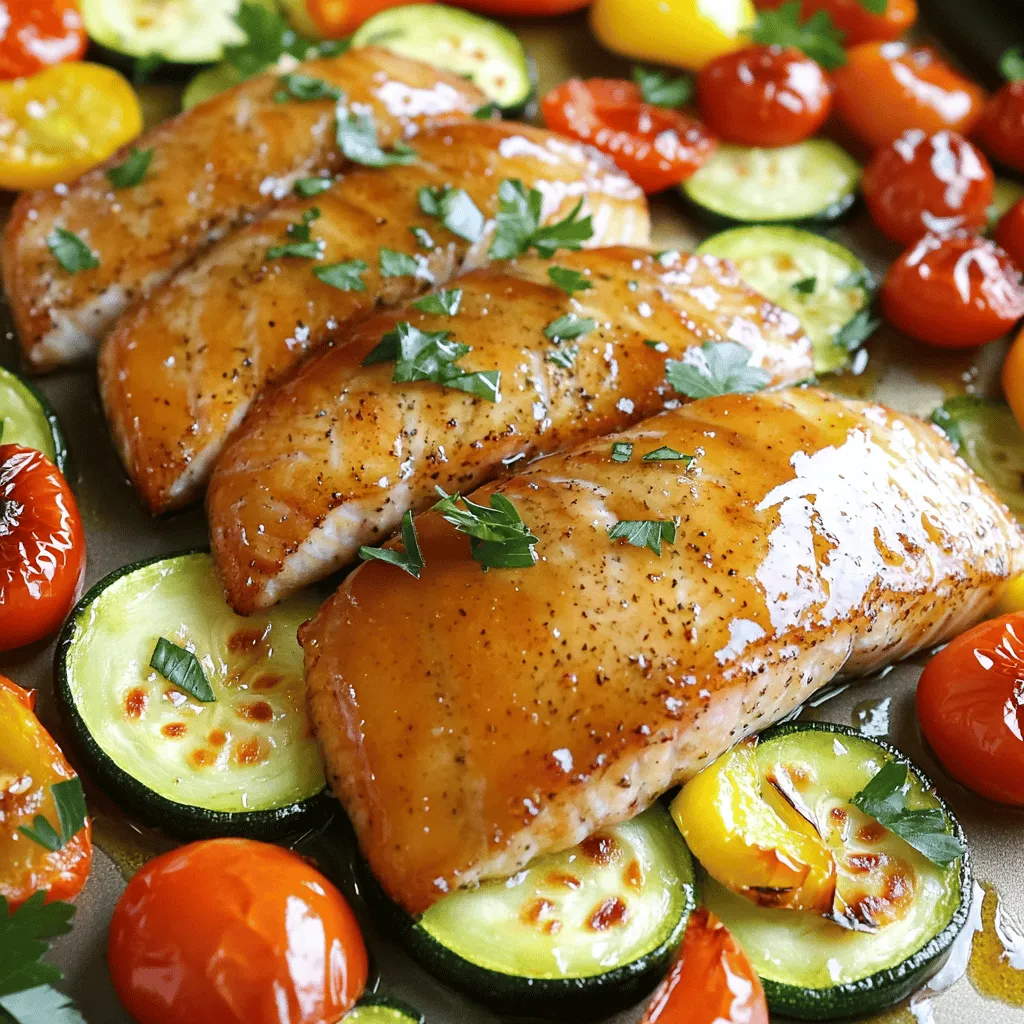
Ready to elevate your dinner game? My Sheet Pan Maple Glazed Trout & Veggies Delight combines rich flavors and simple
