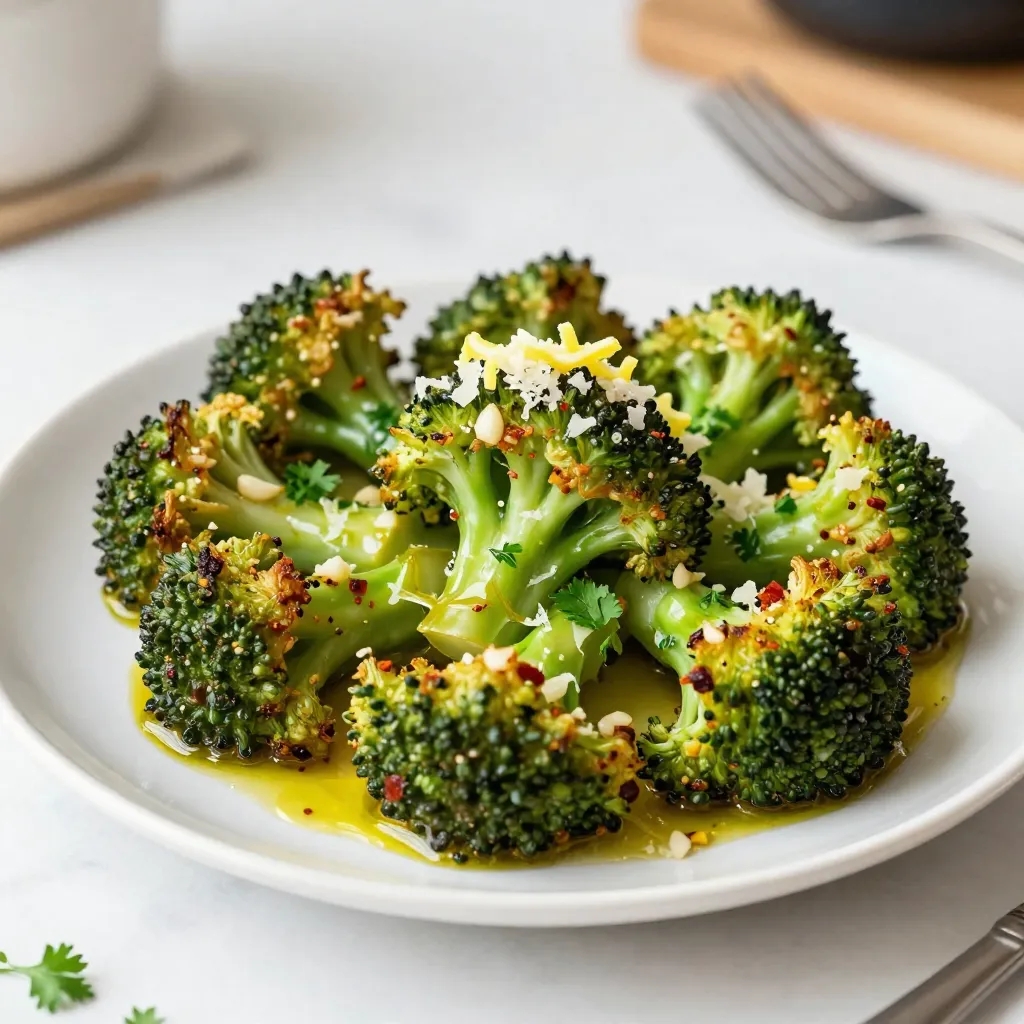
Lemon Garlic Roasted Broccoli Flavorful and Simple Dish
Looking for a tasty and easy side dish? Lemon Garlic Roasted Broccoli is your answer! This simple recipe combines fresh
Looking for a tasty and easy side dish? Lemon Garlic Roasted Broccoli is your answer! This simple recipe combines fresh
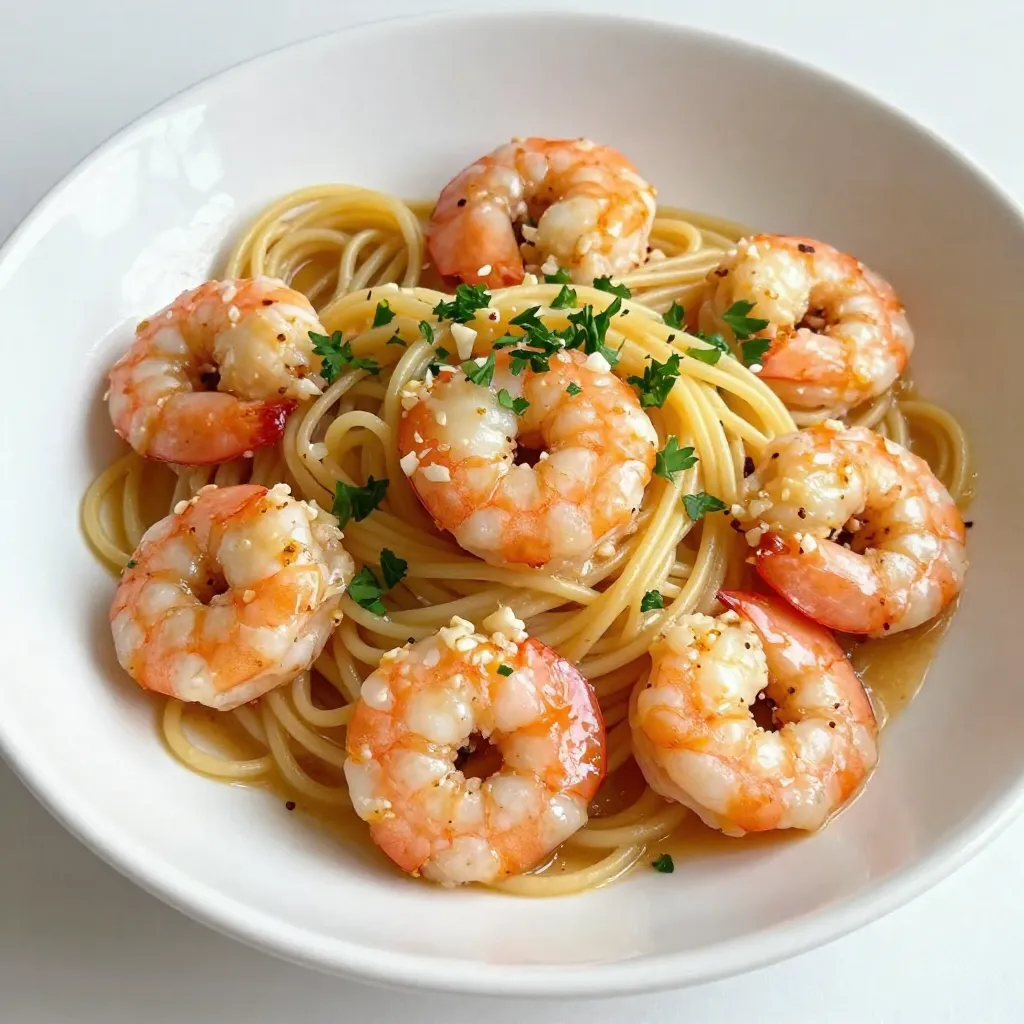
If you’re craving a simple yet delicious dish, Garlic Butter Shrimp Scampi is a winner! This dish blends tender shrimp,
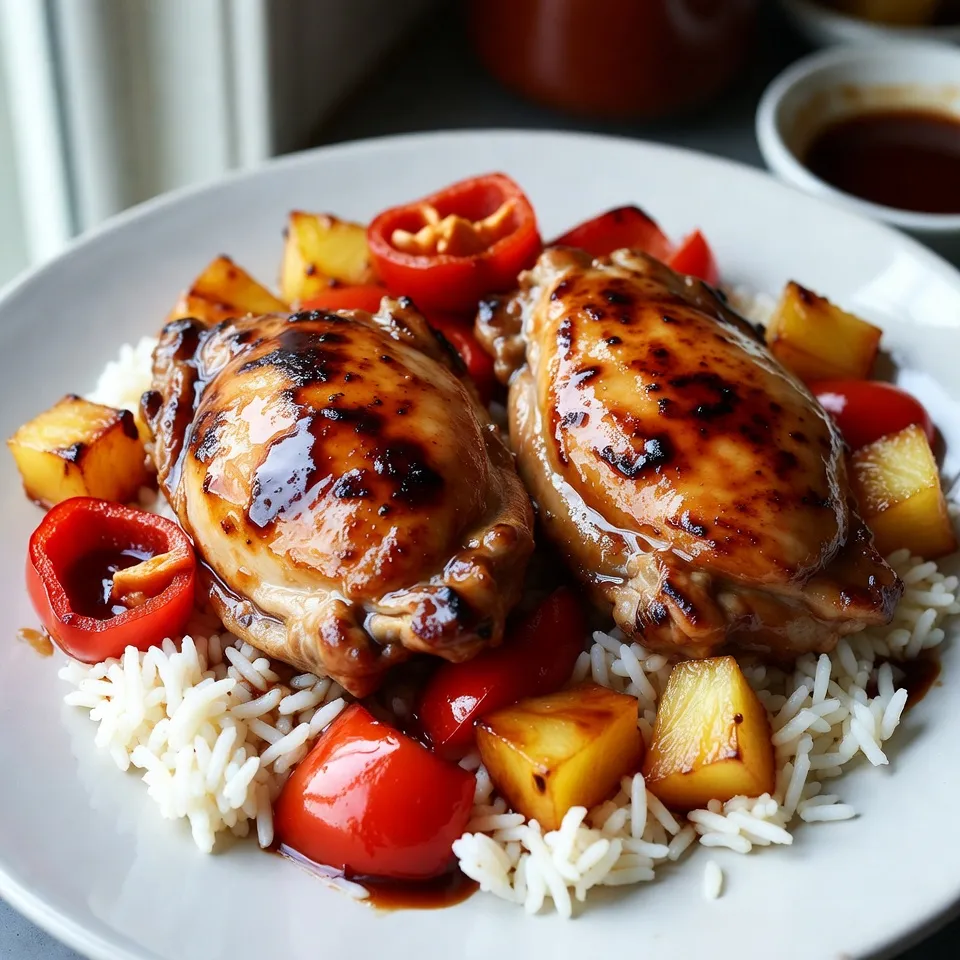
If you’re craving a delicious meal that’s easy to make, you’ve found it! My Pineapple Teriyaki Chicken recipe is full
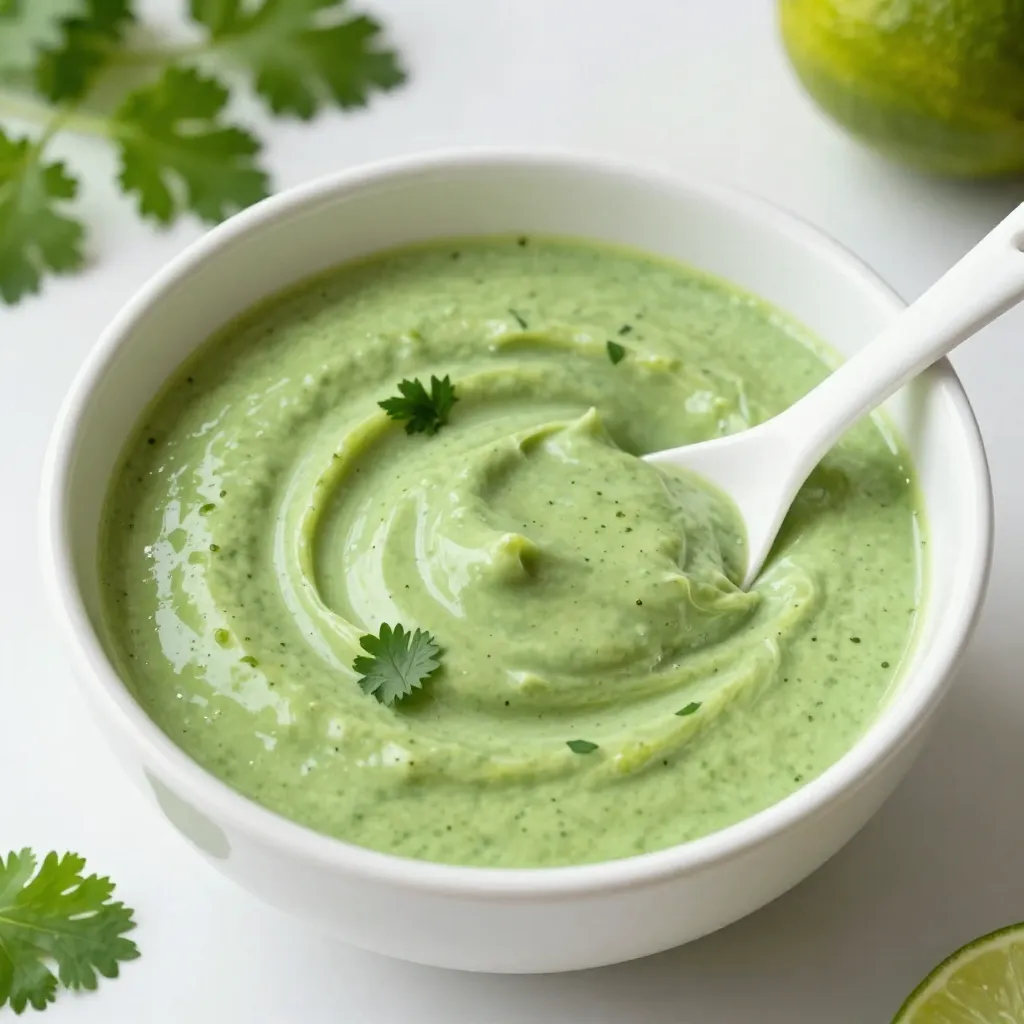
Do you want to elevate your meals with a burst of flavor? This Creamy Cilantro Lime Dressing is the answer!
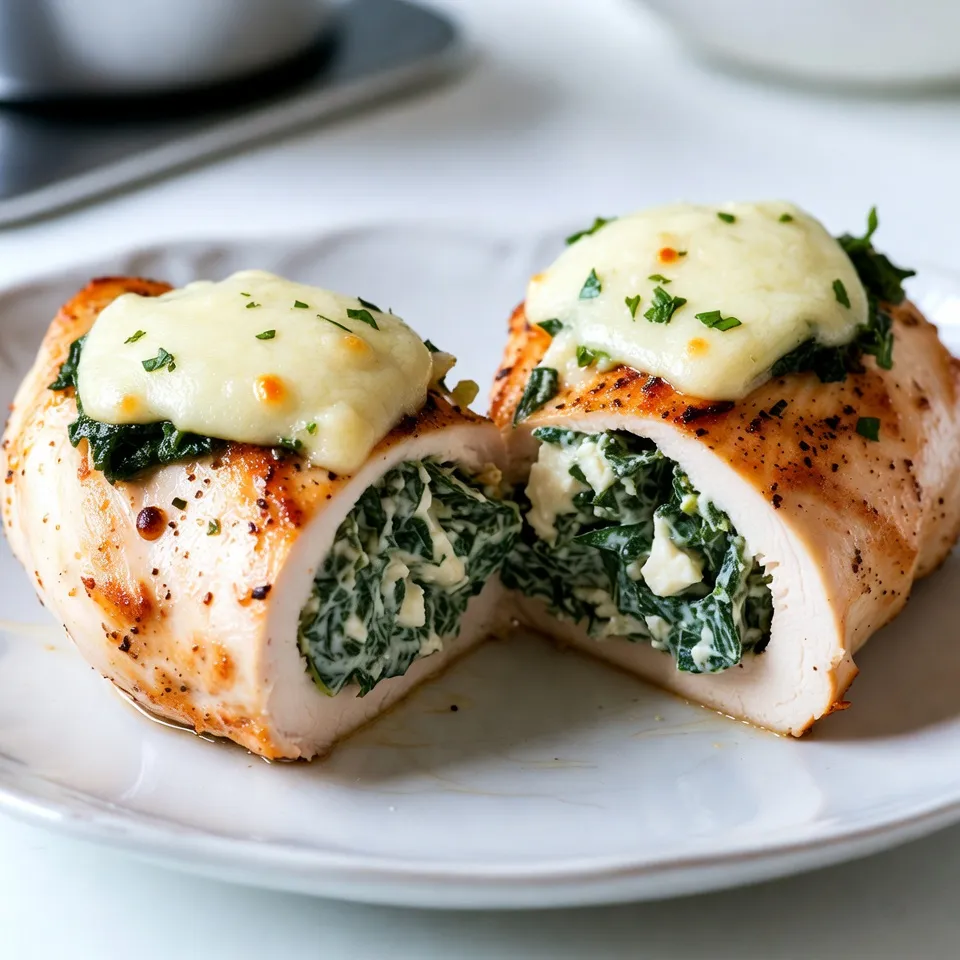
Looking for a healthy and tasty meal? Spinach Feta Stuffed Chicken checks both boxes. This dish combines the rich taste
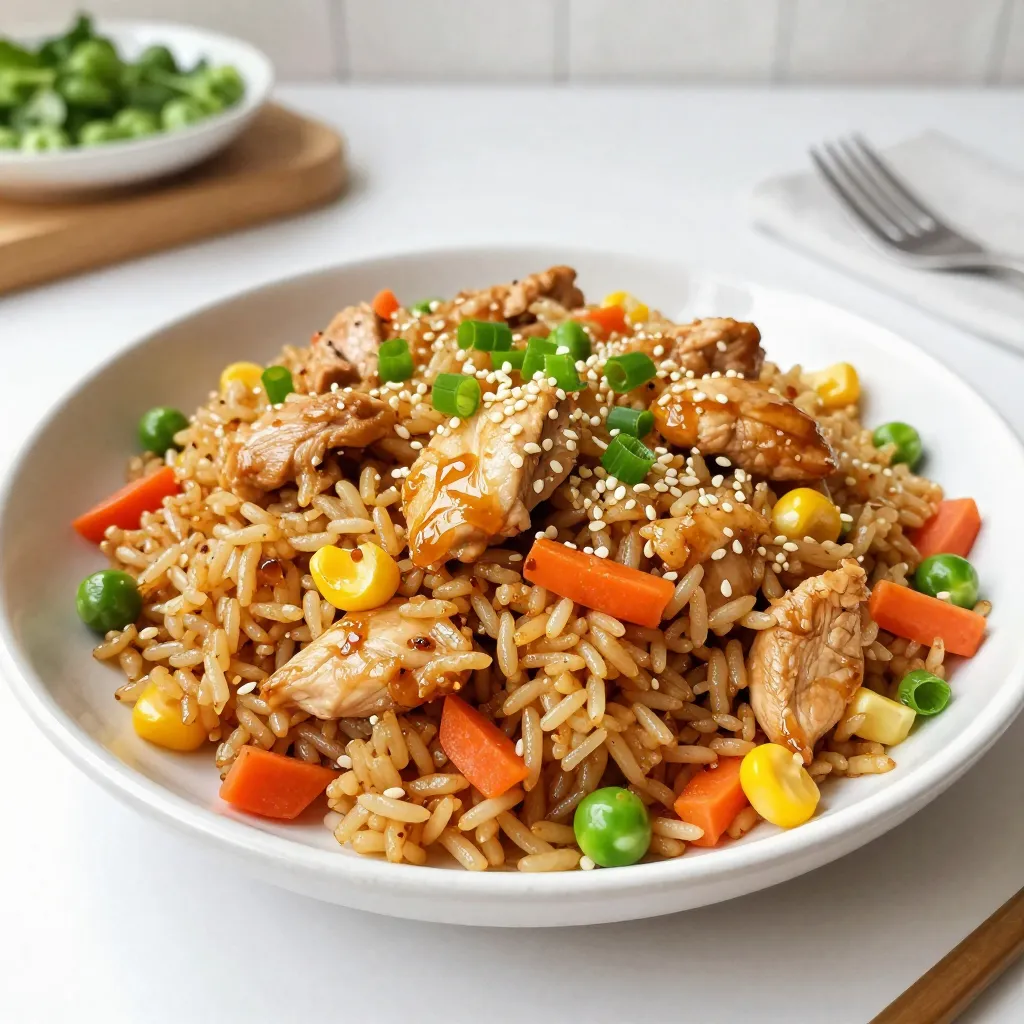
Looking for a tasty dinner idea that’s quick and easy? Honey Garlic Chicken Fried Rice is the answer! This dish
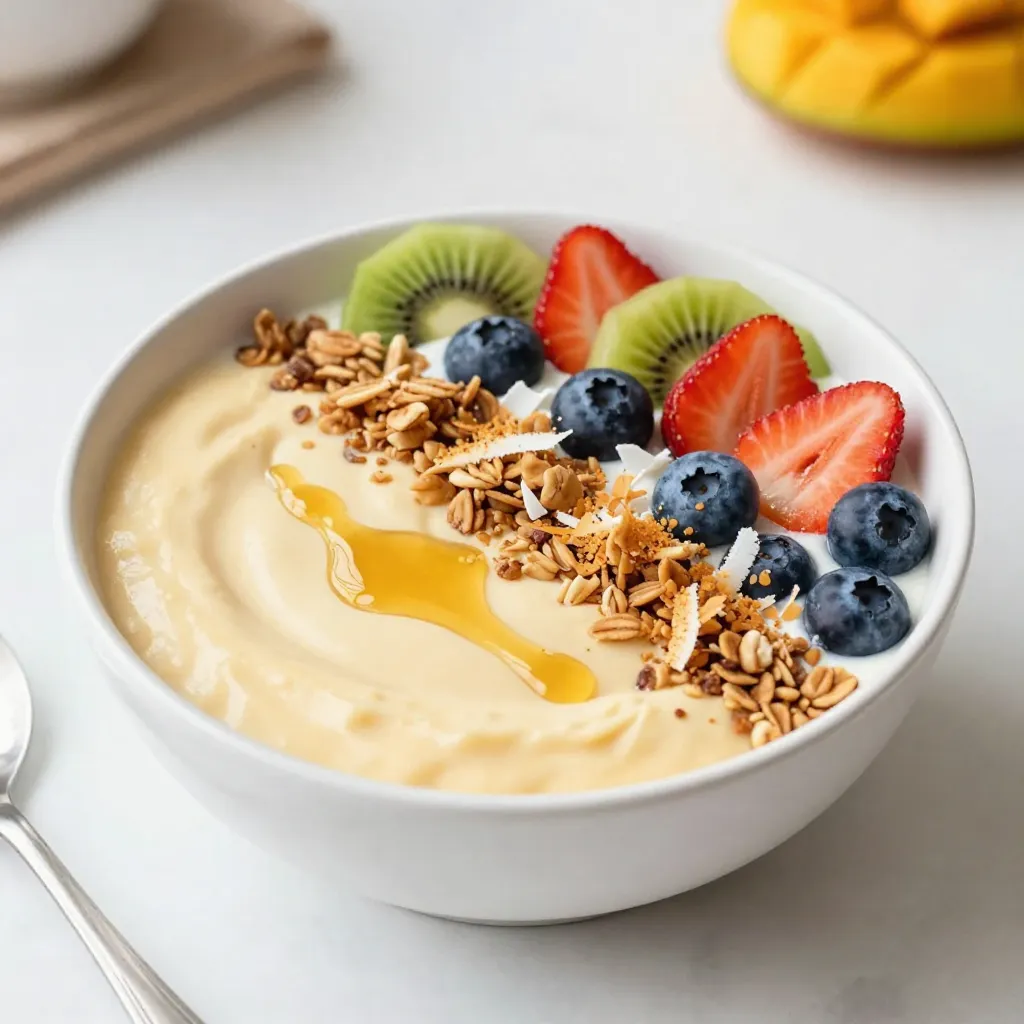
Are you ready to whip up a delicious treat that’s both refreshing and healthy? The Mango Coconut Smoothie Bowl is
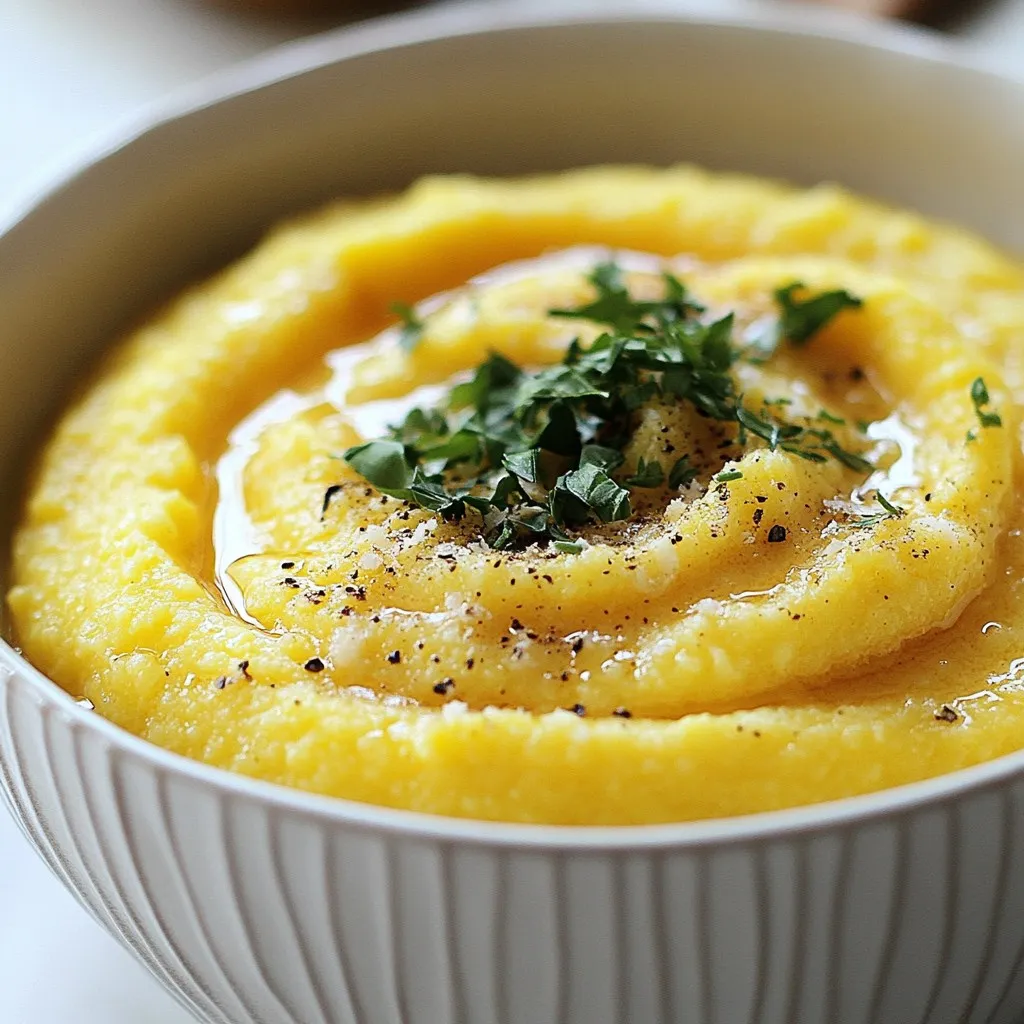
If you’re looking for a warm, comforting dish that brings joy, you’ve found it! Creamy Parmesan polenta is simple to
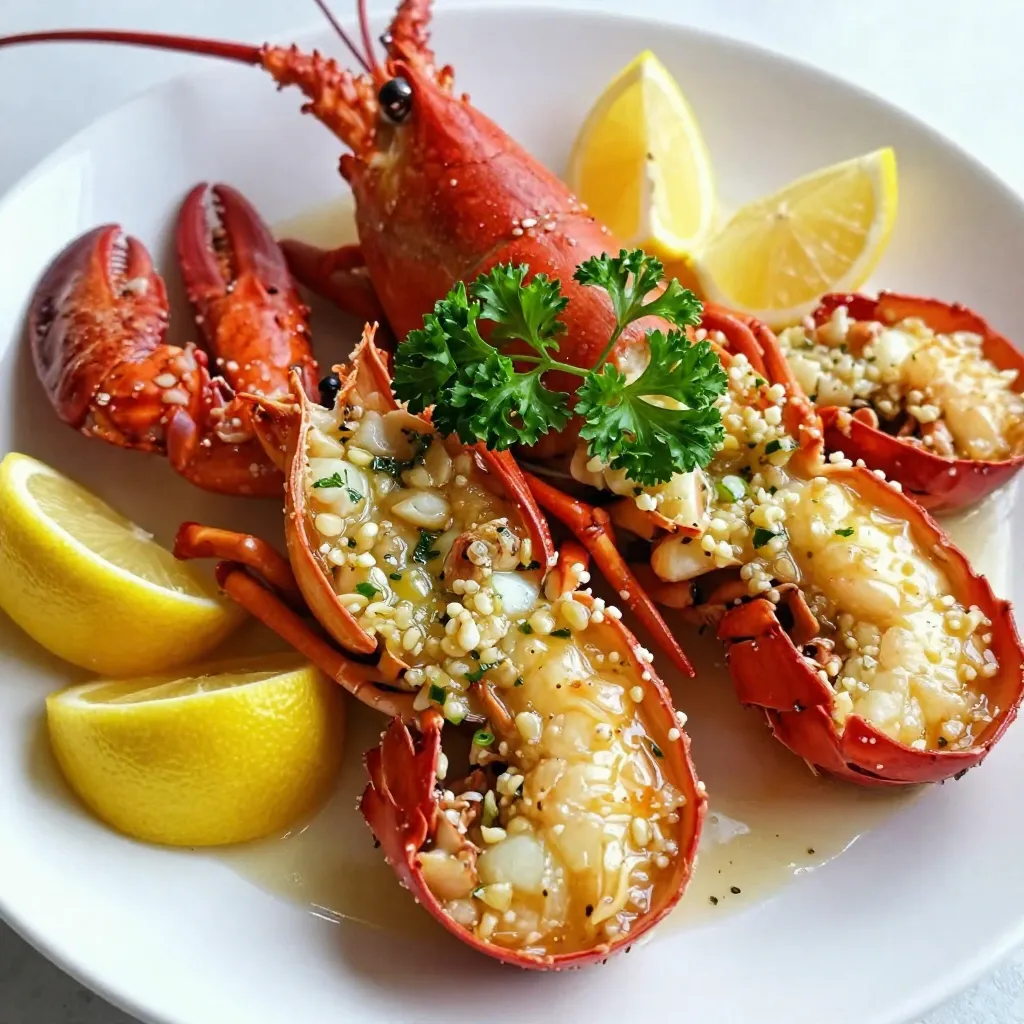
Looking to impress your dinner guests? Garlic Butter Lobster Tails are a surefire way to do just that! This simple
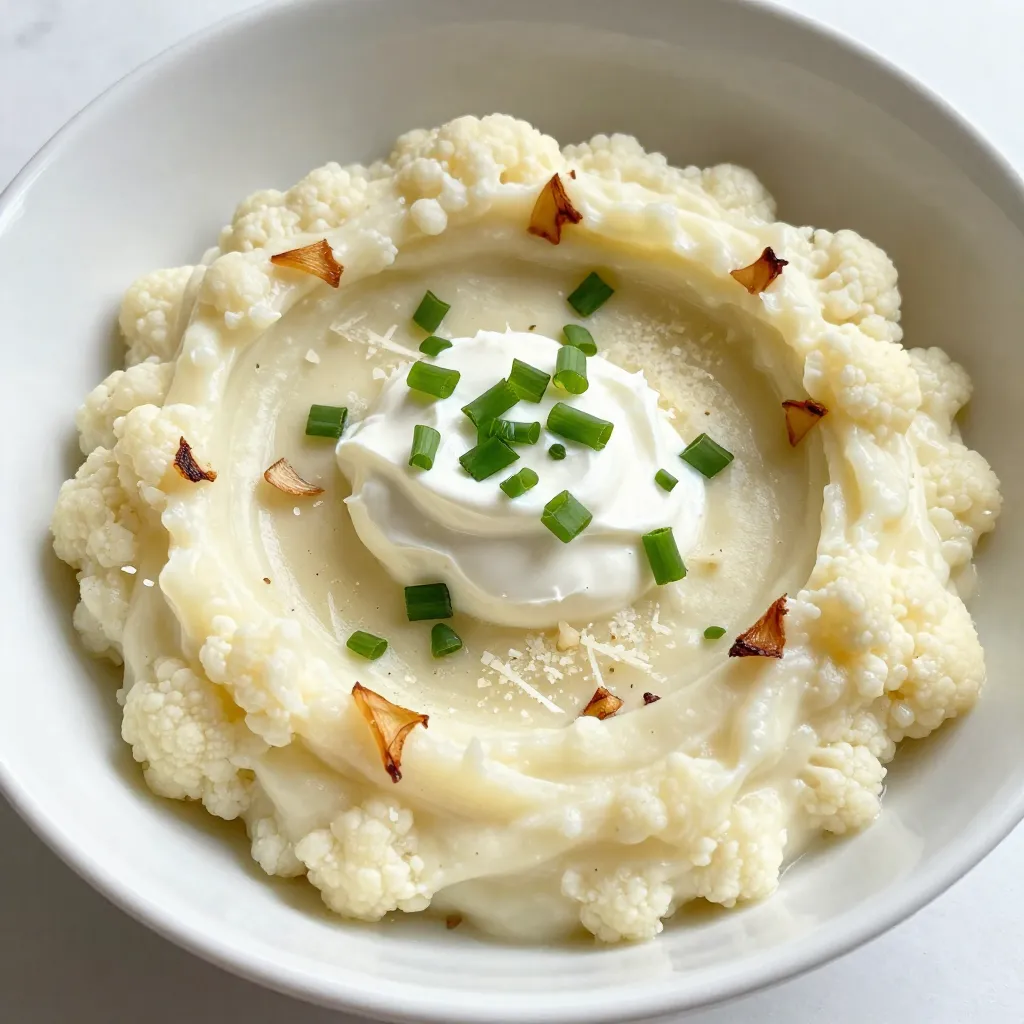
Looking for a healthier alternative to traditional mashed potatoes? Creamy Garlic Mashed Cauliflower is the answer! This delightful side dish
