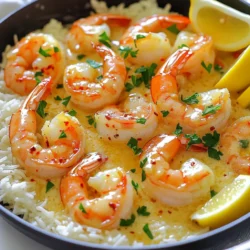

Looking for a quick and tasty meal? My Easy Garlic Butter Shrimp Skillet is your answer! You’ll delight in juicy shrimp cooked in rich butter with fragrant garlic and a hint of spice. In just minutes, you can whip up a dish that’s perfect for dinner or a special occasion. Join me as I share simple steps and handy tips to make this dish a favorite in your kitchen!
Ingredients
List of Ingredients
– Large shrimp: 1 lb, peeled and deveined
– Butter: 4 tablespoons, unsalted
– Garlic: 4 cloves, minced
– Red pepper flakes: 1 teaspoon, adjust for spice level
– Lemon juice: 1 tablespoon, freshly squeezed
– Parsley: 1 tablespoon, fresh and finely chopped
– Seasonings: Sea salt and freshly cracked black pepper
– Serving options: Cooked rice or pasta
In my kitchen, I love to keep it simple and fresh. Each ingredient plays a key role in the taste of garlic butter shrimp. The shrimp must be large and fresh for the best bite. Always peel and devein them before cooking. I use unsalted butter, as it lets the other flavors shine.
Garlic is a must! I recommend fresh cloves, finely minced, for the best flavor. Red pepper flakes add a nice kick. You can adjust the amount based on your heat preference.
Fresh lemon juice brightens the dish. A good squeeze balances the richness of the butter. Don’t skip the parsley; it adds color and freshness. Lastly, season with sea salt and cracked black pepper for a perfect finish.
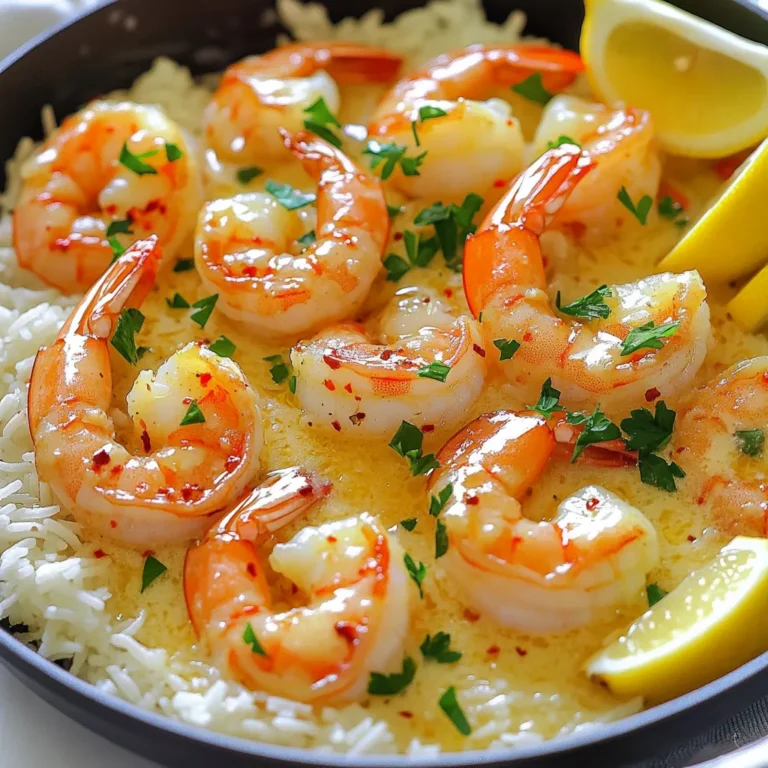
When serving, I love pairing the shrimp with cooked rice or pasta. The buttery sauce soaks in, making every bite delicious. Enjoy cooking!
Step-by-Step Instructions
Preparation Steps
– Step 1: Melting the Butter
Start by placing a large skillet on medium heat. Add 4 tablespoons of unsalted butter. Let it melt slowly. Watch for the bubbles; you want it to bubble without browning. This step brings out the rich flavor of the butter.
– Step 2: Sautéing the Garlic
Once the butter is bubbling, add 4 cloves of finely minced garlic. Sauté the garlic for about 1 minute. You want it to smell amazing but not burn. The scent of garlic adds depth to our dish.
– Step 3: Adding Spice with Red Pepper Flakes
Now, add 1 teaspoon of red pepper flakes. Stir them into the bubbling garlic butter. This will give your dish a nice kick. Adjust the amount based on your heat preference.
Cooking the Shrimp
– Step 4: Cooking the Shrimp in Skillet
Add 1 pound of peeled and deveined shrimp to the skillet. Spread them out in a single layer. Cook for about 2-3 minutes on each side. They should turn pink and opaque when done. This shows they are fully cooked.
– Step 5: Finishing with Lemon Juice and Seasoning
After cooking, drizzle 1 tablespoon of fresh lemon juice over the shrimp. Gently stir to mix in the flavors. Season with sea salt and freshly cracked black pepper to taste. This brightens the dish and enhances the flavors.
– Step 6: Garnishing with Parsley
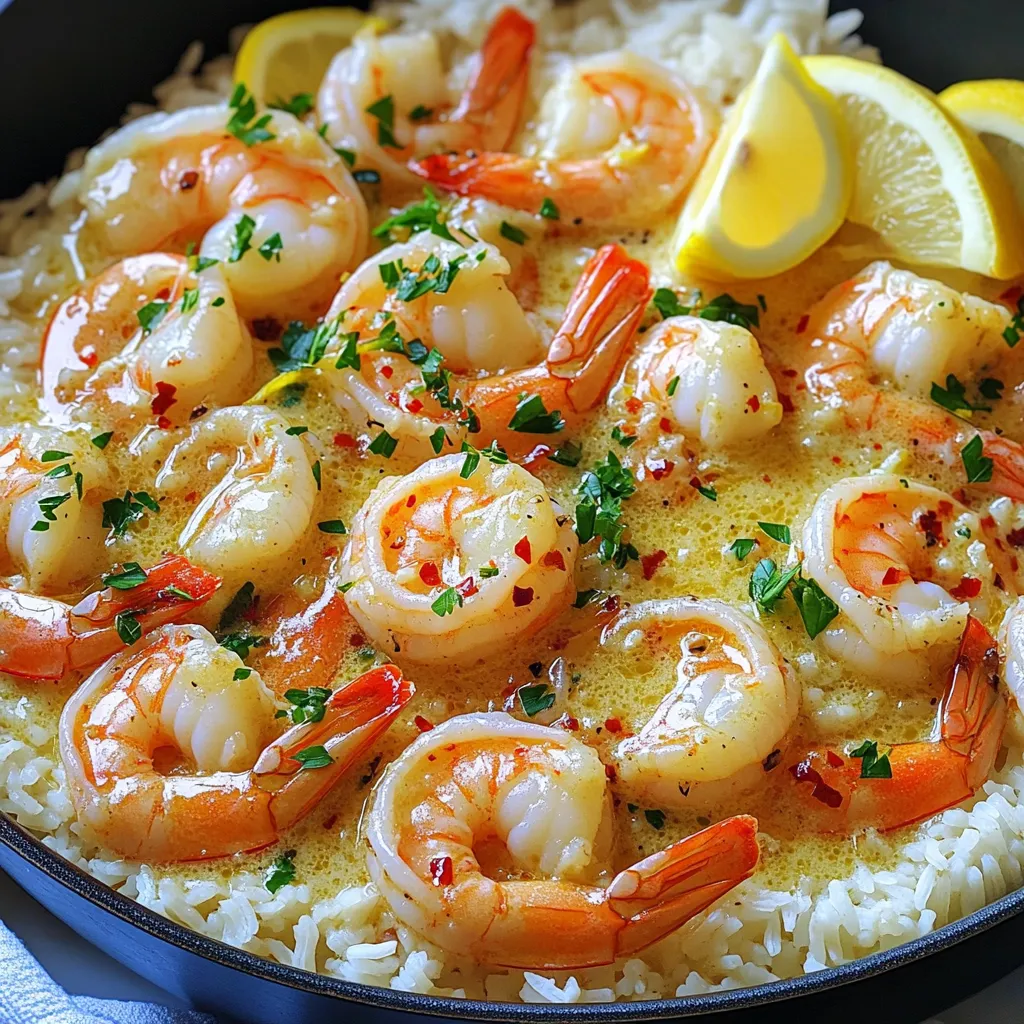
Remove the skillet from heat. Sprinkle 1 tablespoon of finely chopped fresh parsley on top. This adds color and freshness, making your dish pop visually.
Serving Suggestions
– Step 7: Plating the Dish
To serve, scoop the shrimp and garlic butter sauce over cooked rice or pasta. Make sure to drizzle any remaining sauce over the dish for extra flavor. For a nice touch, add lemon wedges and a bit more parsley on top. This makes your meal look inviting and tasty.
Tips & Tricks
Cooking Tips
Using fresh shrimp gives the best taste. Fresh shrimp has a sweet flavor and firm texture. If you must use frozen shrimp, thaw it fully before cooking. This helps it cook evenly.
To get the best texture, don’t overcrowd the skillet. Cook shrimp in a single layer. This allows each piece to sear perfectly. High heat helps create a golden crust.
Flavor Enhancements
You can add herbs for more flavor. Fresh basil or thyme pairs well with shrimp. Try using different types of butter, too. Garlic herb butter can add a rich taste. You could even use spicy butter for a kick.
A splash of white wine can also boost the sauce. It adds depth and brightness to the dish.
Presentation Tips
Garnish your dish for a pop of color. Lemon wedges and parsley look great. Serve the shrimp in a wide bowl. This style makes it easy for guests to dig in.
Drizzle extra garlic butter on top for a nice touch. It not only looks good but also gives a burst of flavor.
Variations
Alternative Ingredients
You can easily switch up the protein in this dish. If you want a different taste, try using scallops or chicken instead of shrimp. Scallops cook quickly and have a sweet flavor. Chicken adds a hearty touch and is widely loved.
For herbs, you can choose cilantro or basil. Cilantro gives a fresh, bright flavor. Basil adds a sweet, aromatic note that works well with garlic and butter. Just chop the herbs finely and sprinkle them in at the end.
Dietary Adaptations
If you need gluten-free options, serve this dish over rice instead of pasta. Rice is naturally gluten-free and pairs well with the garlic butter sauce. You can also use quinoa for a nutty flavor and added protein.
For a low-carb option, try zucchini noodles. These noodles are made from zucchini and are a great way to cut carbs while enjoying the dish. You can spiralize the zucchini and cook it briefly in a skillet to soften.
Regional Flavors
To spice things up, consider adding a lemon garlic chili sauce. It gives the dish a nice kick and enhances the flavor. Just drizzle it over the shrimp before serving.
For a Mediterranean twist, add olives and capers. These ingredients bring briny and tangy notes to the dish. They complement the garlic and butter well, creating a unique flavor profile.
Storage Info
Storing Leftovers
To keep your garlic butter shrimp fresh, store it in an airtight container. This helps keep out air and moisture. Place it in the fridge right after it cools. Properly stored shrimp will last for 2 to 3 days. After this time, the shrimp may lose flavor and quality.
Reheating Tips
When it’s time to enjoy your leftovers, use low heat to reheat the shrimp. You can use a skillet or microwave. If using a skillet, add a tiny bit of butter to keep it moist. Heat it gently for about 2 to 3 minutes. Avoid high heat to keep the shrimp tender. If you use a microwave, heat it in short bursts. This helps to avoid overcooking.
Freezing Recommendations
You can also freeze garlic butter shrimp for later. Place the cooked shrimp in a freezer-safe bag. Try to remove as much air as possible before sealing. Frozen shrimp can last up to 2 months. To thaw, move it to the fridge overnight. You can also thaw it in cold water for a quicker option. Once thawed, reheat the shrimp gently to keep its taste and texture.
FAQs
What type of shrimp is best for this recipe?
I recommend using large shrimp. They cook evenly and taste great. Look for shrimp that are fresh, peeled, and deveined. This saves you time and makes cooking easier.
Can I make this dish in advance?
Yes, you can prepare the garlic butter sauce ahead of time. Just keep it in the fridge. Cook the shrimp fresh for the best taste. Reheating shrimp can make them tough, so cook them right before serving.
How can I adjust the recipe for a larger crowd?
To serve more people, simply double the ingredients. Use 2 pounds of shrimp and increase the butter and spices. Make sure your skillet is large enough. You may need to cook in batches for even cooking.
What should I serve with garlic butter shrimp?
Garlic butter shrimp pairs well with cooked rice or pasta. You can also serve it with crusty bread to soak up the sauce. A fresh salad or steamed veggies adds a nice touch too.
This recipe for garlic butter shrimp uses simple ingredients and easy steps. You can make it spicy or mild based on your taste. Feel free to switch proteins and herbs for fun flavors. Plus, there are handy tips for storage and reheating. In the end, cooking shrimp at home can be rewarding and tasty. Try it out and impress your family or guests! Enjoy this delightful dish and make it your own.