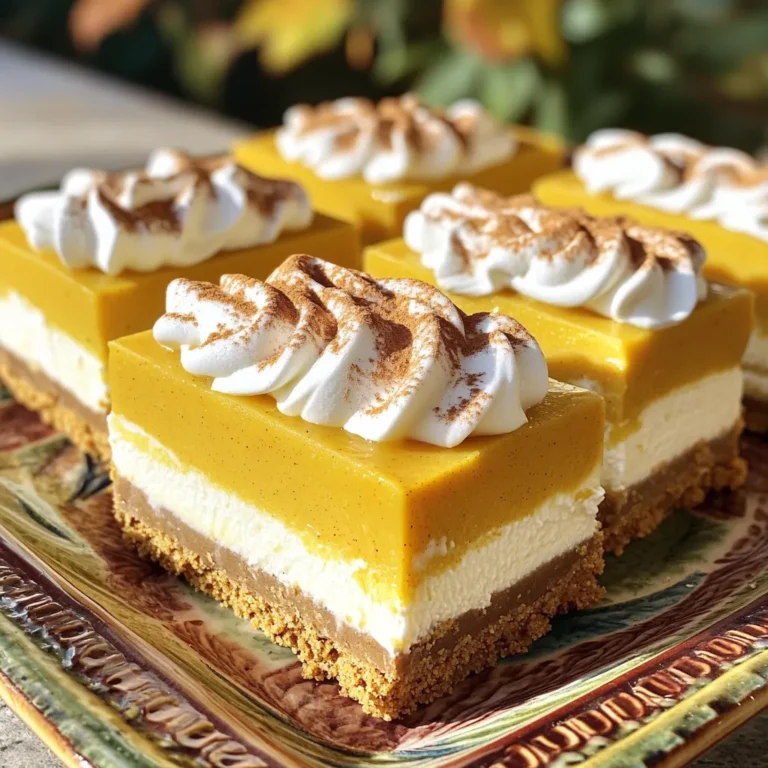
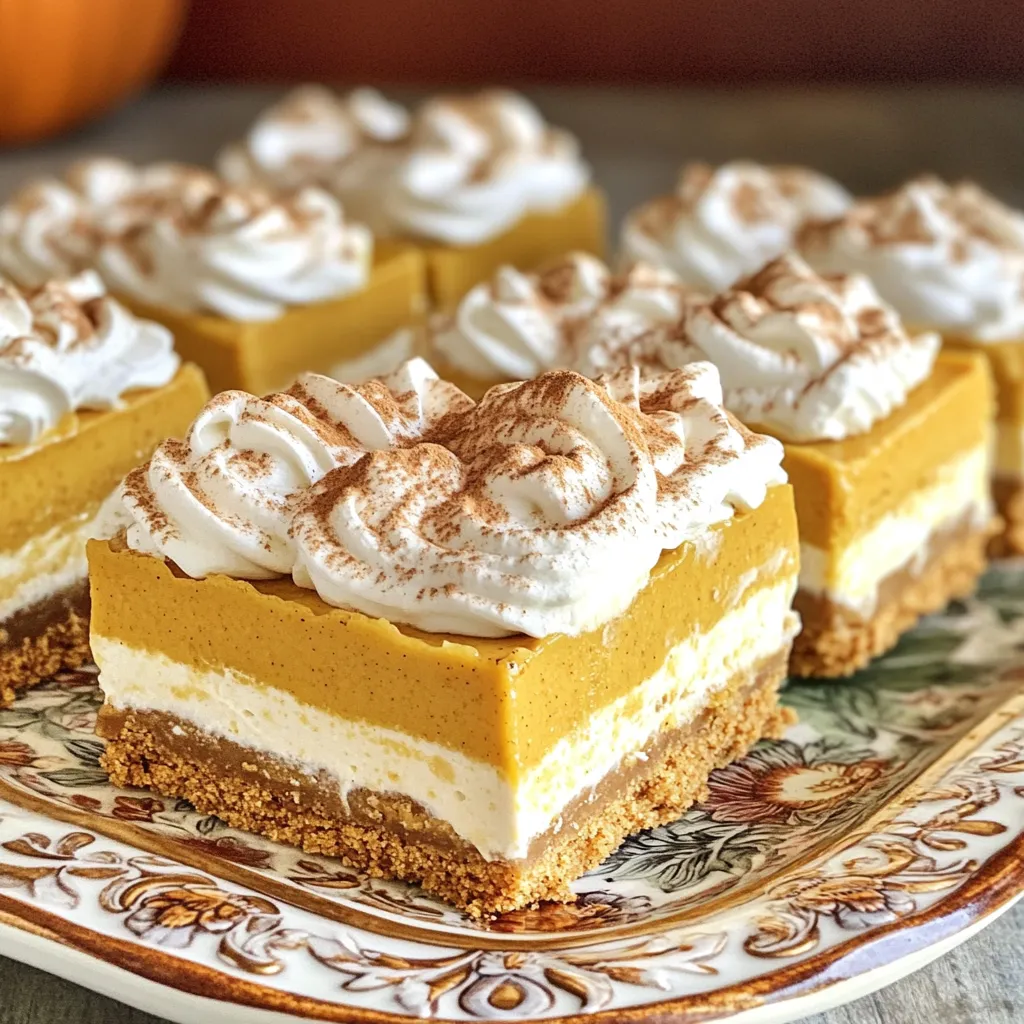
Love pumpkin treats? You’re in for a real treat with my Pumpkin Cheesecake Icebox Bars! These no-bake bars blend creamy pumpkin with a crunchy crust for a simple dessert. You don’t need any baking skills to impress your friends and family. Ready to satisfy your sweet tooth? Let me guide you through this easy recipe that will become a fall favorite in your kitchen!
Ingredients
To make Pumpkin Cheesecake Icebox Bars, you need these simple ingredients:
– 1 ½ cups graham cracker crumbs
– ½ cup unsalted butter, melted
– 2 tablespoons granulated sugar
– 1 (8 oz) package cream cheese, softened
– 1 cup canned pumpkin puree
– ½ cup powdered sugar
– 1 teaspoon pure vanilla extract
– 1 teaspoon ground cinnamon
– ½ teaspoon ground nutmeg
– 1 teaspoon pumpkin pie spice
– 1 cup heavy whipping cream
– ¼ cup granulated sugar (for whipping cream)
These ingredients come together to create a creamy, pumpkin-flavored dessert. The graham cracker crumbs make a great base, while the cream cheese and pumpkin give it a rich texture. The spices add warmth and flavor, making each bite delightful.
Make sure your cream cheese is at room temperature. This helps it blend smoothly with the other ingredients.
Feel free to adjust the spices to your taste. If you love cinnamon, add a little more! If you like nutmeg, go for it!
Using canned pumpkin puree saves time and gives consistent flavor. You can try fresh pumpkin, but it takes longer to prepare.
Gather these ingredients, and you are on your way to a tasty treat!
Step-by-Step Instructions
Preparing the Crust
First, gather your graham cracker crumbs, melted butter, and sugar. In a medium bowl, mix the graham cracker crumbs with the melted butter and sugar. Stir until the mixture feels moist and holds together. This step is key for a great crust. Next, press the mixture evenly into the bottom of an 8×8 inch pan. Use your hands or a flat tool to pack it tightly. This will help form a sturdy base for your bars. Place the crust in the fridge while you prepare the filling. This keeps it firm and ready for the next step.
Making the Cheesecake Filling
In a large bowl, beat the softened cream cheese until it’s smooth. You can use a hand mixer for this. Next, add in the pumpkin puree, powdered sugar, vanilla extract, ground cinnamon, nutmeg, and pumpkin pie spice. Mix until everything is blended well and creamy. The spices will give your filling that warm, cozy flavor. Make sure there are no lumps in the mixture for a smooth texture. Tasting the filling at this stage is a must! Adjust spices if needed for your taste.
Whipping Cream
In a separate bowl, pour in the heavy cream and add granulated sugar. Using a mixer, whip the cream until stiff peaks form. This means the cream should hold its shape when you lift the mixer out. Be careful not to over-whip, or it can turn grainy. Once it’s ready, gently fold the whipped cream into the pumpkin mixture. Use a spatula and combine until no white streaks remain. This step adds lightness and creaminess to your bars.
Assembling and Cooling
Now it’s time to assemble! Pour the creamy filling over the chilled crust. Use a spatula to spread it evenly. Smooth the top to make it nice and pretty. Cover the pan with plastic wrap and place it in the refrigerator. Chill for at least four hours, or until the filling is firm. This cooling time is crucial for the bars to set properly. Once ready, you can cut them into squares and serve. Enjoy your tasty treat!
Tips & Tricks
Perfecting the Texture
To get the best texture, start by making sure your cream cheese is soft. Leave it out for about an hour before mixing. This helps it blend smoothly with other ingredients. If it’s too cold, your filling will be lumpy.
When you whip the cream, go slow at first. Use a mixer on low speed to combine the cream and sugar. Once it starts to thicken, increase the speed. You want stiff peaks for a light and fluffy texture.
When you fold the whipped cream into the pumpkin mix, be gentle. Use a spatula and a folding motion. This keeps the air in the whipped cream, giving the bars a light feel. Don’t stir too hard, or you’ll lose that fluffiness.
Presentation Suggestions
For a stunning presentation, serve the bars chilled on a nice platter. You can add a dollop of whipped cream on top of each bar. A sprinkle of cinnamon adds a nice touch. It makes the bars look pretty and adds more flavor.
When cutting the bars, use a sharp knife. Dip the knife in hot water first, then dry it. This helps create clean cuts. Cut them into squares for a neat look. You can also decorate each square with a piece of caramel or chocolate drizzle for extra flair.
Variations
Flavor Variations
You can easily change the taste of your Pumpkin Cheesecake Icebox Bars. Adding chocolate or caramel drizzles can create a rich twist. Just melt some chocolate or caramel sauce and drizzle it on top before serving. This adds a sweet touch and looks great too!
You can also use alternative spices if you want a new flavor. Instead of just cinnamon and nutmeg, try ginger, cardamom, or allspice. Each spice will give the bars a different taste. Experimenting with spices can make this recipe fun!
Dietary Adjustments
You can adjust this recipe to fit your diet. For a gluten-free crust, use gluten-free graham cracker crumbs. Mix them with the butter and sugar just like the original recipe. This way, everyone can enjoy the bars.
If you need a dairy-free option, swap cream cheese with a dairy-free cream cheese. You can also use coconut cream instead of heavy whipping cream. Just chill the coconut cream first. This will help it whip better. These adjustments make the bars suitable for more diets!
Storage Info
Cooling and Storing
To keep your Pumpkin Cheesecake Icebox Bars fresh, store them in the fridge. Use an airtight container to prevent them from drying out. If you don’t have one, wrap them tightly in plastic wrap. This keeps them moist and tasty.
These bars last about five days in the refrigerator. After that, they can lose their fresh taste and creamy texture. Always check for any off smells or changes in texture before enjoying them.
Freezing Instructions
If you want to save some bars for later, freezing is a great option. Cut the bars into squares first. Then, place them in a single layer on a baking sheet. Freeze them for about one hour. This step keeps them from sticking together.
After they are frozen, wrap each square in plastic wrap. Next, put them in a freezer-safe bag or container. This way, they stay fresh for up to three months. When you are ready to eat them, remove the bars from the freezer. Let them thaw in the fridge for a few hours. This method helps maintain their creamy texture. Enjoy your delicious treat anytime!
FAQs
Common Questions
Can I use fresh pumpkin instead of canned?
Yes, you can use fresh pumpkin. First, cook the pumpkin until soft. Then, mash it until smooth. Make sure to remove excess water. This keeps your bars from being too wet.
What can I substitute for cream cheese?
You can use Greek yogurt or mascarpone cheese. Both give a creamy texture. Greek yogurt adds a tart flavor that works well in the bars.
How do I know when the bars are set?
The bars are set when they feel firm to the touch. You can also gently shake the pan. If the filling jiggles slightly in the center, give it more chilling time.
Troubleshooting
What to do if the filling is too runny?
If your filling is runny, try adding more powdered sugar. This can help thicken it. You can also chill the mixture longer before pouring it over the crust.
How to fix a crumbling crust?
To fix a crumbling crust, add more melted butter. Mix it well until the crumbs stick together. Press the mixture firmly into the pan for a solid base.
This pumpkin cheesecake icebox bar recipe combines tasty layers with simple steps. You’ll create a crunchy crust, a creamy filling, and whip up light cream for a perfect finish. Remember to follow tips for texture and garnish for a lovely presentation. Explore variations to suit your taste or dietary needs. Store leftovers correctly so they stay fresh. With these tips, your cheesecake bars will impress everyone. Enjoy making this delicious treat.

