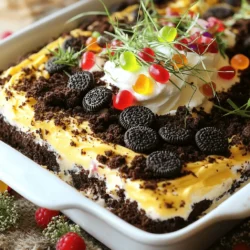
If you’re looking for a fun dessert to impress this Easter, try my Easter Dirt Cake Casserole! This simple treat combines rich chocolate cake and creamy layers to create a dish your family will love. You can easily customize it with your favorite toppings. In this post, I’ll share everything you need, from ingredients to tips for perfecting your casserole. Let’s dive in and make this delightful dessert together!
Ingredients
Complete List of Ingredients
To make Easter Dirt Cake Casserole, you need the following items:
– 1 package (15.25 oz) chocolate cake mix
– 3 cups milk
– 2 packages (3.4 oz each) instant vanilla pudding mix
– 1 container (8 oz) whipped topping (like Cool Whip)
– 1 package (20 oz) crushed Oreo cookies
– 1 cup gummy worms
– Edible grass (store-bought or homemade)
– Fresh berries for garnish (optional)
These ingredients come together to create a fun and tasty dessert. The chocolate cake mix forms the base, while the pudding adds creaminess. The crushed Oreos give it a unique texture and flavor.
Ingredient Substitutions
If you need to swap some ingredients, here are a few ideas:
– Use a gluten-free cake mix instead of the regular chocolate cake mix.
– Swap out the instant vanilla pudding for chocolate pudding for a richer flavor.
– Instead of whipped topping, you can use whipped cream for a fresher taste.
– For a healthier option, consider using yogurt in place of whipped topping.
– If you don’t have gummy worms, use any candy that fits the theme.
These substitutions can help you adjust the recipe to fit your needs while keeping it fun.
Suggested Garnishes
For a delightful presentation, consider these garnishes:
– Fresh berries add a nice touch and enhance the look.
– Use extra gummy worms to create a playful vibe.
– Sprinkle edible grass on top for a garden-like finish.
– Small chocolate eggs can add color and excitement.
These garnishes not only improve the look but also add a burst of flavor. Enjoy customizing your Easter Dirt Cake Casserole!
Step-by-Step Instructions
Preparation Overview
Making Easter Dirt Cake Casserole is fun and easy. You start by gathering your ingredients and tools. You will need a large mixing bowl, a whisk, and a baking dish. It takes about 20 minutes to prep before baking begins.
Baking the Chocolate Cake
First, preheat your oven to 350°F (175°C). This ensures your cake bakes evenly. Next, you need to grease a 9×13 inch baking dish. I like to use cooking spray for easy cleanup. Follow the directions on the cake mix box to make the batter. Once mixed, pour it into the dish and spread it out. Bake for 30-35 minutes. Check the cake with a toothpick. If it comes out clean, the cake is ready! Let it cool completely on a wire rack before moving on.
Assembling the Casserole
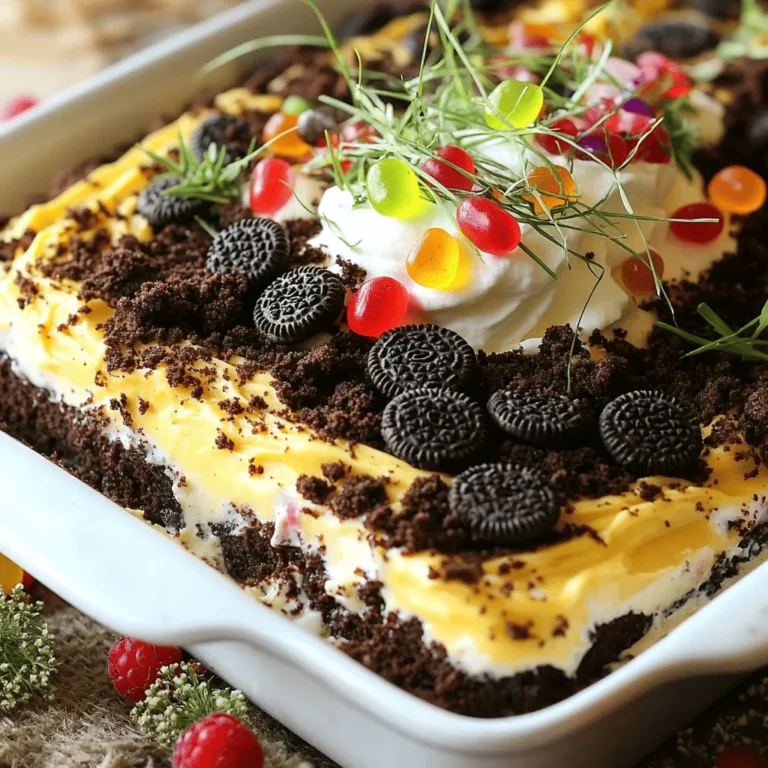
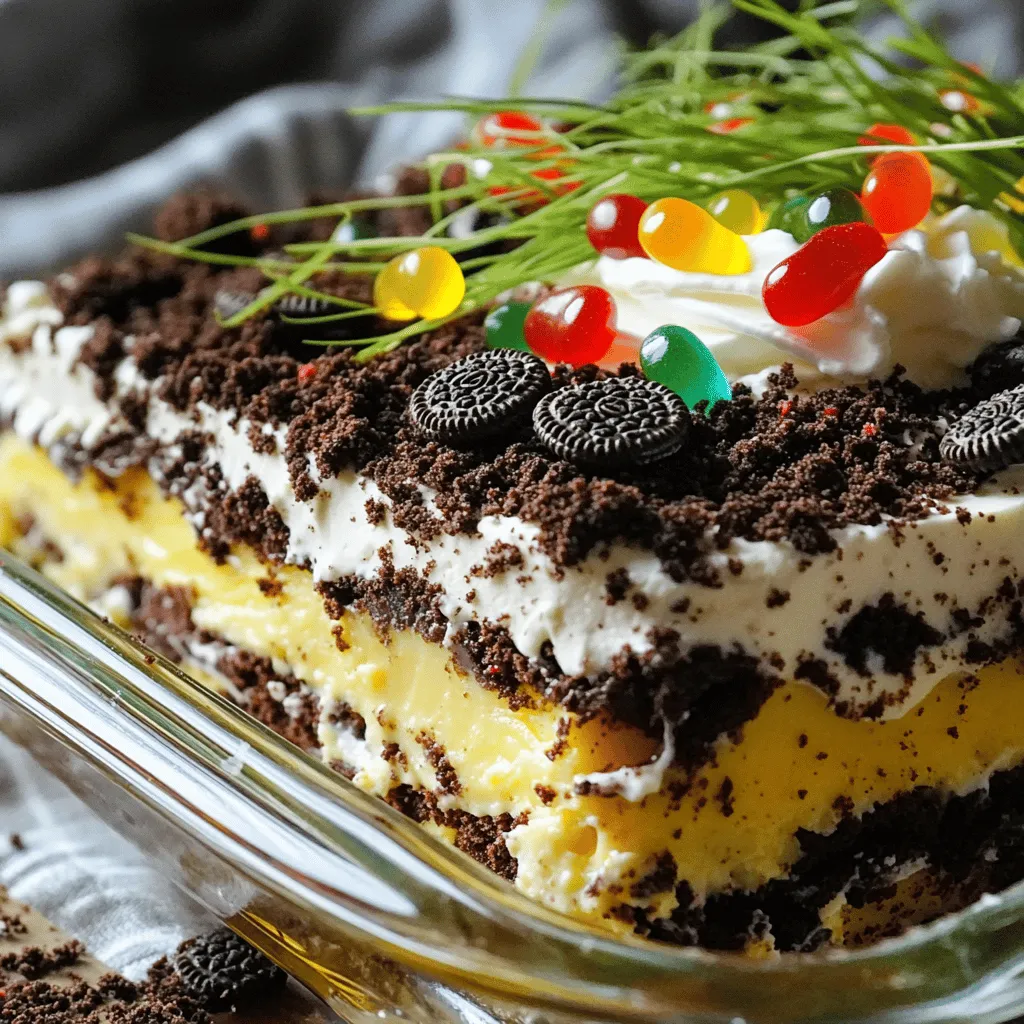
While the cake cools, it’s time to prepare the pudding mix. In a large bowl, combine the pudding mix with 3 cups of milk. Whisk it until smooth. Let it sit for about 5 minutes to thicken. Next, fold in the whipped topping gently. You want it smooth and creamy. After the cake cools, crumble it into large pieces in the baking dish. This gives great texture. Spread the pudding mixture over the crumbled cake evenly. Now, sprinkle crushed Oreo cookies on top for a dirt-like look. Finally, decorate with gummy worms and edible grass. Let the casserole chill in the fridge for at least 2 hours. This helps the layers firm up. Enjoy this fun treat with family and friends!
Tips & Tricks
Chilling for Best Flavor
Chilling your Easter Dirt Cake Casserole is key. I recommend letting it sit in the fridge for at least 2 hours. This helps the flavors blend well. The pudding gets thicker and creamier when chilled. Plus, the cake absorbs moisture, making it soft and tasty. If you can, chill it overnight for the best taste.
Presentation Techniques
Presentation makes this dish even more fun. For a bright touch, add fresh berries on top. You can use strawberries, blueberries, or raspberries. They look lovely and add a burst of flavor. Arrange extra gummy worms around the dish for a playful feel. Edible grass adds texture and a garden-like look, enhancing the theme. Play with colors and shapes for an eye-catching display!
Common Mistakes to Avoid
One common mistake is skipping the cooling step. Always let your cake cool completely before crumbling it. This helps avoid sogginess. Another mistake is not using enough crushed Oreos. A thick layer of Oreos gives the best “dirt” look. Lastly, don’t forget to chill! If you serve it warm, the layers will not hold up well. Follow these tips for a perfect Easter treat.
Variations
Flavor Customizations
You can change the flavor of your Easter Dirt Cake Casserole easily. Try using vanilla cake mix for a lighter taste. You can also use chocolate pudding instead of vanilla for a richer chocolate flavor. For a fruity twist, mix in some pureed strawberries or raspberries into the pudding layer. This adds a fresh taste that pairs well with the chocolate cake.
Dietary Adjustments
To make a gluten-free version, use a gluten-free chocolate cake mix. You can also choose a dairy-free pudding mix and non-dairy whipped topping. This way, everyone can enjoy the dessert. If you want a lower-sugar option, look for sugar-free pudding mix and use a sugar substitute in the cake.
Alternative Decorations
For decorations, get creative! Instead of gummy worms, use chocolate eggs or jelly beans for a fun look. You can also add edible flowers to give it a spring touch. If you want a more elegant look, sprinkle some cocoa powder or crushed nuts on top instead of Oreo crumbs. These small changes can make your dessert stand out.
Storage Info
How to Store Leftovers
To keep your Easter Dirt Cake Casserole fresh, cover it tightly with plastic wrap or foil. This helps prevent drying out. You can also place it in an airtight container. Store it in the refrigerator for up to three days. If you notice any leftovers, try to eat them quickly for the best taste.
Freezing Instructions
You can freeze Easter Dirt Cake Casserole, but the texture may change. To freeze, cut the casserole into portions. Wrap each piece tightly in plastic wrap, then place them in a freezer-safe bag. Label the bag with the date. You can freeze the casserole for up to a month. To serve, thaw in the fridge overnight before enjoying.
Serving Suggestions for Refrigerated Leftovers
When ready to serve your chilled casserole, cut it into squares. I like to place a fresh berry or two on top for a pop of color. You can also add a few gummy worms for fun. This makes the dish look festive and inviting. Enjoying it cold gives a nice contrast to the rich flavors.
FAQs
What is Easter Dirt Cake Casserole?
Easter Dirt Cake Casserole is a fun dessert that looks like a garden. It has layers of chocolate cake, creamy pudding, and crushed Oreo cookies. You can add gummy worms and edible grass for a playful touch. This dessert is perfect for Easter gatherings and is sure to delight kids and adults alike.
Can I make this dessert in advance?
Yes, you can make this dessert ahead of time. I recommend preparing it the day before you plan to serve it. This allows the flavors to blend and the layers to set. Just cover it well and keep it in the fridge until you’re ready to enjoy. Making it in advance saves time and adds to the fun!
How to serve Easter Dirt Cake Casserole?
When serving Easter Dirt Cake Casserole, scoop out portions with a large spoon. Each serving will show the fun layers. You can add fresh berries on top for color and flavor. Place extra gummy worms around the dish for added charm. This presentation makes it look even more festive and inviting.
This blog post covered how to make a delightful Easter Dirt Cake Casserole. We explored the key ingredients, step-by-step instructions, and handy tips. I shared ways to customize flavors and adjust for special diets, plus storage info for leftovers.
With this knowledge, you can create a fun and tasty dessert. Enjoy making this treat with friends and family, and don’t forget to have fun decorating it. Happy baking!